Second excavation, available 10 days after The Excavation of Windcaller Pass
Join up with the Excavation at Rkund.
The excavation site is Souh-west of Riften up in the mountains. An easy way to reach it is going through Darklight Tower, when exiting at the top of the Tower follow the path until you see the Excavations camp.
Excavation site
The following steps will repeat for a total of three dig sites. The Third time the entrance to Rkund will be uncovered.
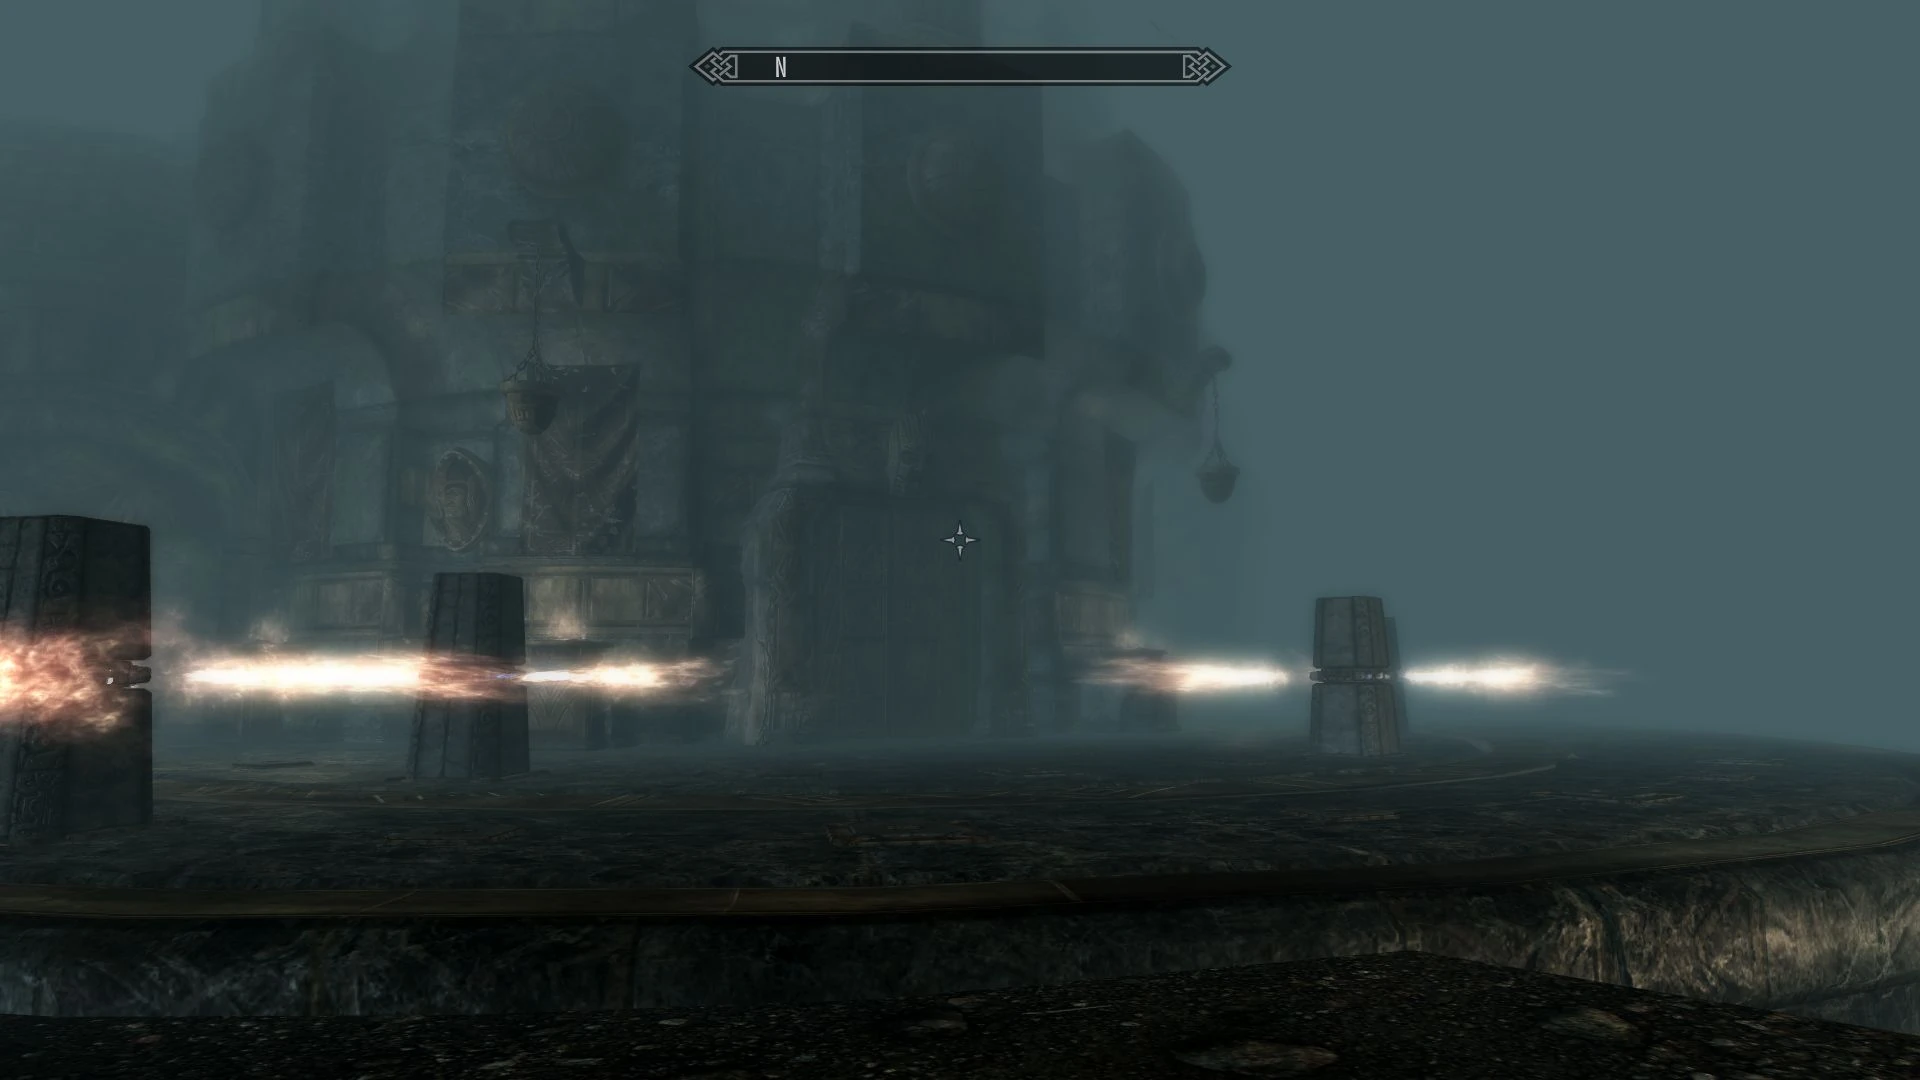
Survey For an optimal dig site.
Open up your inventory and use the survey tool you received. a pop-up will say how far away you are from he optimal site.
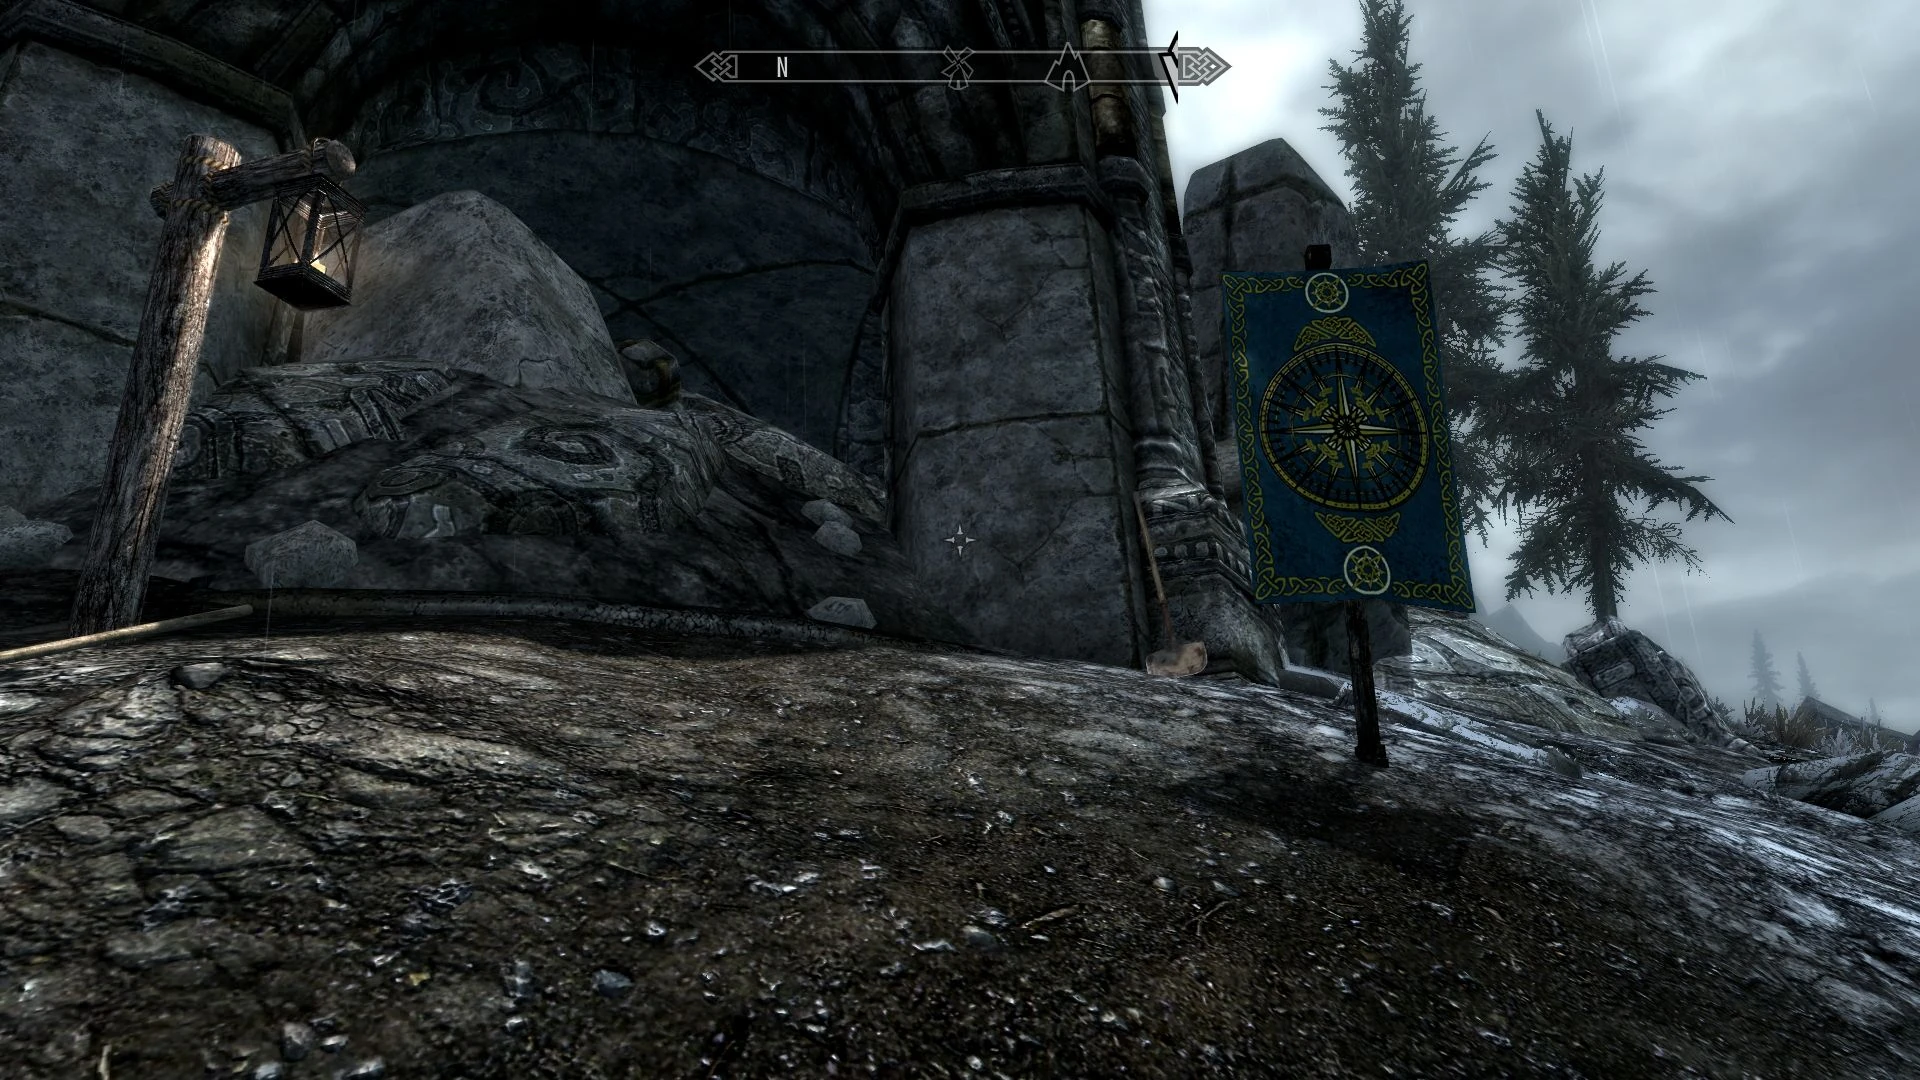
The First time it's a building to the North.
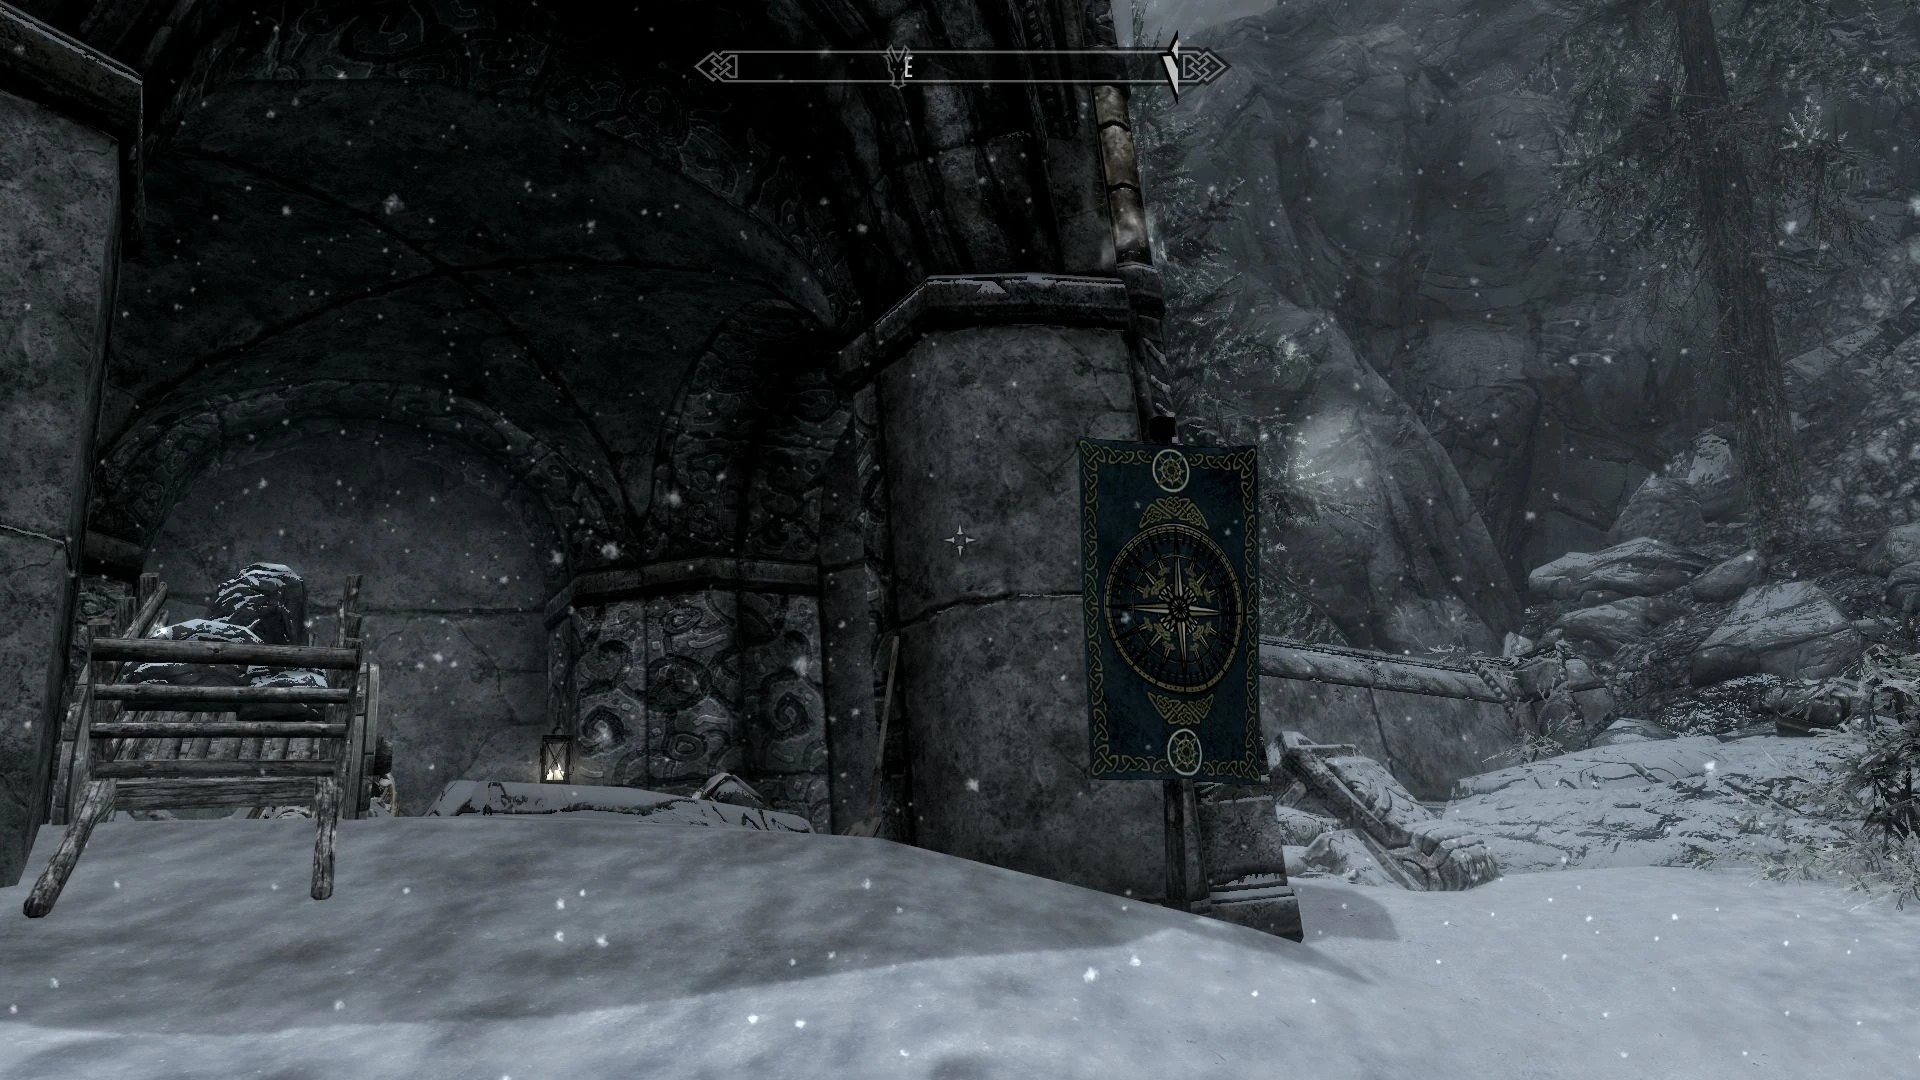
The second time it's a building to the East behind the main tent.
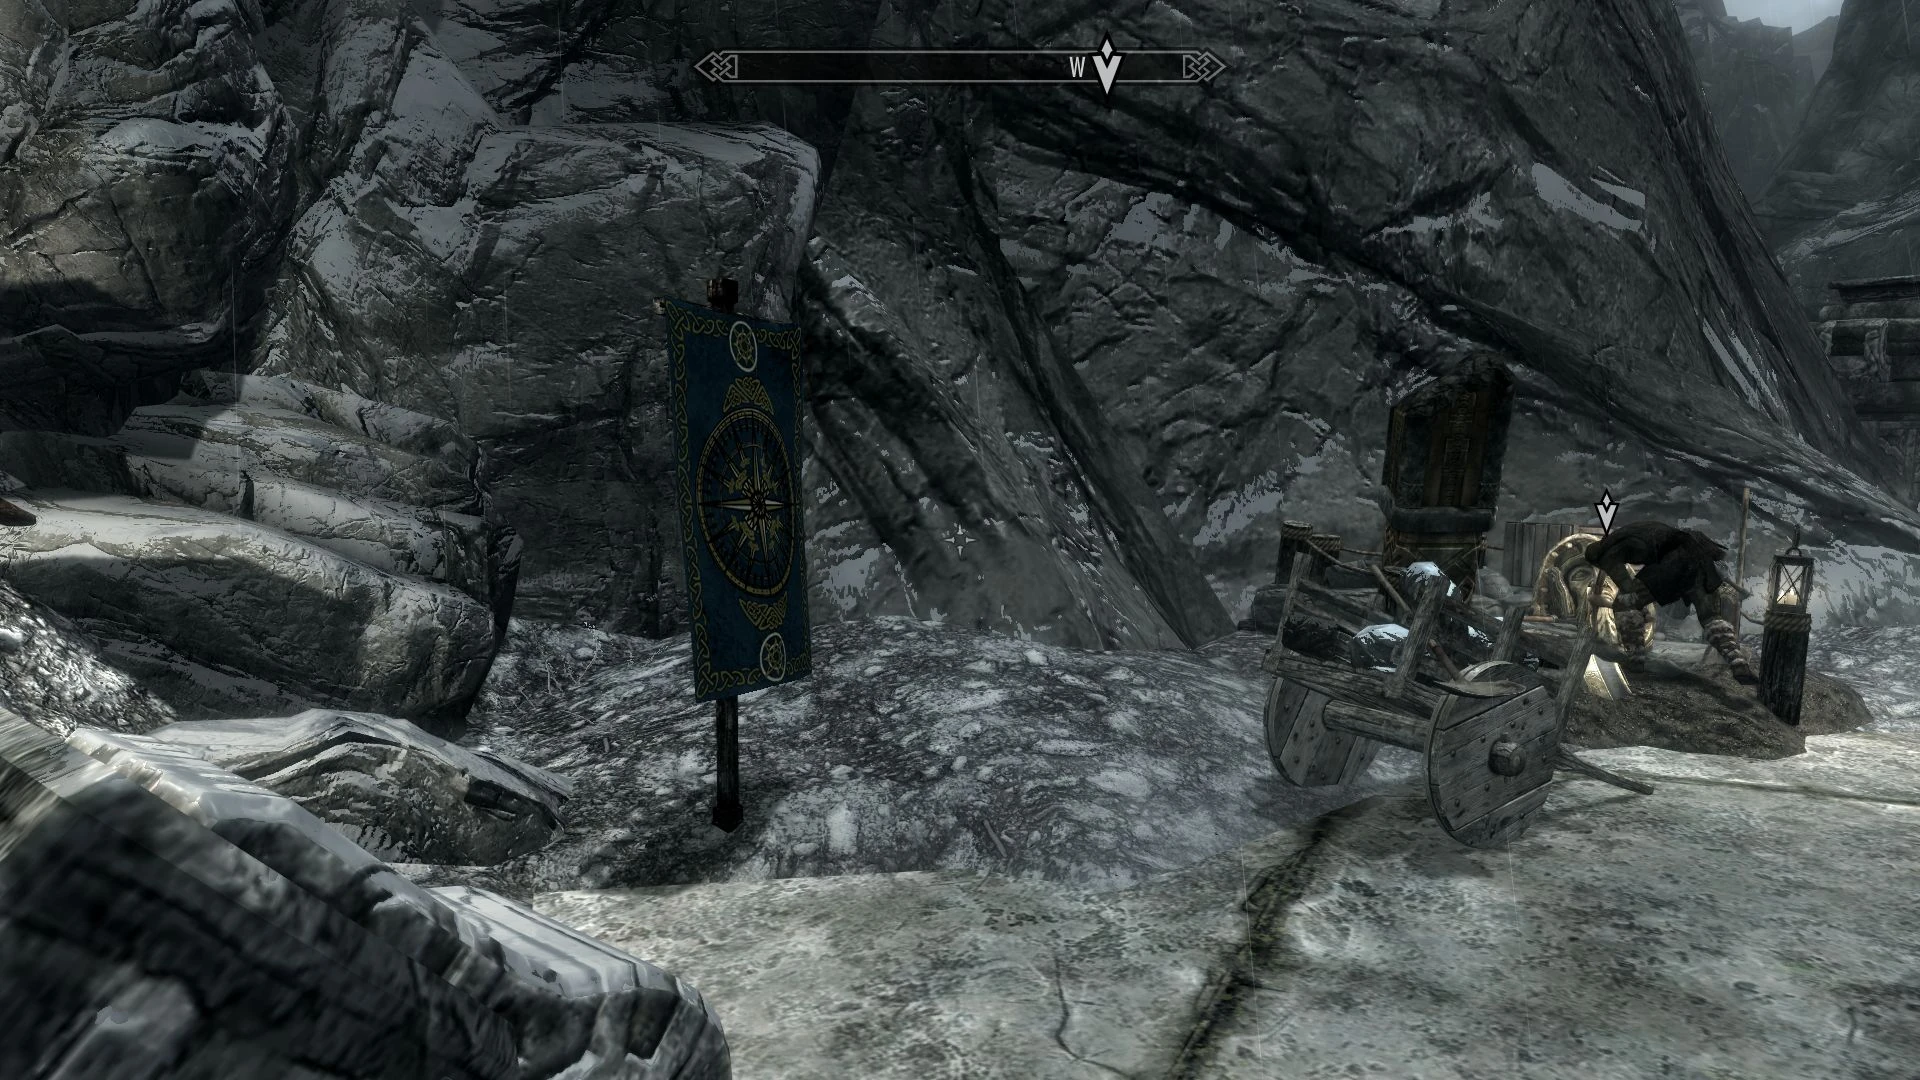
The third one is next to the Dwemer Archeology node.
When you hit the right spot a banner will appear marking the place.
Return the Survey Tool to Prof. Marassi.
Bring the survey tool back to Marassi.
Return in 5 days.
Leave or wait, the quest will update to the next stage once enough time has passed.
Return to the excavation.
Return to the excavation site and speak with Marassi. The first two times will reward you with some Dwemer Fragments.
When returning for the third time the entrance will be laid open and you can explore Rkund.
Inside Rkund


Explore the ruins of Rkund.
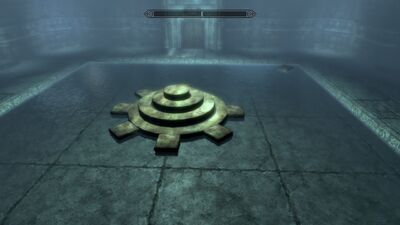
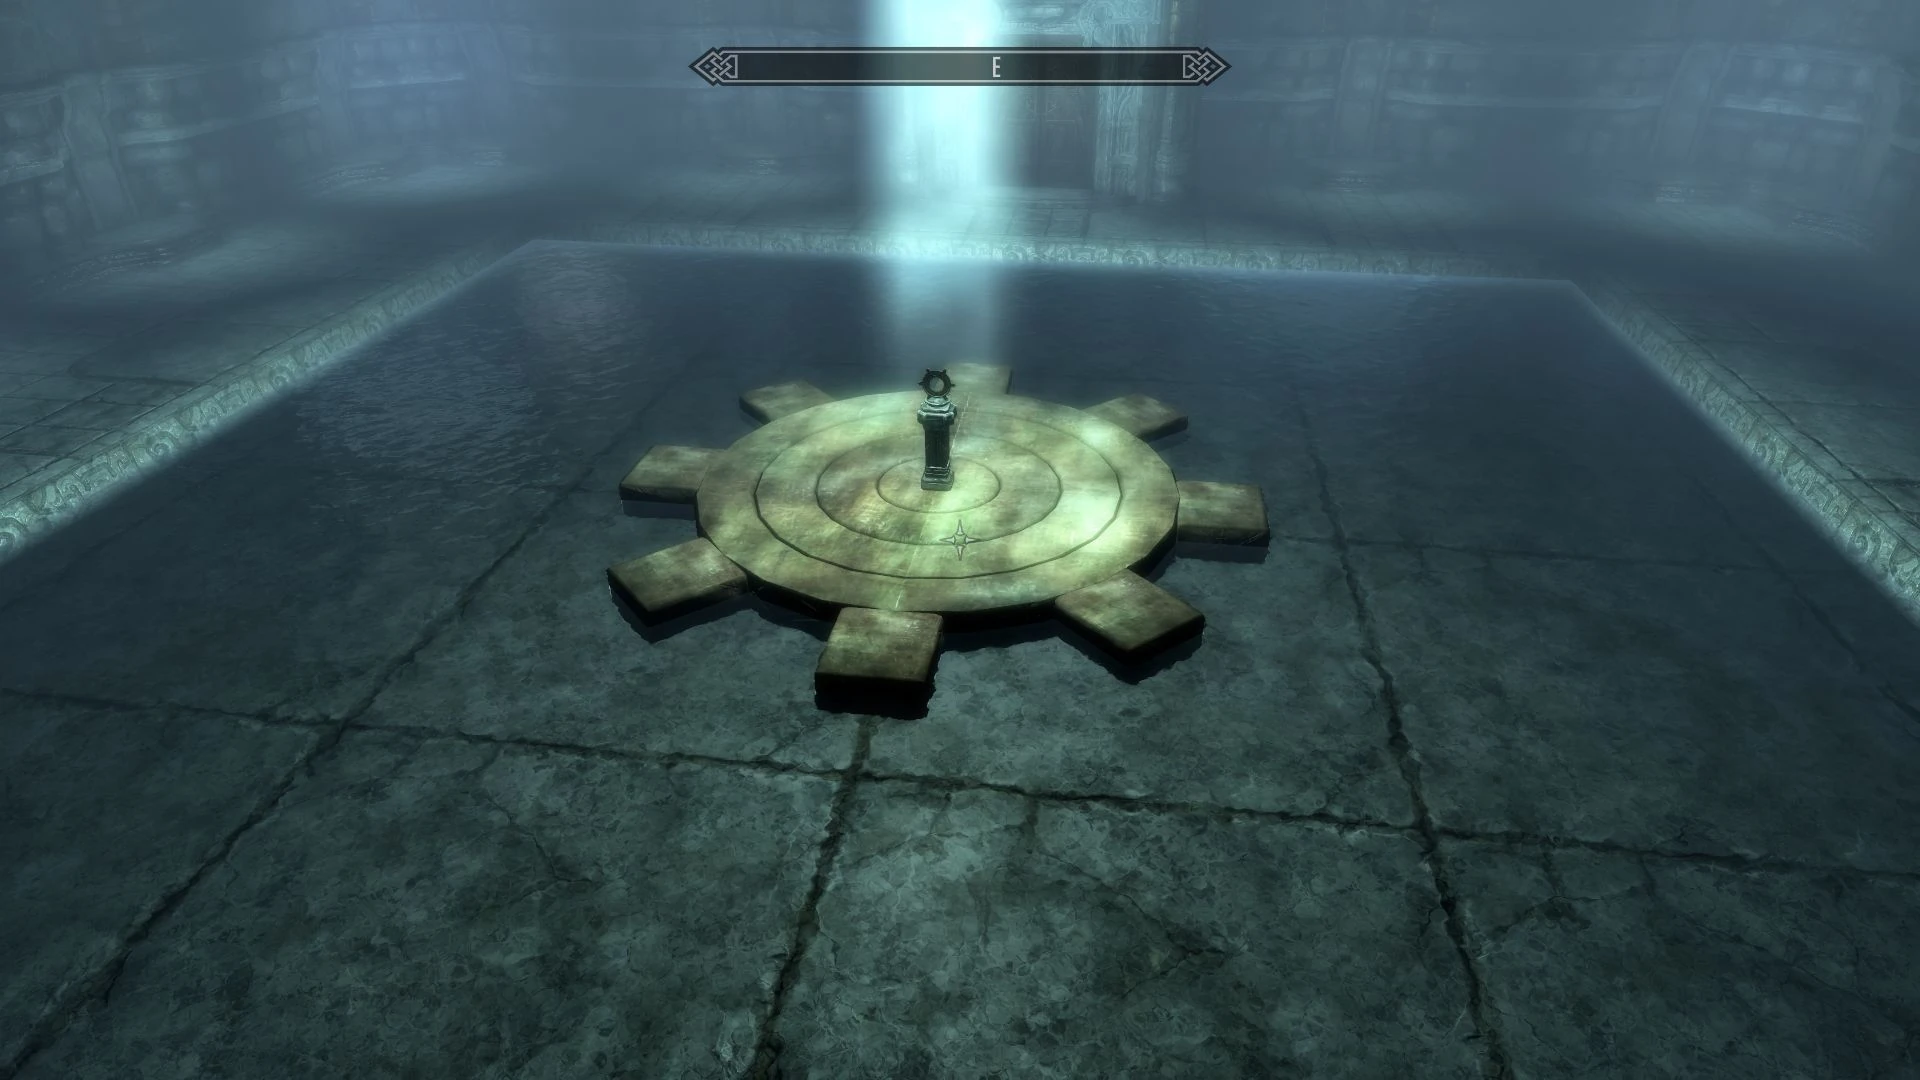
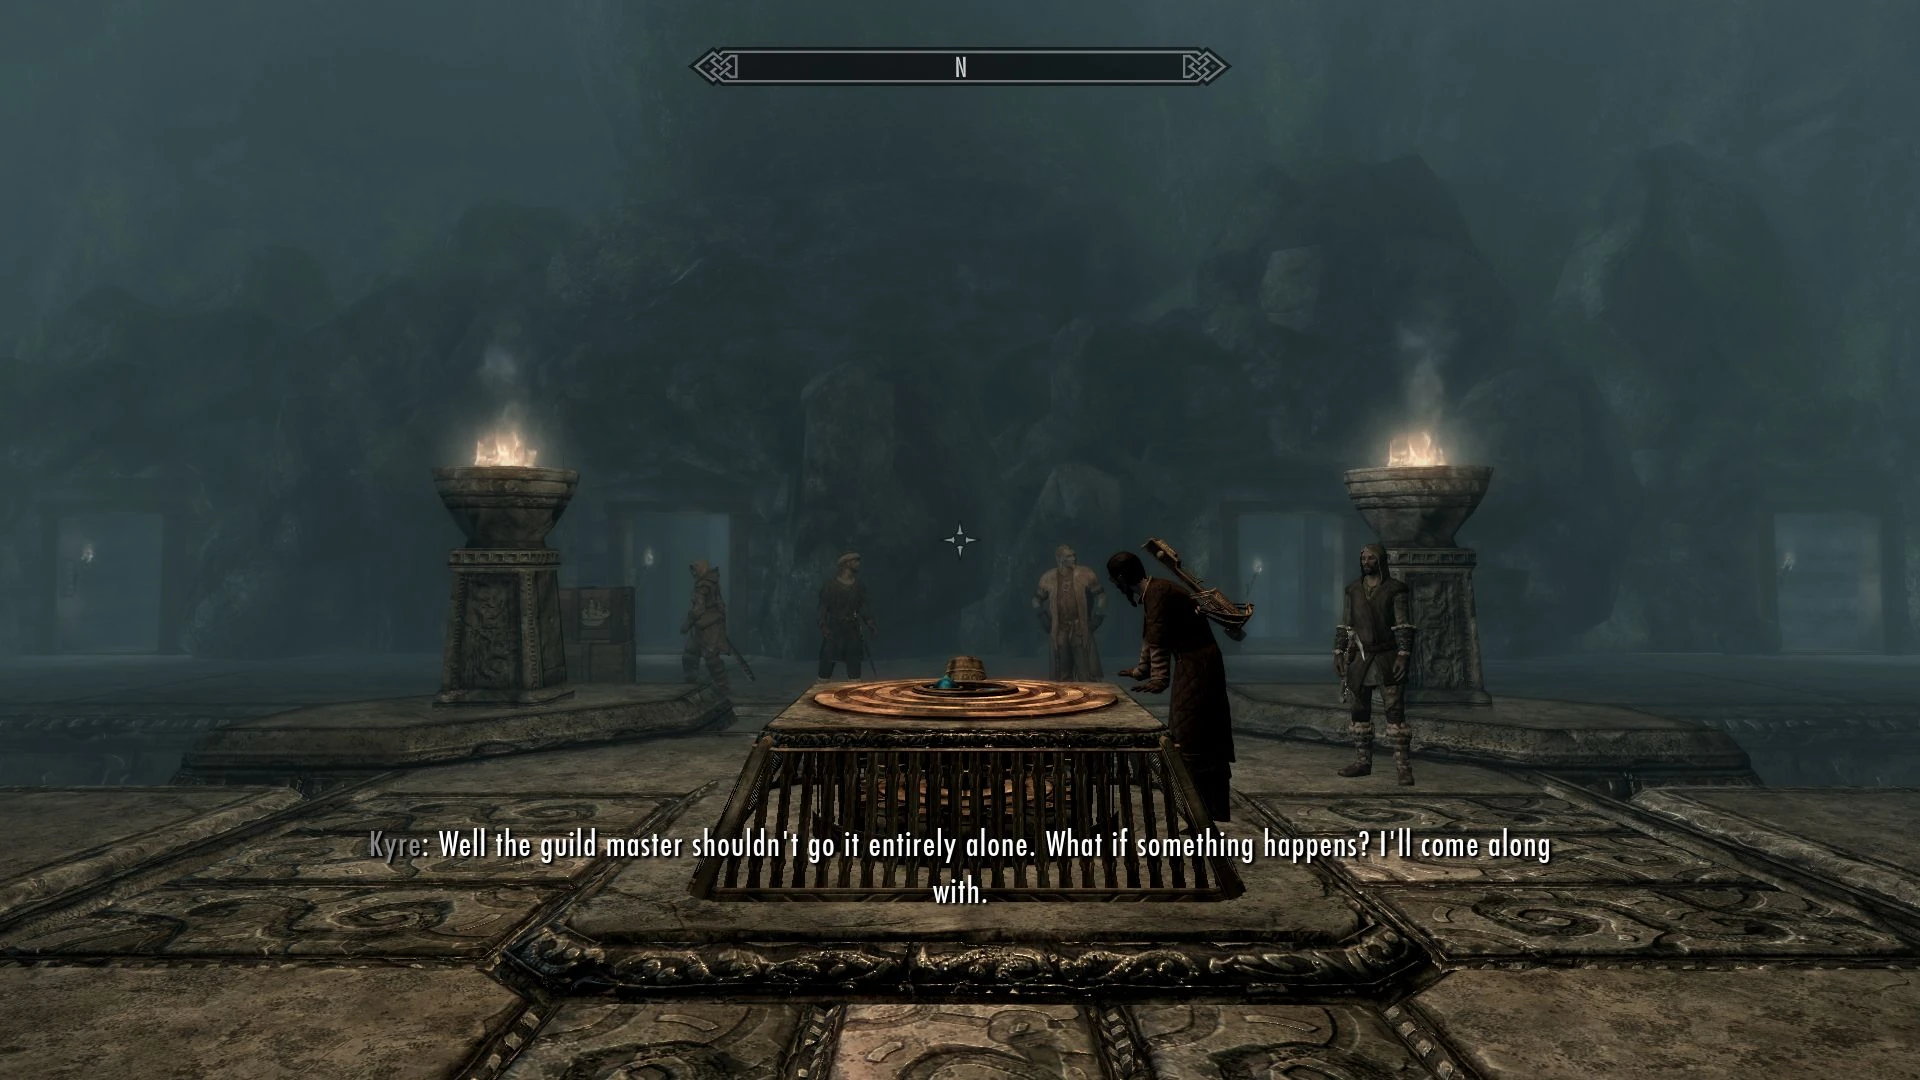
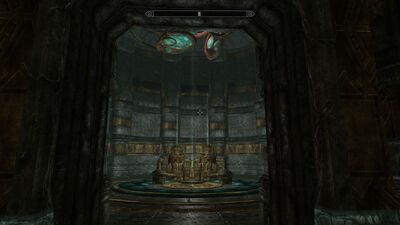
Make your way past the enemies. straight up a set of stairs is a large room with a square pit. At the bottom is a Cog on a pedestal. The members of your exploration team will suggest you slide down. Jump down the pit (here is a ledge about halfway down) and pick up the cog, the pit will fill up with water giving you a way back up.
Show the Cog to Madras.

Show Madras the cog and he'll explain that it's actually a key. You'll need to find others and where they're used.
Find the Cog Keys and where they are used.
You need two more keys:
Magma Key

The next room in Rkund has multiple levels and walkways. Make your way to the right to the Magma silo. Nobody will follow you in. on the opposite side of the room is a lever. Once you pull the lever platforms will start moving and the lava will start moving up. You need to jump from one platform to another until reaching the top of the room. There is a ledge with a locked door and another lever. Use it to open the gate and go down the corridor to the second Cog Key. The lava willl have lowered and now you can jump back down.
Puzzle Key

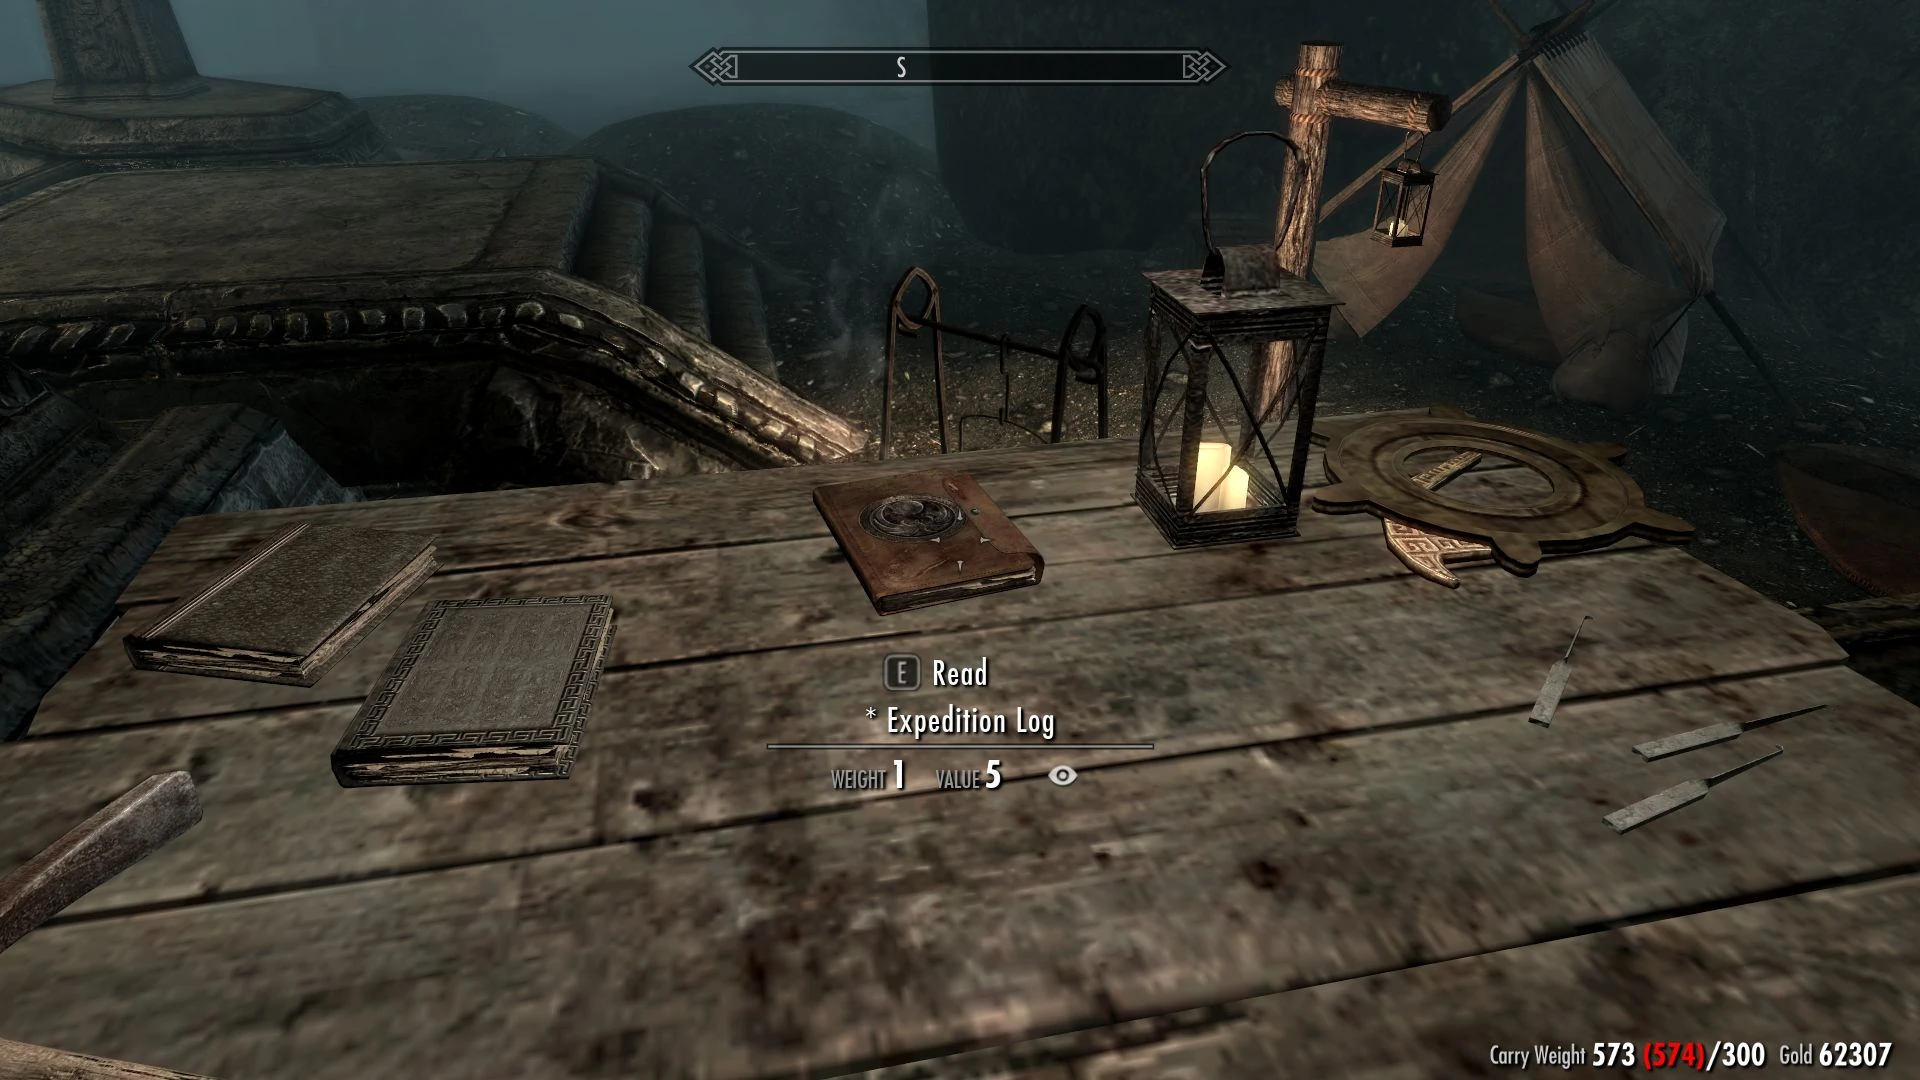
After retrieving the lava key follow the walkways down. on the bottom of the room will be a passage to a cave. There is a room with a large door and another passage. Go down the passage and make your way into the water to retrieve a Journal in a backpack. The Journal explains the puzzle you need to solve.

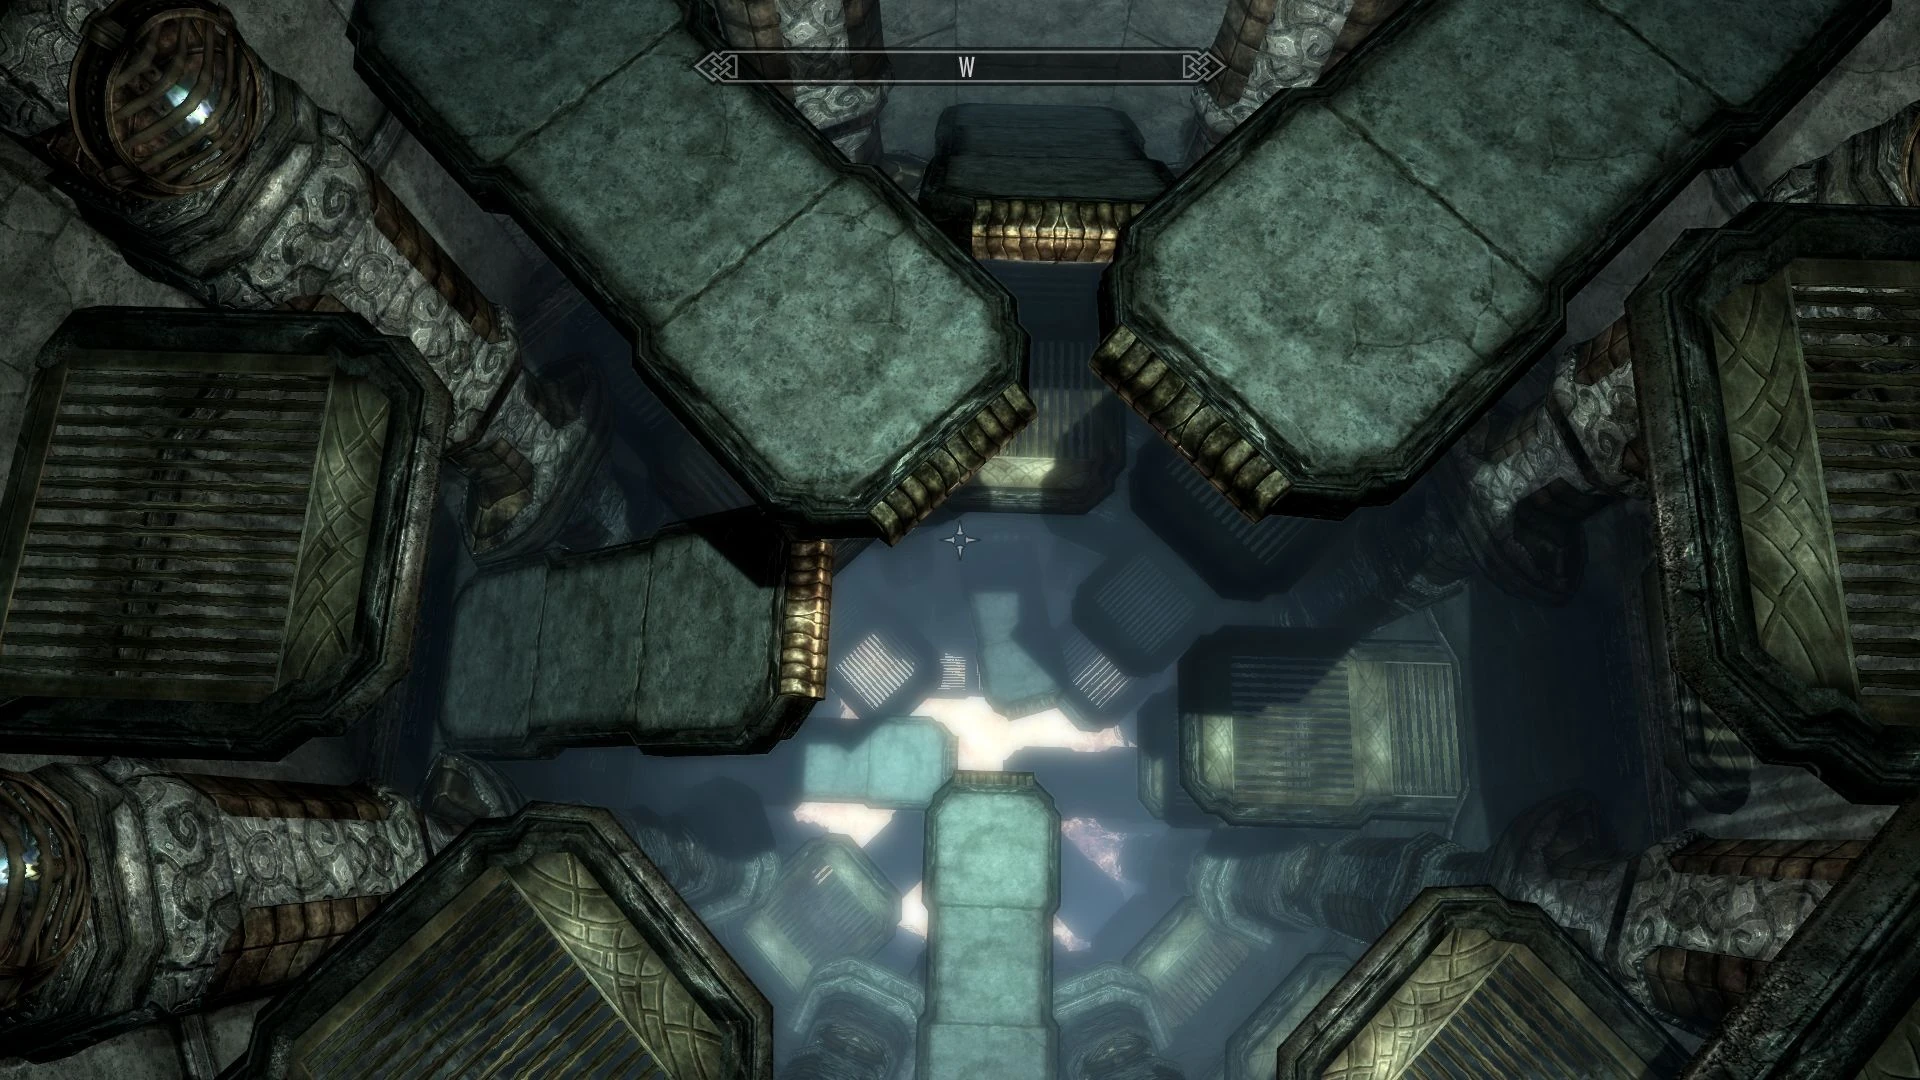
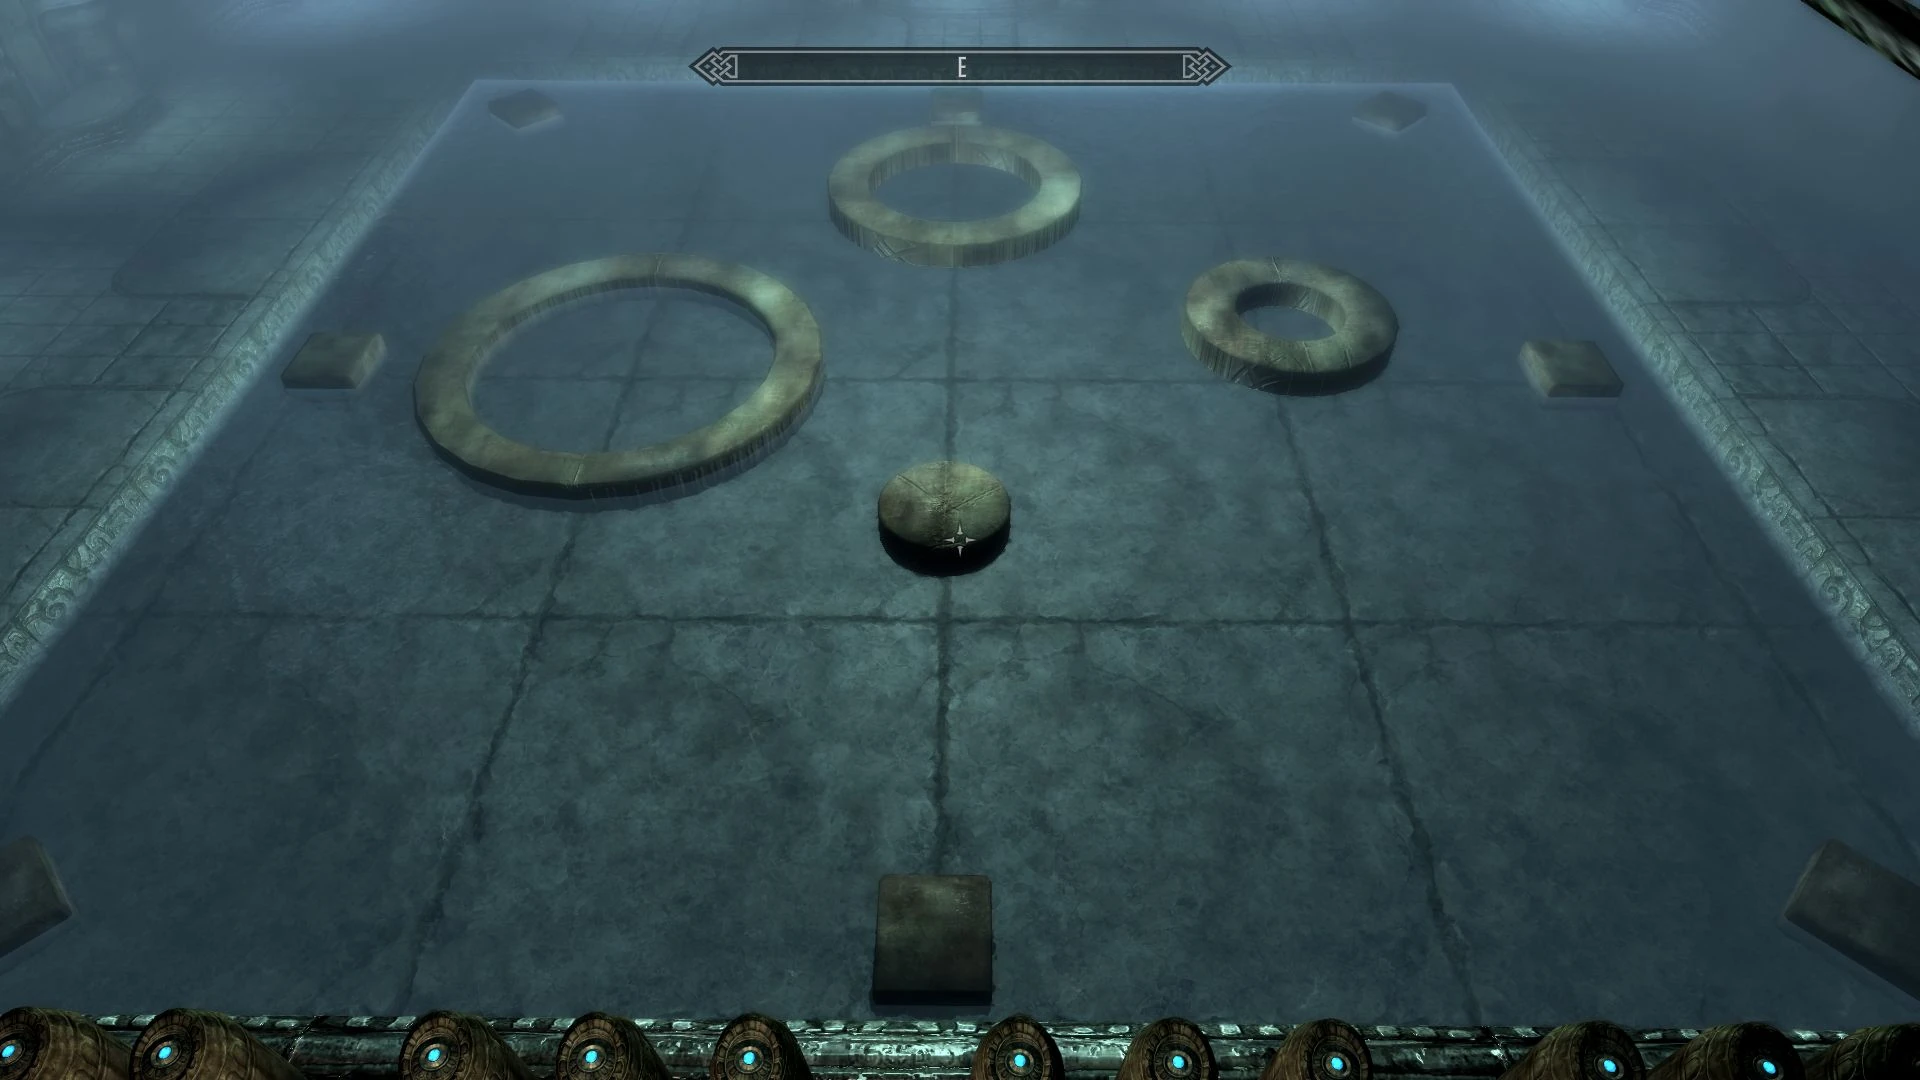
The puzzle is made of lots of parts that will resemble a giant cog once completed. there are 12 buttons that will move different parts. Pushing a button while a part it controls is in movement will only move the other parts. You can solve it yourself given enough time or follow the hints in the Journal. Leaving the room will reset the puzzle
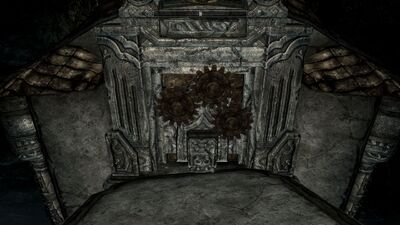
Easy solution:
- viewed from the platform, from left to right push the first 9 buttons in rapid succession.
- After everything stops moving the top right diagonal one should be the only one in the wrong position.
- push the 11th button (second one from the right).
- Wait until the small round part stops moving and while the diagonal one is still moving and push the 11th button again.
Lock
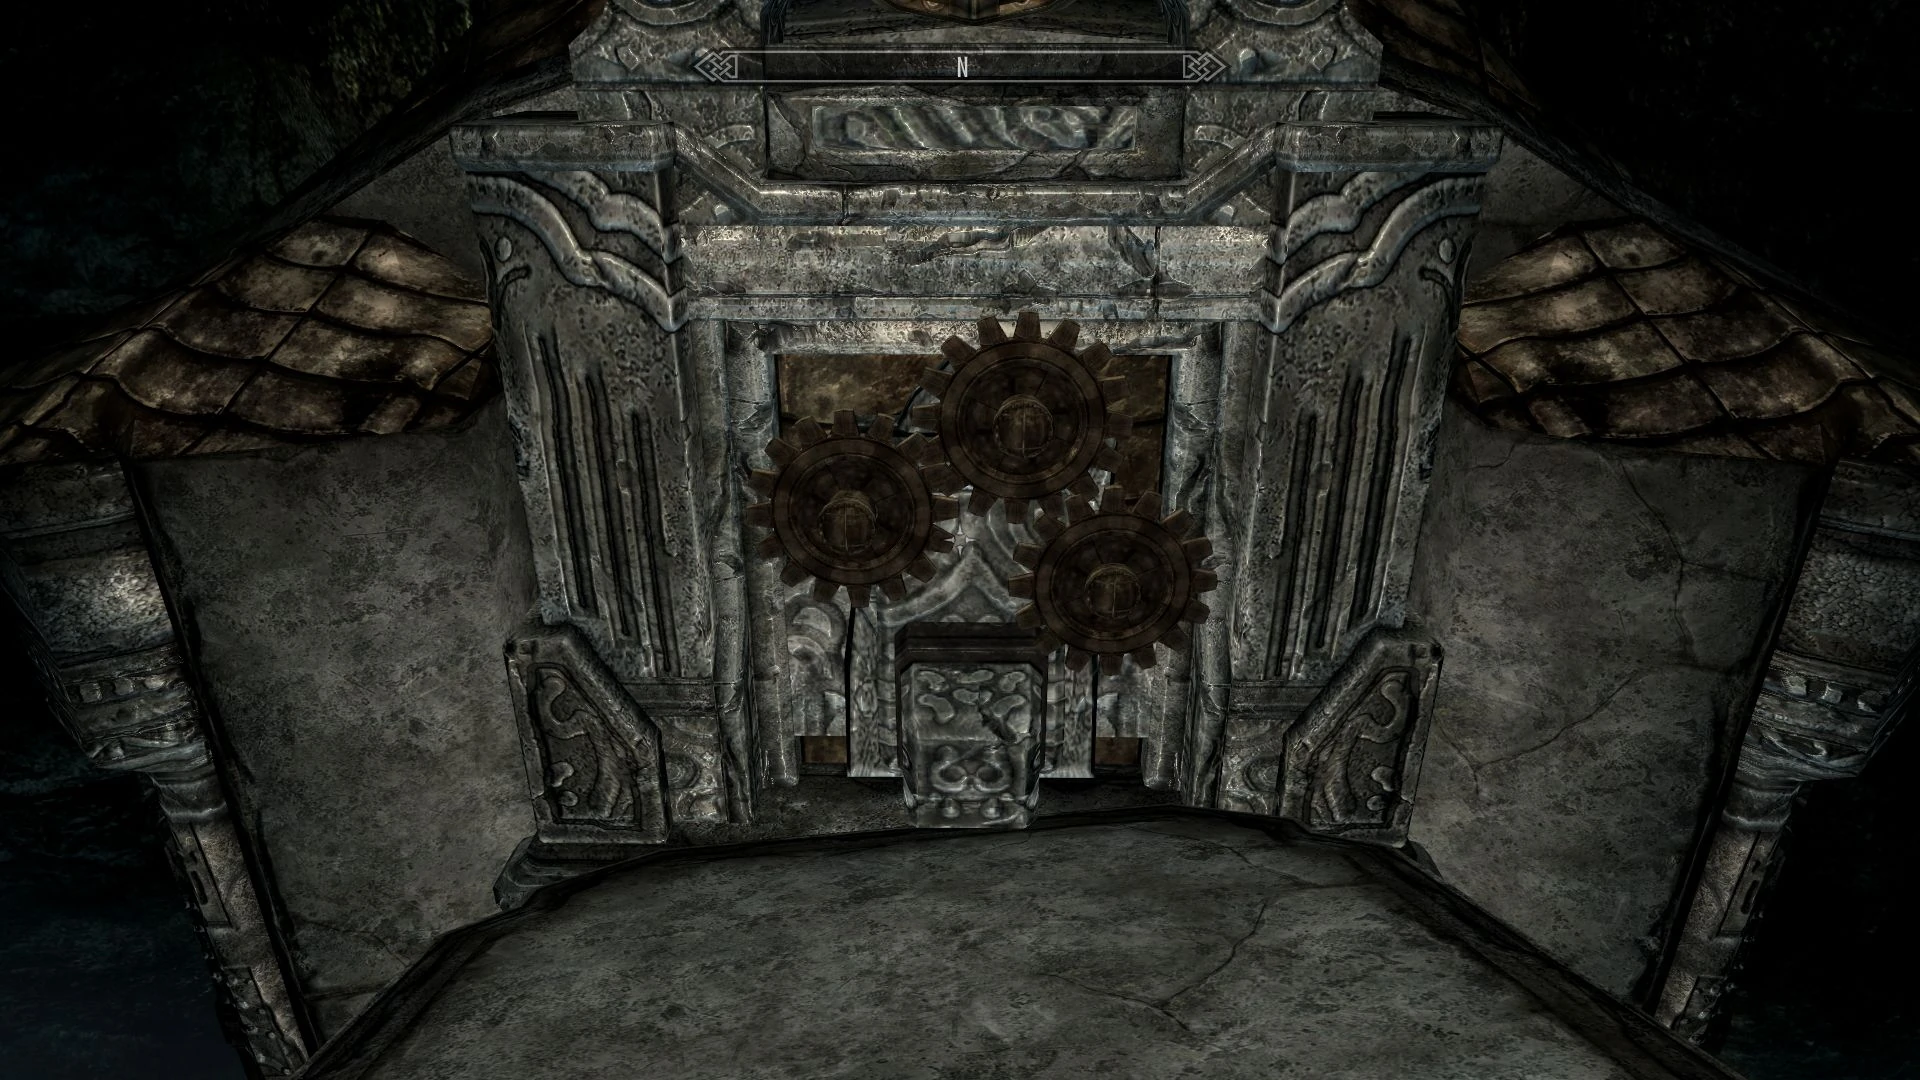
Place the three cog keys in their positions on the medium level of the large room. The cogs will start moving and the gates locking the doors to Kagras maze and the Sepulcher will open.
Sepulcher
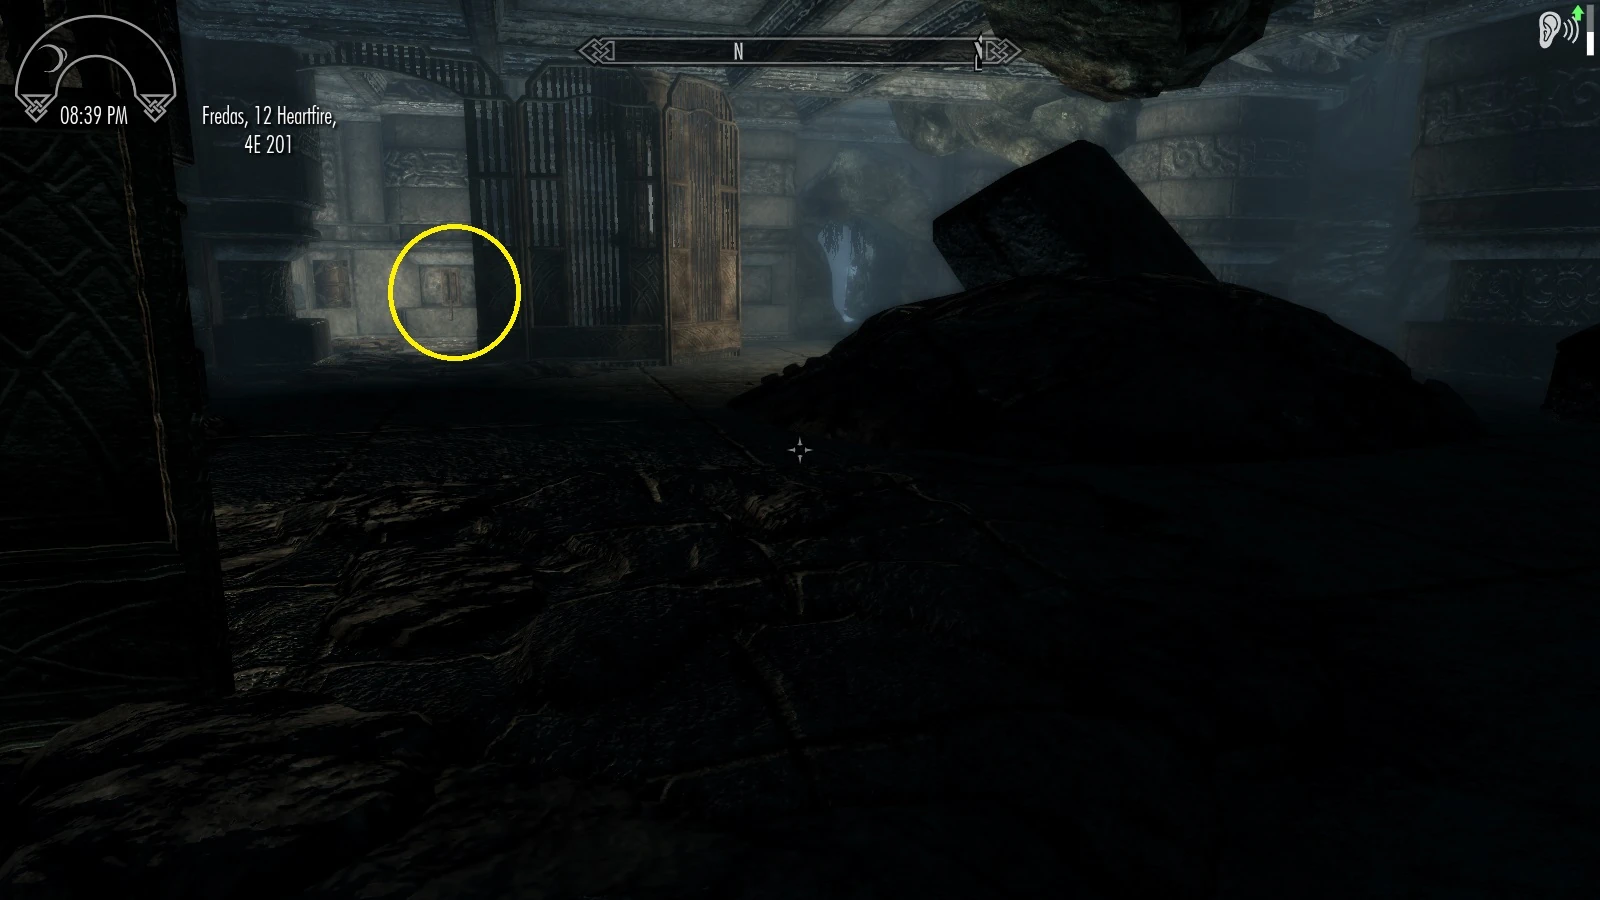
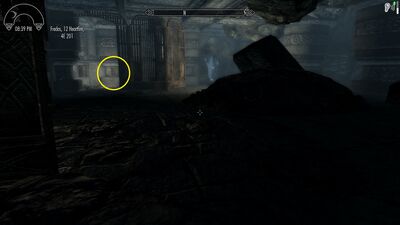
How to enter: Inside the dwemer room which leads to the hall of puzzles and the shaft which has the journal about the puzzle room, there will be a lever over on the wall in one of the corners. This will open the shutters to the Sepulcher.

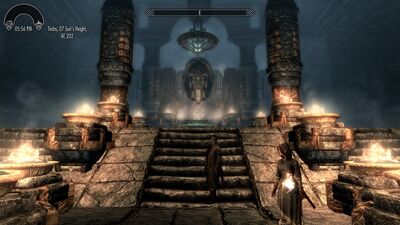
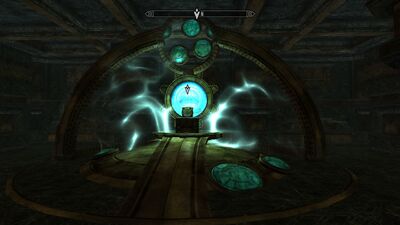
When entering the room all guildmembers will enter the room with you and a cutscene will start playing. This scene is a strong reference to the Wizard of Oz, where the Wizard is now portrayed as a giant floating Dwemer head. When the head disappears, the gate behind it will open and some treasure chest can be looted. This is also where you meet Eggelmann who will continue to follow Madras around.
The mazes
Enter Karagas' maze.
Enter the door to the maze the lower level of the big room.
Explore the Maze
The maze is actually two mazes separated by a long corridor. Kyle will join you on your trip through it.
three dimensional maze
There are four ways in, stairwells and holes to drop down. Additionally you'll have to deal with lots of traps, Dwemer constructs and skeletons. Check out the table and crate before you enter there is a journal on the table and the crate contains 100 torches. Pick up as many torches as you can.
In order to find your way it's best to place torches everywhere you go. There are lots of torch-stands on the walls to place them in. Mark where you've been with them. Generally you need to get pretty far down and to the north once you encounter nothing but skeevers you should be closer. to the long hallway that leads to the second maze.
Short way through: Wen standing in front of the doors pick the third entrance. Stick to the left walls, after a bit there is a deep drop down, fall down and again stick to the left side.
Second maze
This one is easy to solve as it's on a single level. Choose either left or right and stick with the direction you chose. Follow the walls and eventually you'll emerge on the other side.


A Dwarven Pretorian will attack and the floor is riddled with trap buttons that activate the fire pylons. Defeat the Dwarven Pretorian and loot it's corpse be sure to take the Attunement sphere from it's remains. The Attunement sphere is used in the keyhole on the right side of the door. Depending on your ENB this keyhole can actually be very hard to spot.
Karagas' Tower
Investigate Karagas' Tower.

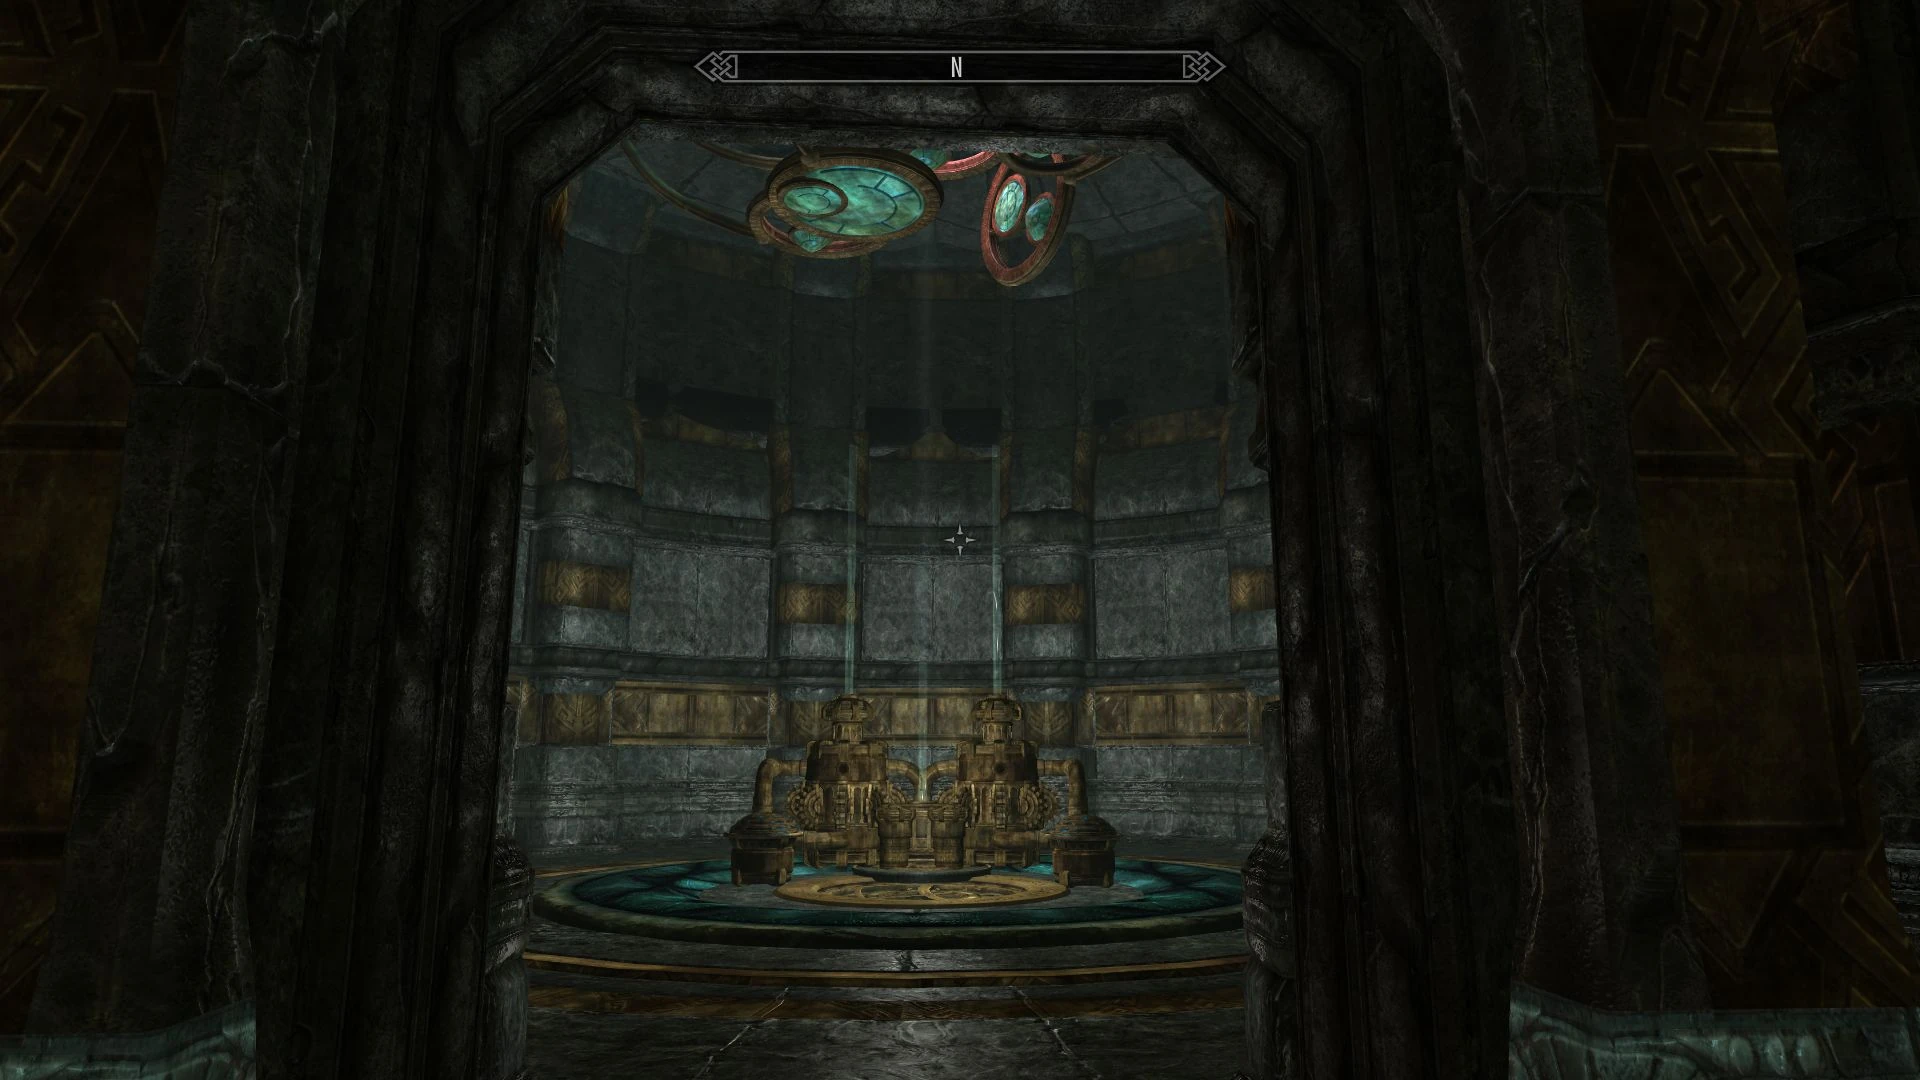
Inside is a large player home, right infront of you is a forge get closer to it and the quest will update to the next objective.
Find a way to get the Explorers to the Tower.
Go to the left from the forge and follow to the upstairs there is a Dwemer portal you can use to take a shortcut back to the start of the maze. Place the Attunement sphere in the Dwarven Mechanism to open up the stairs ad get the other guild members.
Bring the Explorers to the Transmutation Forge by way of transport device.
Lead the group back down the stairs and through the portals and down to the forge. They'll all have a chat and the quest will end.
Quest Stages
| Quest Name (Quest ID) | |
|---|---|
| Stage | Journal Entry
|
| Professor Marassi and the explorers are setting out for an excavation of the dwemer ruins of Rkund. I should meet up with the group at the ruin site and see what I can do to help.
Objective : | |
| Professor Marassi has asked that I use a survey device to assay the best dig site to start looking for the entrance to Rkund. I should use the survey device in various spots until it indicates the location to mark.
Objective : | |
| I've set a marker for the first possible dig site for the entrance of Rkund. I should return to Marassi and let him know.
Objective : | |
| The explorers will begin their dig at the site I marked. I should check back in five days and see what progress has been made.
Objective : | |
| I should check back with the excavation at Rkund and see if they have made any progress.
Objective : | |
| Professor Marassi has given me the survey tool to scope out an additional site with. I should locate one and return to him.
Objective : | |
| I should give the team a few days to work on digging in the new site location, then return and see how they are doing.
Objective : | |
| I should return and check in on the excavation of Rkund.
Objective : | |
| I've marked a new spot to dig. I should return the survey tool and let Marassi know.
Objective : | |
| The group has started digging for Rkund once again. I'll give them another five days or so and check back. Hopefully it will yield the results we are looking for.
Objective : | |
| It's about time to return to the excavation dig site and see if the team finally uncovered something.
Objective : | |
| We've done it! The team has finally broken through into the ruins of Rkund interior. They are going to join me as we explore the ruins.
Objective : | |
| I've found a strange cog that triggered the water level in the pool. I should show it to madras and see what he thinks about it.
Objective : | |
| I've shown the cog to Madras who said that it is a Cog Key which works together with several others to open a door somewhere. I'll keep an eye out for cogs.
Objective : | |
| I've found another cog key. I'll keep looking in case there are others.
Objective : | |
| The three cog keys have opened a doorway leading into Karagas' maze! We're heading there next to explore.
Objective : | |
| I've found Karagas' tower, home to his greatest works according to Madras. I should explore and then figure out how to get the explorers here safely.
Objective : | |
| I've found an elaborate machine which Madras will do wild over, no doubt. I should find out if there is another way of getting to the tower other than through the maze.
Objective : | |
| I've found a transportation device that has brought me back to the maze antechamber. I should bring the explorers back through it to see the tower.
Objective : | |
| I've rejoined the explorers and will escort them back to the machine in Karagas' tower.
Objective : | |
| We have successfully excavated the Ruins of Rkund, a great achievement for the guild and for all of posterity.
Objective : | |
SETSTAGE DBM_EXCAVATION02
11- survey site #1
12- return to Marassi
13- Return in 5 days
14- return to the excavation
20- survey site #2
30- return to Marassi
40- Return in 5 days
50- return to the excavation
55- survey site #3
60- return to Marassi
70- Return in 5 days
80- return to the excavation
90- Explore the ruins
100- Show the first cog to Madras
101- Find the other cogs
102- magma silo cog found
103- gear puzzle cog found
105- Enter the maze
110- Explore the maze
115- Investigate Karagas' tower
120- Get the explorers to the tower
125- Bring the explorers through the transport device
130- Escort the team to the forge
135- Scene trigger