No edit summary Tags: Visual edit apiedit |
No edit summary Tag: Visual edit |
||
| (46 intermediate revisions by 12 users not shown) | |||
| Line 1: | Line 1: | ||
| + | [[File:Hall-of-Lost-Empires-v16-1.jpg|thumb|400px]][[File:Hall-of-Lost-Empires-v16-10.jpg|thumb|400px]] |
||
| − | |||
| − | The Hall of |
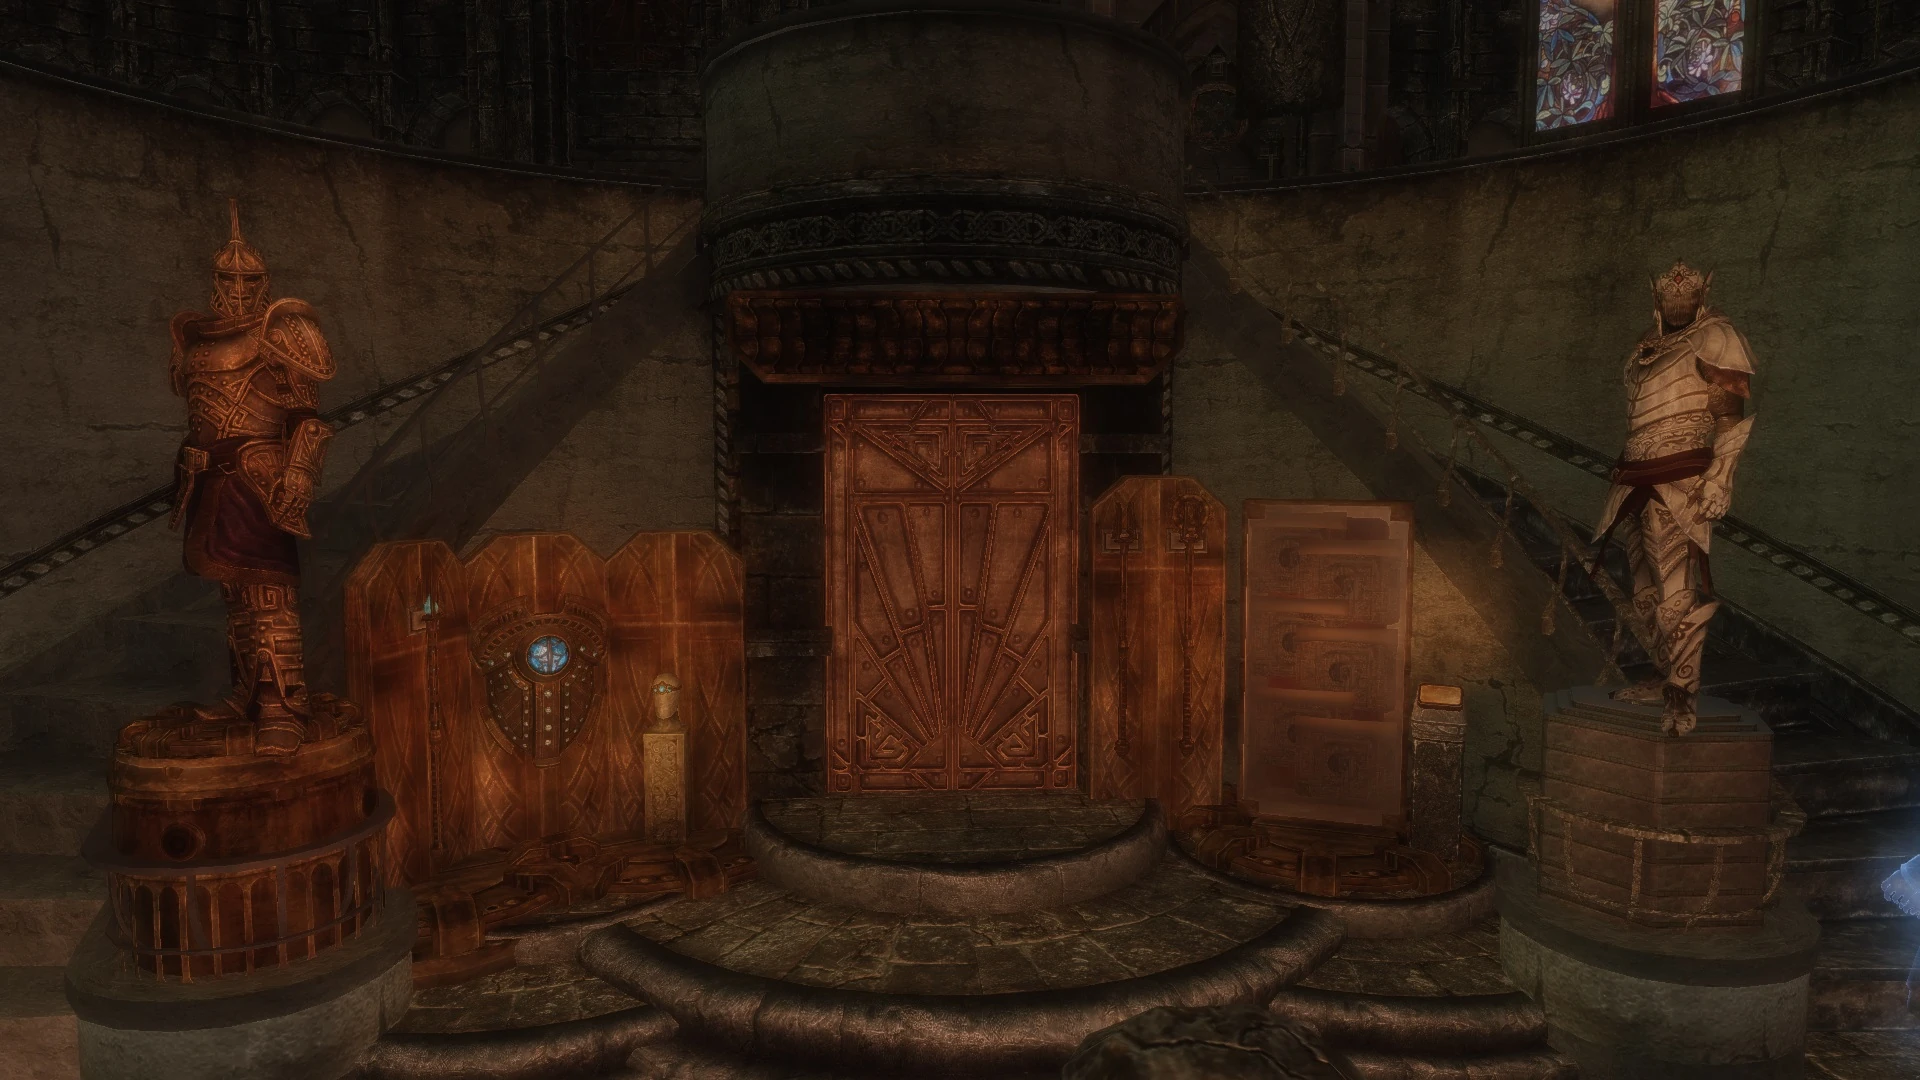
+ | The Hall of Lost Empires houses displays that are associated with the Ancient Nords, the Dwemer, and the Falmer. If you have the mod [http://www.nexusmods.com/skyrim/mods/23530/? Aetherium Armor and Weapons] installed, the [[Aetherium Weapons and Armor Compilation Room]] room will be added to the Hall of Lost Empires. |
Below is a list of items that can be displayed in this room, starting from the left of the door. |
Below is a list of items that can be displayed in this room, starting from the left of the door. |
||
| − | [[File:Archeology top left.jpg|thumb|400px]] |
||
| − | [[File:Dwemer top right.jpg|thumb|400px]] |
||
| ⚫ | |||
| − | [[File:Nordic middle.jpg|thumb|400px]] |
||
| − | [[File:Dwemer botom.jpg|thumb|400px]] |
||
| − | [[File:Aetherium display and door.jpg|thumb|400px]] |
||
| − | |||
| ⚫ | |||
| ⚫ | |||
{| class="article-table" style="width: 400px;" border="1" cellpadding="1" cellspacing="1" |
{| class="article-table" style="width: 400px;" border="1" cellpadding="1" cellspacing="1" |
||
|- |
|- |
||
! scope="col" | |
! scope="col" | |
||
| − | ==== |
+ | ====Snow Elf Display ==== |
| ⚫ | |||
| + | |[[File:Hall-of-Lost-Empires-v16-12.jpg|center|350px]] |
||
|- |
|- |
||
|[[Glacial Spire]] |
|[[Glacial Spire]] |
||
| Line 21: | Line 16: | ||
|[[Wraith's Bite]] |
|[[Wraith's Bite]] |
||
|- |
|- |
||
| − | |[[Winter Storm |
+ | |[[Winter Storm]] |
|- |
|- |
||
|[[Trinimac's Might]] |
|[[Trinimac's Might]] |
||
| Line 46: | Line 41: | ||
! scope="col" | |
! scope="col" | |
||
====Upper Left Displays==== |
====Upper Left Displays==== |
||
| ⚫ | |||
| + | |<gallery type="slideshow" position=center widths=350 hideaddbutton=true> |
||
| + | Hall-of-Lost-Empires-v16-2.jpg |
||
| + | Hall-of-Lost-Empires-v16-3.jpg |
||
| + | Hall-of-Lost-Empires-v16-4.jpg |
||
| + | </gallery> |
||
|- |
|- |
||
|[[Morrowind Dwemer Device]] |
|[[Morrowind Dwemer Device]] |
||
| Line 92: | Line 93: | ||
|- |
|- |
||
|[[Snow Elf Chalice]] |
|[[Snow Elf Chalice]] |
||
| ⚫ | |||
| + | |[[Snow Elf Kulniir Bowl]] |
||
|- |
|- |
||
|[[Ashking Crown]] |
|[[Ashking Crown]] |
||
| Line 106: | Line 109: | ||
|- |
|- |
||
|[[The Eldenroot Staff]] |
|[[The Eldenroot Staff]] |
||
| ⚫ | |||
| + | |[[Snow Elf Pictoglass]] |
||
| ⚫ | |||
| ⚫ | |||
| ⚫ | |||
| ⚫ | |||
| ⚫ | |||
| + | ====Planetarium Cubes==== |
||
| ⚫ | |||
| ⚫ | |||
| + | |- |
||
| + | |[[Planetary Cube]] |
||
| + | |- |
||
| + | |[[Constellation Cube]] |
||
| + | |- |
||
| + | |[[Aetherium Cube]] |
||
| + | |- |
||
| + | |[[Storm Cube]] |
||
|} |
|} |
||
<br /> |
<br /> |
||
| Line 113: | Line 134: | ||
====Upper Right Displays==== |
====Upper Right Displays==== |
||
|- |
|- |
||
| + | |<gallery type="slideshow" position="center" widths="350" hideaddbutton="true"> |
||
| ⚫ | |||
| + | HoLE UL1.png |
||
| + | HoLE UL2.png |
||
| + | HoLE UL3.png |
||
| + | </gallery> |
||
| + | |- |
||
| ⚫ | |||
|- |
|- |
||
|[[Attunement Sphere]] |
|[[Attunement Sphere]] |
||
| Line 119: | Line 146: | ||
|[[Visage of Mzund]] |
|[[Visage of Mzund]] |
||
|- |
|- |
||
| ⚫ | |||
| ⚫ | |||
|- |
|- |
||
|[[Kagrumez Resonance Gem]]s |
|[[Kagrumez Resonance Gem]]s |
||
| Line 125: | Line 152: | ||
|[[Ash Extractor]] |
|[[Ash Extractor]] |
||
|- |
|- |
||
| + | |[[Dwemer Puzzle Cube]] |
||
| ⚫ | |||
|- |
|- |
||
|[[Focusing Crystal ]](replica) |
|[[Focusing Crystal ]](replica) |
||
|- |
|- |
||
| − | |[[Essence Extractor]] |
+ | |[[Essence Extractor]](replica) |
| + | |- |
||
| + | |[[Clutterbane]] (requires {{Abb|SIC}}) |
||
|- |
|- |
||
|[[Stormforge]] |
|[[Stormforge]] |
||
| Line 136: | Line 165: | ||
|- |
|- |
||
|[[Dwemer Pneuma-Trap]] |
|[[Dwemer Pneuma-Trap]] |
||
| + | |- |
||
| + | |[[Nullsprocket]] (requires {{Abb|SIC}}) |
||
|} |
|} |
||
<br /> |
<br /> |
||
| Line 141: | Line 172: | ||
|- |
|- |
||
! scope="col" | |
! scope="col" | |
||
| + | |||
====Wall Display==== |
====Wall Display==== |
||
|- |
|- |
||
| + | |[[File:Walldisplay_halloflostempires.jpg|center|350px]] |
||
| − | |<span style="mso-bidi-font-weight:bold">Arkngthamz</span> |
||
| + | |- |
||
| + | |{{Wiki|Arkngthamz|Arkngthamz}} |
||
|} |
|} |
||
| − | <br /> |
||
{| class="article-table" style="width: 400px;" border="1" cellpadding="1" cellspacing="1" |
{| class="article-table" style="width: 400px;" border="1" cellpadding="1" cellspacing="1" |
||
|- |
|- |
||
| Line 151: | Line 184: | ||
====Dwemer Automatons==== |
====Dwemer Automatons==== |
||
|- |
|- |
||
| + | |[[File:Lostempires_wall.jpg|center|350px]] |
||
| − | |Sphere: Avanchzel |
||
|- |
|- |
||
| + | |Sphere: {{Wiki|Avanchnzel_(Skyrim)|Avanchnzel}} |
||
| ⚫ | |||
|- |
|- |
||
| ⚫ | |||
| ⚫ | |||
|- |
|- |
||
| ⚫ | |||
| − | |Spider: Nchundzel |
||
| + | |- |
||
| + | |Spider: {{Wiki|Nchuand-Zel|Nchuand-Zel}} |
||
|} |
|} |
||
<br /> |
<br /> |
||
| − | === |
+ | ===Lower level displays=== |
{| class="article-table" style="width: 400px;" border="1" cellpadding="1" cellspacing="1" |
{| class="article-table" style="width: 400px;" border="1" cellpadding="1" cellspacing="1" |
||
|- |
|- |
||
! scope="col" | |
! scope="col" | |
||
====Lower Left Displays==== |
====Lower Left Displays==== |
||
| + | |- |
||
| + | |[[File:Hall-of-Lost-Empires-v16-9.jpg|center|350px]] |
||
|- |
|- |
||
|[[Harmonic Touchstone]] |
|[[Harmonic Touchstone]] |
||
| Line 176: | Line 213: | ||
|[[Initiate's Ewer]] |
|[[Initiate's Ewer]] |
||
|- |
|- |
||
| − | |Falmer Statue of Irkngthand |
+ | |Falmer Statue of {{Wiki|Irkngthand|Irkngthand}} |
|- |
|- |
||
|[[Auriel's Bow]] |
|[[Auriel's Bow]] |
||
| Line 186: | Line 223: | ||
|Shrine of Auriel (activation grants Auriel's blessing) |
|Shrine of Auriel (activation grants Auriel's blessing) |
||
|- |
|- |
||
| − | |Calcelmo’s Rubbings |
+ | |[[Calcelmo’s Rubbings]] |
|- |
|- |
||
|[[Spear of the Snow Prince]] |
|[[Spear of the Snow Prince]] |
||
|- |
|- |
||
|Remains of the Snow Prince |
|Remains of the Snow Prince |
||
| ⚫ | |||
| − | <br /> |
||
| ⚫ | |||
|- |
|- |
||
| ⚫ | |||
| ⚫ | |||
| ⚫ | |||
|- |
|- |
||
|[[Amethyst Paragon]] |
|[[Amethyst Paragon]] |
||
| Line 208: | Line 241: | ||
|[[Sapphire Paragon]] |
|[[Sapphire Paragon]] |
||
|} |
|} |
||
| − | <br /> |
||
| − | {| class="article-table" style="width: 400px;" border="1" cellpadding="1" cellspacing="1" |
||
| ⚫ | |||
| − | ! scope="col" | |
||
| − | ====1st Freestanding Display==== |
||
| ⚫ | |||
| − | |Ayleid Relics |
||
| ⚫ | |||
| − | <br /> |
||
| − | |||
<br /> |
<br /> |
||
{| class="article-table" style="width: 400px;" border="1" cellpadding="1" cellspacing="1" |
{| class="article-table" style="width: 400px;" border="1" cellpadding="1" cellspacing="1" |
||
| Line 224: | Line 247: | ||
====Lower Mid Displays==== |
====Lower Mid Displays==== |
||
|- |
|- |
||
| + | |[[File:Hall-of-Lost-Empires-v16-13.jpg|center|350px]] |
||
| ⚫ | |||
|- |
|- |
||
| ⚫ | |||
| ⚫ | |||
|- |
|- |
||
| ⚫ | |||
| − | |Puzzle Pillar (Saarthal) |
||
|- |
|- |
||
| − | |Puzzle |
+ | |Puzzle Pillar ({{Wiki|Saarthal|Saarthal}}) |
|- |
|- |
||
| + | |Puzzle Door ({{Wiki|Korvanjund|Korvanjund}}) |
||
| − | |Pottery from Shroud Hearth |
||
|- |
|- |
||
| + | |Pottery from ({{Wiki|Shroud_Hearth_Barrow_(Skyrim)|Shroud Hearth Barrow}}) |
||
| ⚫ | |||
|- |
|- |
||
| ⚫ | |||
| ⚫ | |||
|- |
|- |
||
| ⚫ | |||
| ⚫ | |||
| ⚫ | |||
| − | <br /> |
||
| − | {| class="article-table" style="width: 400px;" border="1" cellpadding="1" cellspacing="1" |
||
|- |
|- |
||
| ⚫ | |||
| − | ! scope="col" | |
||
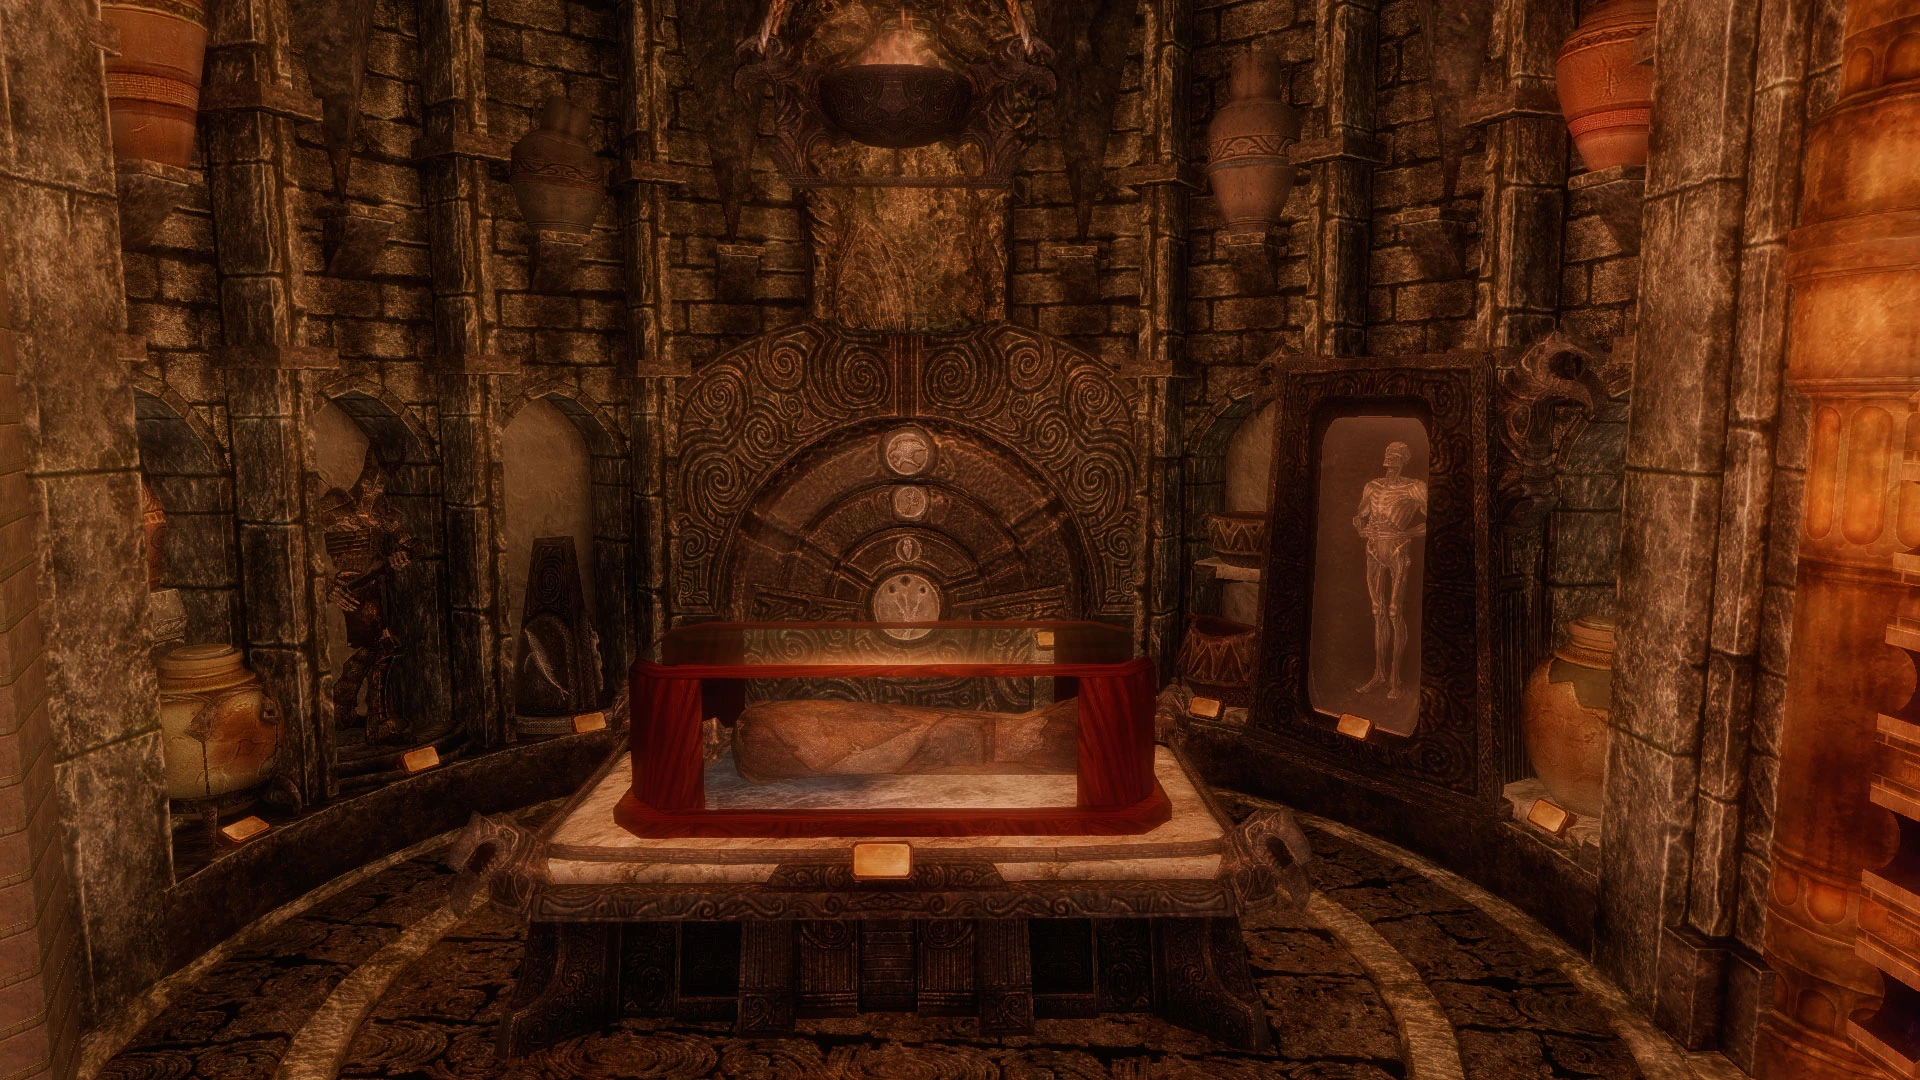
| − | ====2nd Freestanding Display==== |
||
|- |
|- |
||
| − | |Mummy (Forelhost) |
+ | |Mummy ({{Wiki|Forelhost_(Skyrim)|Forelhost}}) |
|} |
|} |
||
<br /> |
<br /> |
||
| Line 254: | Line 273: | ||
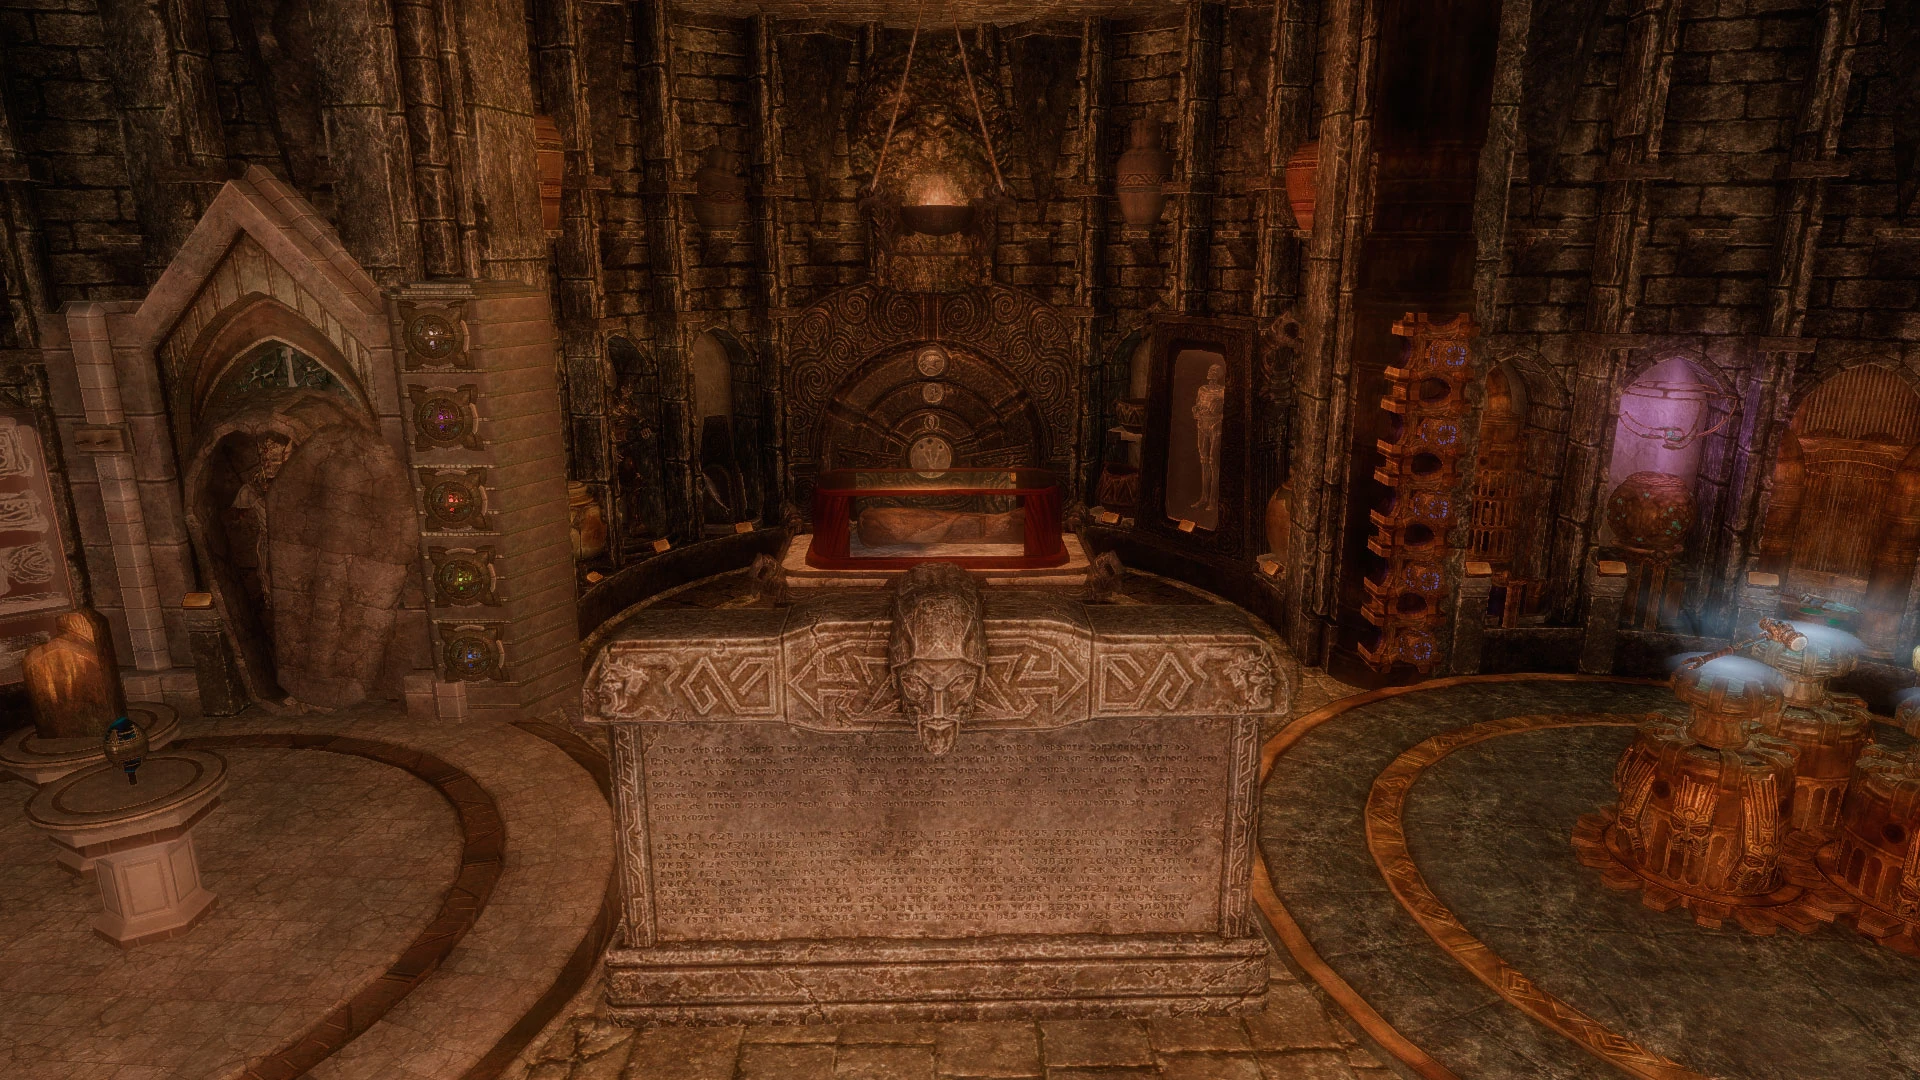
====Lower Right Displays==== |
====Lower Right Displays==== |
||
|- |
|- |
||
| + | |[[File:Hall-of-Lost-Empires-v16-11.jpg|center|350px]] |
||
| ⚫ | |||
|- |
|- |
||
| ⚫ | |||
| − | |Nchardak Display |
||
|- |
|- |
||
| − | | |
+ | |{{Wiki|Nchardak|Nchardak}} Display |
|- |
|- |
||
| + | |{{Wiki|Tower_of_Mzark|Tower of Mzark}} Display |
||
| − | |Bthardmz Display |
||
|- |
|- |
||
| − | | |
+ | |{{Wiki|Bthardamz|Bthardamz}} Display |
|- |
|- |
||
| + | |{{Wiki|Irkngthand|Irkngthand}} Display |
||
| − | |Rkund display |
||
|- |
|- |
||
| + | |{{Wiki|Ruins_of_Rkund|Ruins of Rkund}} display |
||
| − | |Bthalft Display |
||
|- |
|- |
||
| + | |{{Wiki|Ruins_of_Bthalft|Ruins of Bthalft}} Display |
||
| ⚫ | |||
| ⚫ | |||
| − | <br /> |
||
| − | {| class="article-table" style="width: 400px;" border="1" cellpadding="1" cellspacing="1" |
||
|- |
|- |
||
| ⚫ | |||
| − | ! scope="col" | |
||
| + | |- |
||
| − | ====3rd Freestanding Display==== |
||
| + | |'''The Tools of Kagrenac Display''' |
||
|- |
|- |
||
|[[Sunder]] |
|[[Sunder]] |
||
| Line 287: | Line 304: | ||
! scope="col" | |
! scope="col" | |
||
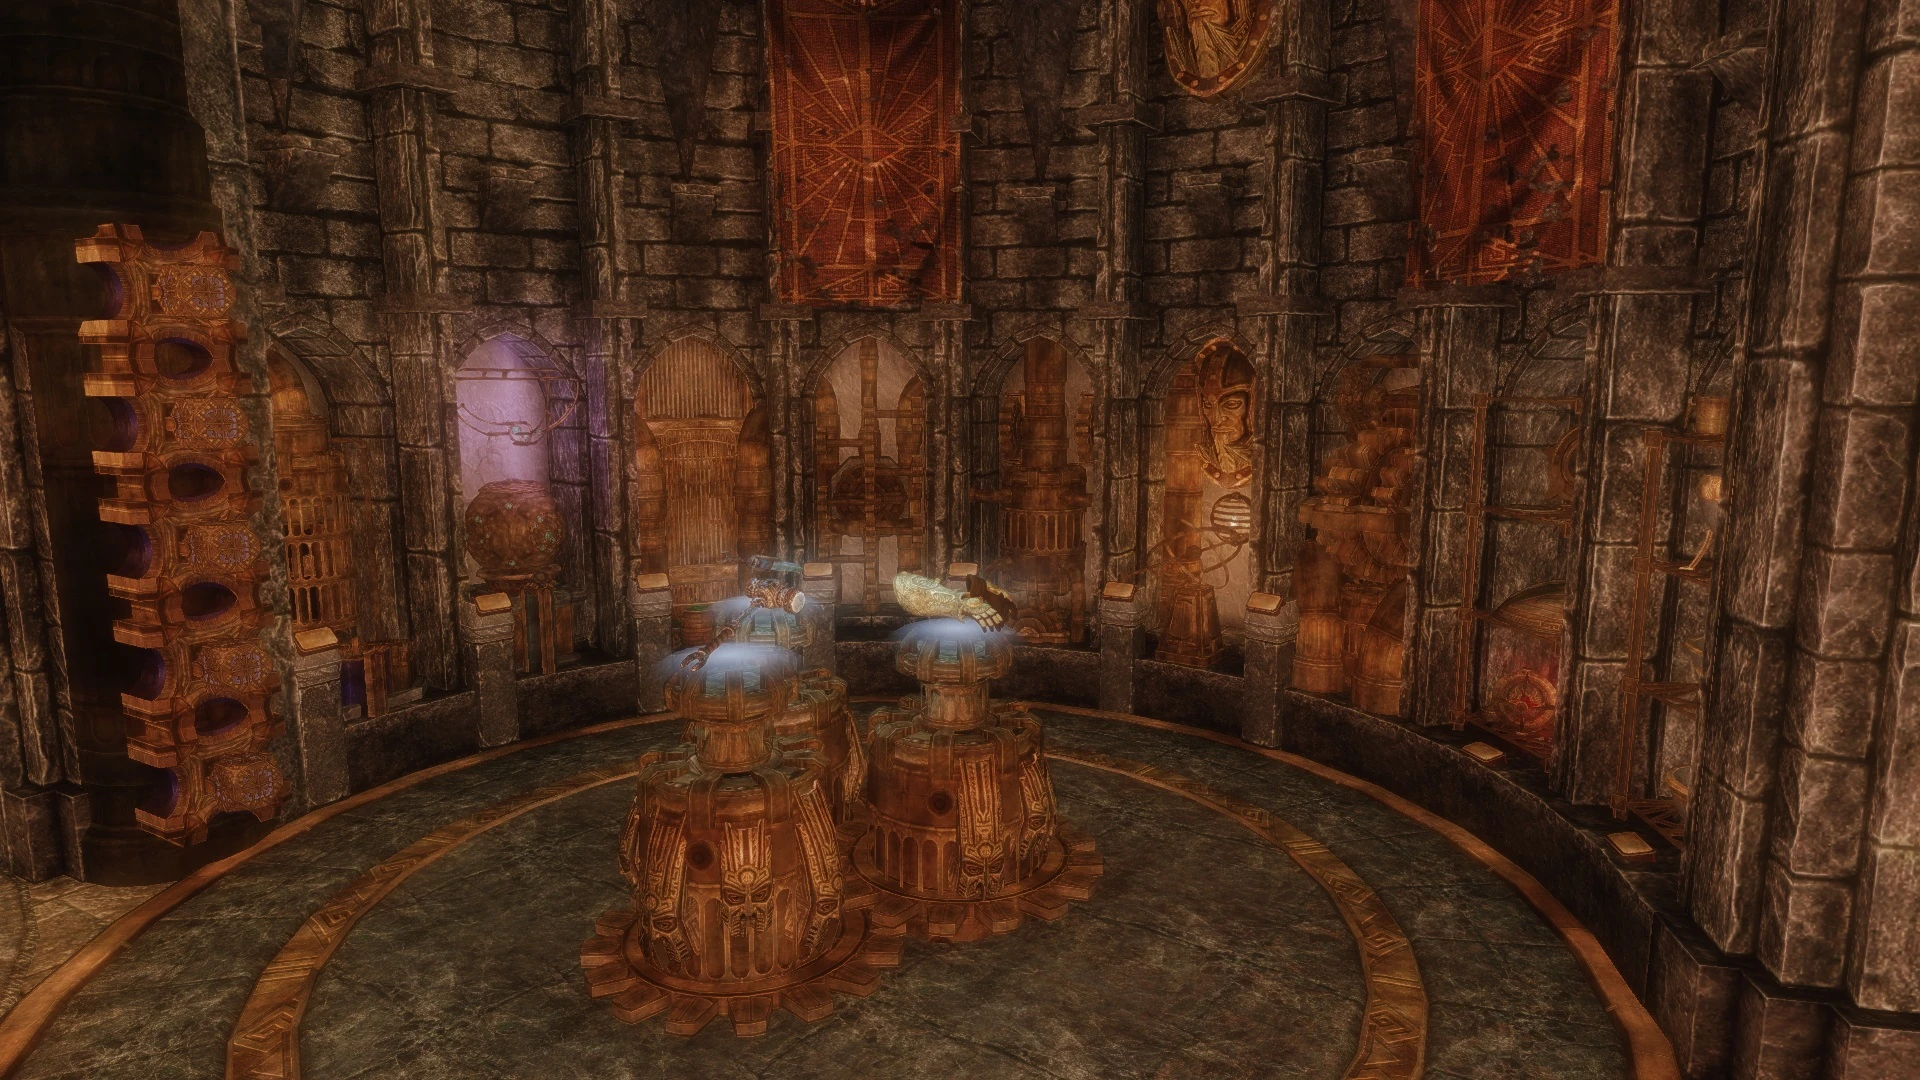
====Aetherial Display==== |
====Aetherial Display==== |
||
| + | |- |
||
| ⚫ | |||
| ⚫ | |||
| + | |- |
||
| + | |[[File:Hall-of-Lost-Empires-v16-7.jpg|center|350px]] |
||
|- |
|- |
||
|[[Aetherial Staff]] |
|[[Aetherial Staff]] |
||
| Line 293: | Line 315: | ||
|- |
|- |
||
|[[Aetherial Crown]] |
|[[Aetherial Crown]] |
||
| ⚫ | |||
| − | <br /> |
||
| − | ====Aetherium Forge Quest Display==== |
||
| ⚫ | |||
| ⚫ | |||
| − | <br /><br /> |
||
| − | {| class="article-table" style="width: 400px;" border="1" cellpadding="1" cellspacing="1" |
||
|- |
|- |
||
| + | |'''Weapons''' |
||
| − | ! scope="col" | |
||
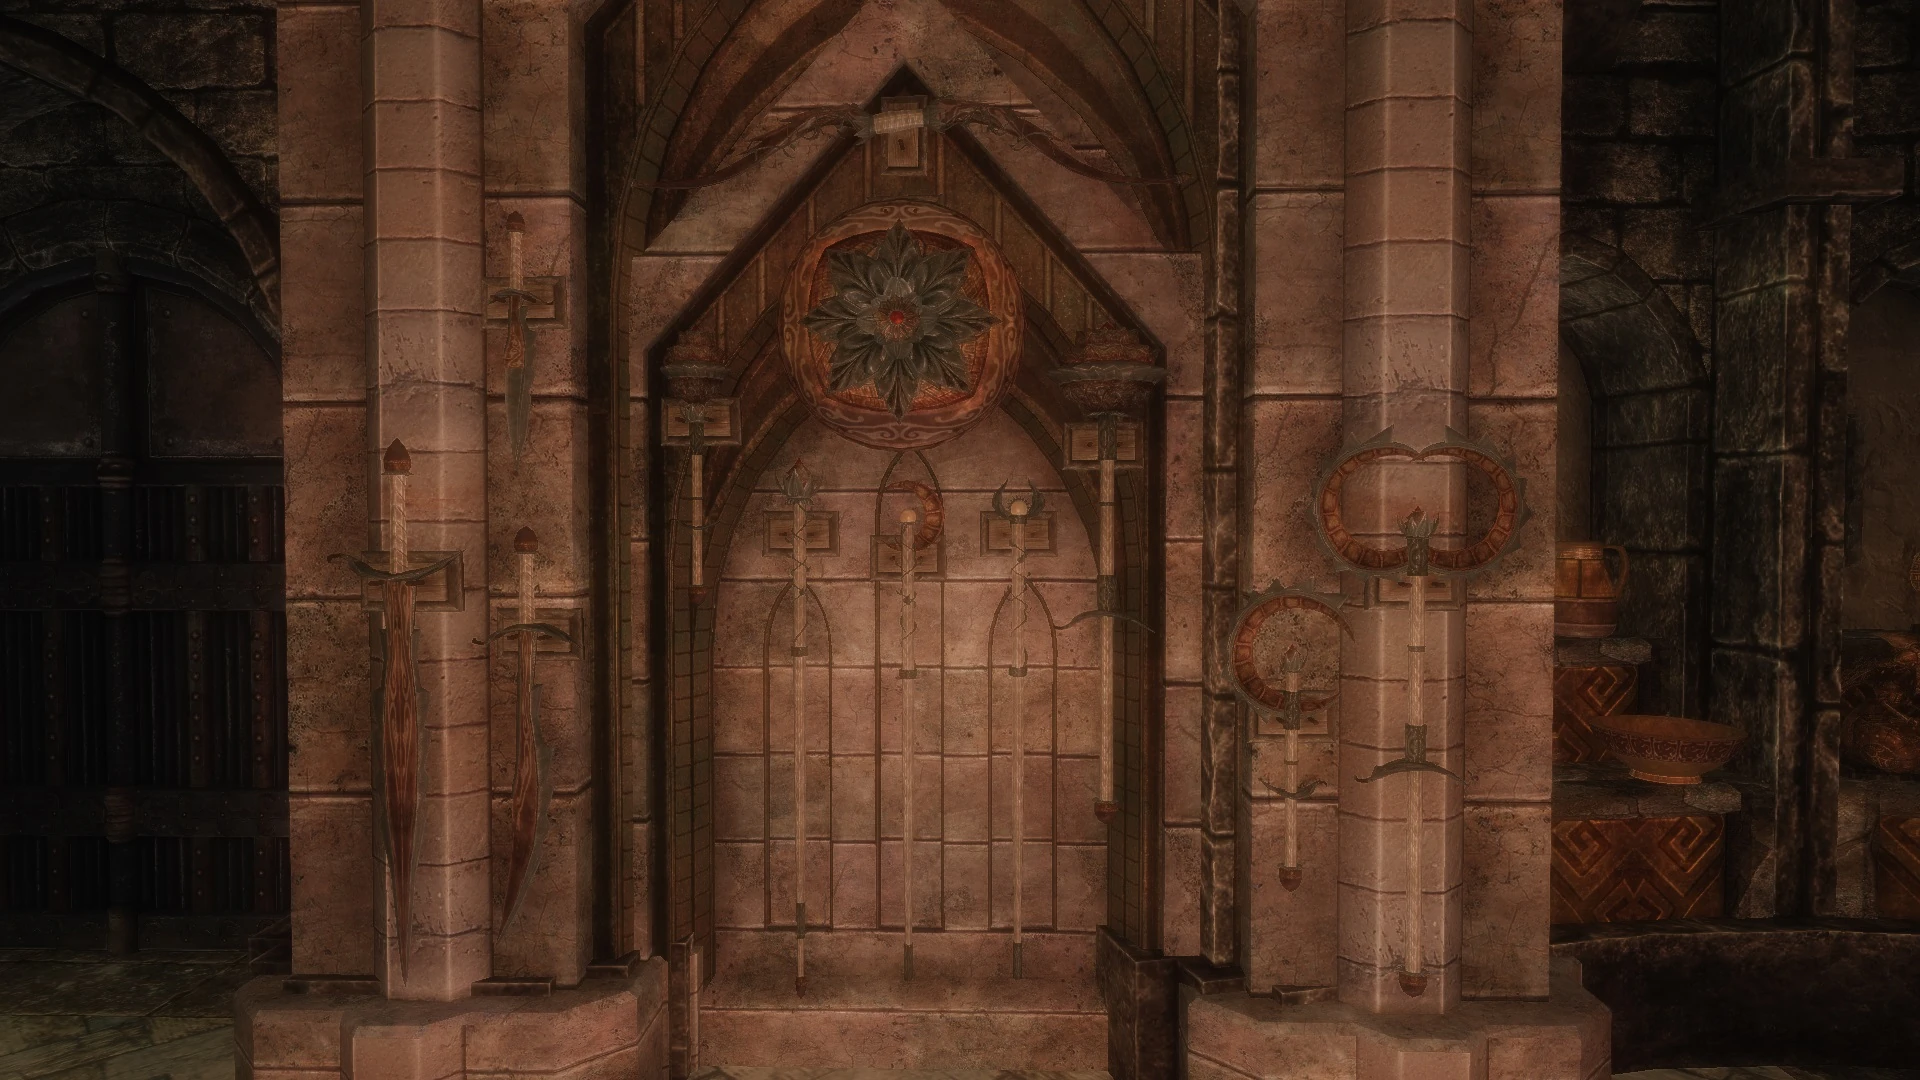
| − | ====Weapons Display==== |
||
|- |
|- |
||
|[[Spider Control Rod]] |
|[[Spider Control Rod]] |
||
| Line 308: | Line 322: | ||
|[[Shismhaz's Conductor]] |
|[[Shismhaz's Conductor]] |
||
|- |
|- |
||
| + | |[[Crossbow and Bolts Schematics]] |
||
| − | |6 schematics of Crossbow upgrades and bolts obtainable through "Ancient Technology" quest |
||
|} |
|} |
||
<br /> |
<br /> |
||
| Line 325: | Line 339: | ||
<div class="mw-customtoggle-Spoiler_1 wikia-menu-button">Show Spoiler</div> |
<div class="mw-customtoggle-Spoiler_1 wikia-menu-button">Show Spoiler</div> |
||
| − | <div id="mw-customcollapsible-Spoiler_1" class="wikitable mw-collapsible mw-collapsed" |
+ | <div id="mw-customcollapsible-Spoiler_1" class="wikitable mw-collapsible mw-collapsed"> |
| + | <onlyinclude> |
||
| + | |||
| + | |||
| + | </onlyinclude> |
||
| + | </div> |
||
| + | |||
| + | |||
| + | {{Navbox gallery}} |
||
| + | |||
| + | [[es:Salón de los Imperios Perdidos]] |
||
| + | [[ru:Зал Забытых Империй]] |
||
[[Category:Gallery]] |
[[Category:Gallery]] |
||
Revision as of 23:10, 8 April 2020
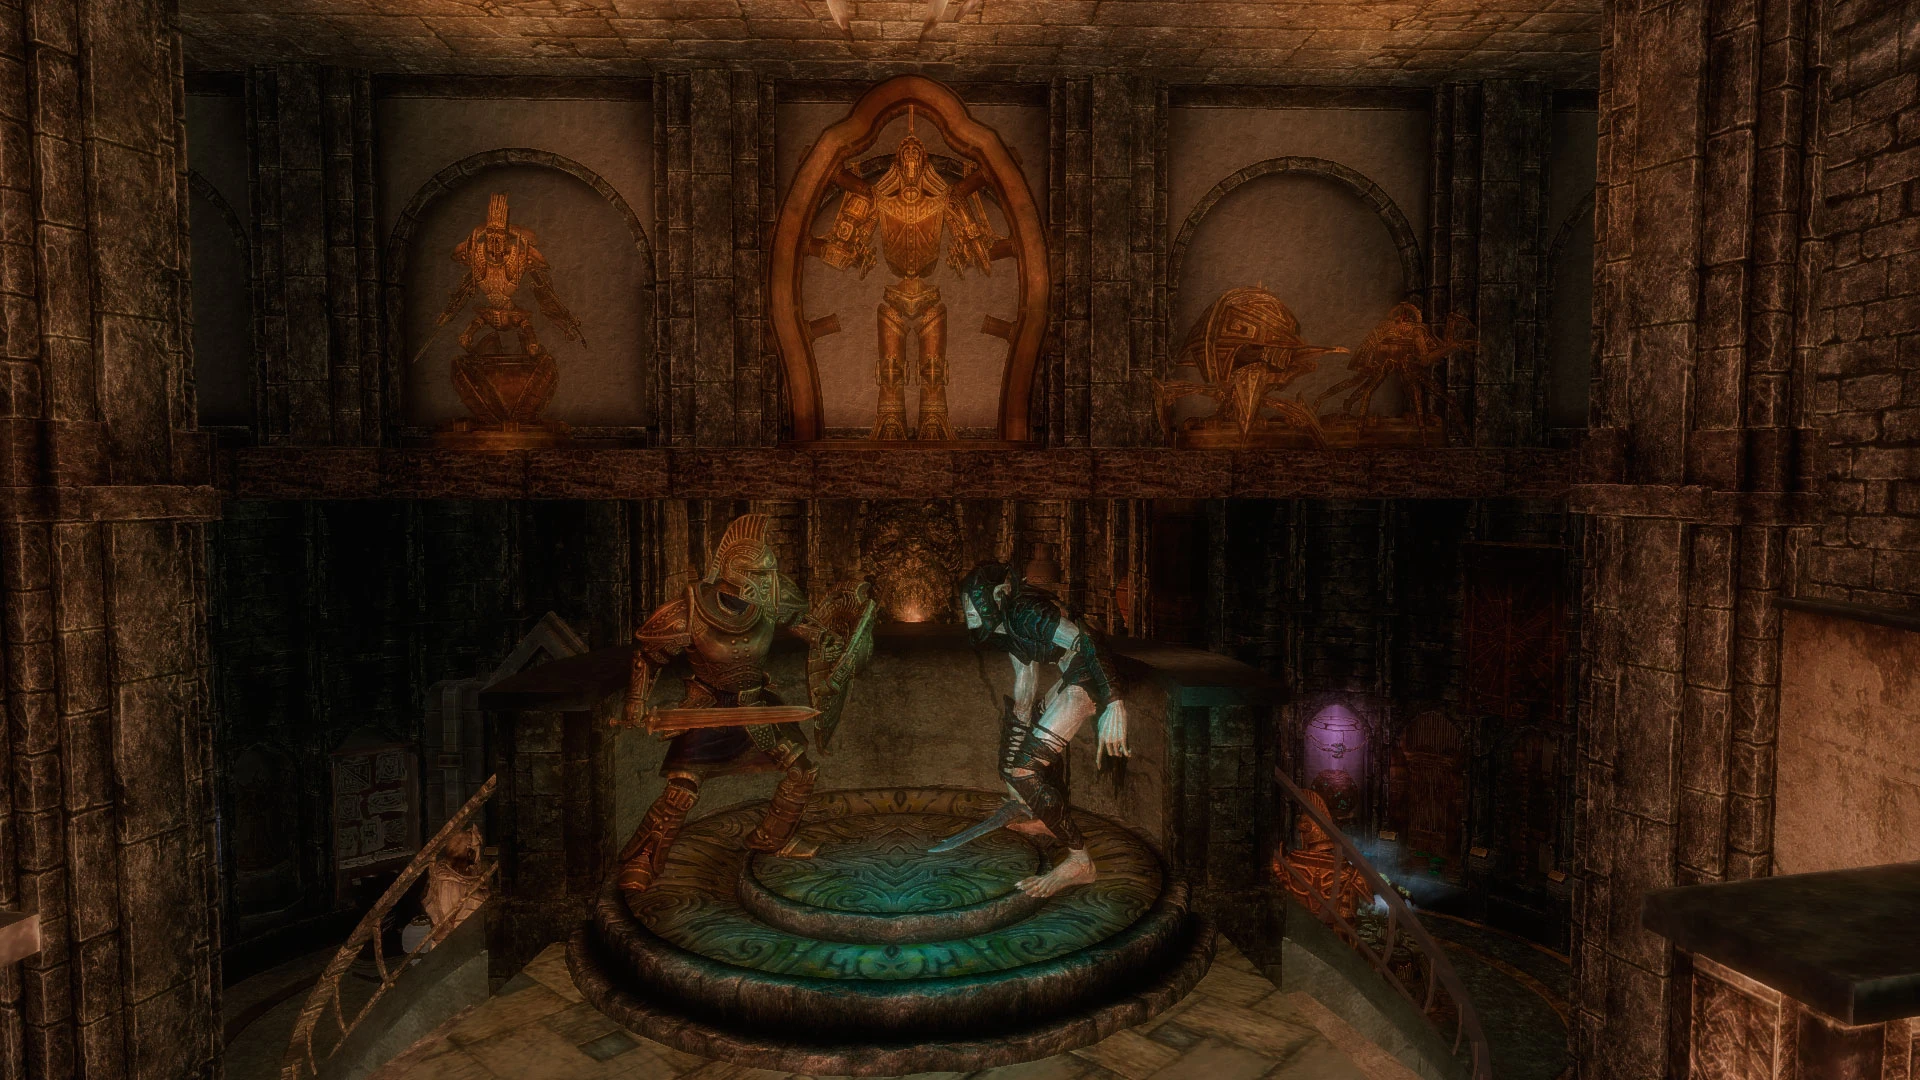
The Hall of Lost Empires houses displays that are associated with the Ancient Nords, the Dwemer, and the Falmer. If you have the mod Aetherium Armor and Weapons installed, the Aetherium Weapons and Armor Compilation Room room will be added to the Hall of Lost Empires.
Below is a list of items that can be displayed in this room, starting from the left of the door.
Upper level displays


Planetarium Cubes |
|---|
| Sky Cube |
| Planetary Cube |
| Constellation Cube |
| Aetherium Cube |
| Storm Cube |
Upper Right Displays |
|---|
| The Tonal Staff of Karagas and Gem Socket Tool Kit |
| Attunement Sphere |
| Visage of Mzund |
| Blank Lexicon (replica) |
| Kagrumez Resonance Gems |
| Ash Extractor |
| Dwemer Puzzle Cube |
| Focusing Crystal (replica) |
| Essence Extractor(replica) |
| Clutterbane (requires Skyrim Immersive Creatures) |
| Stormforge |
| Mhaznier |
| Dwemer Pneuma-Trap |
| Nullsprocket (requires Skyrim Immersive Creatures) |


Wall Display |
|---|
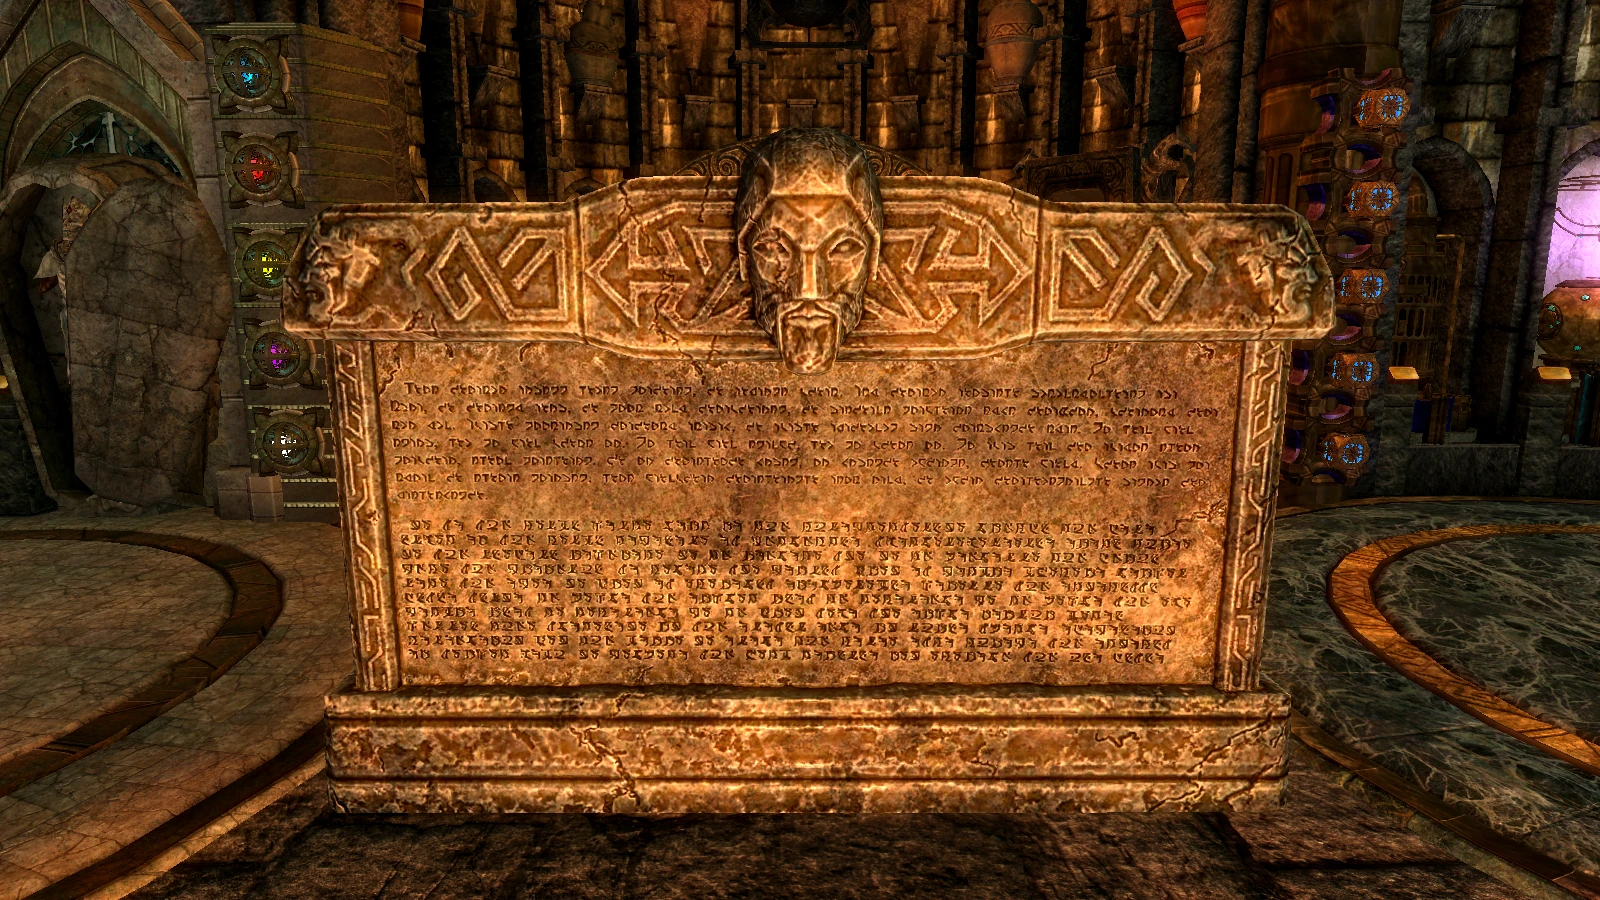 |
| Arkngthamz |
Dwemer Automatons |
|---|
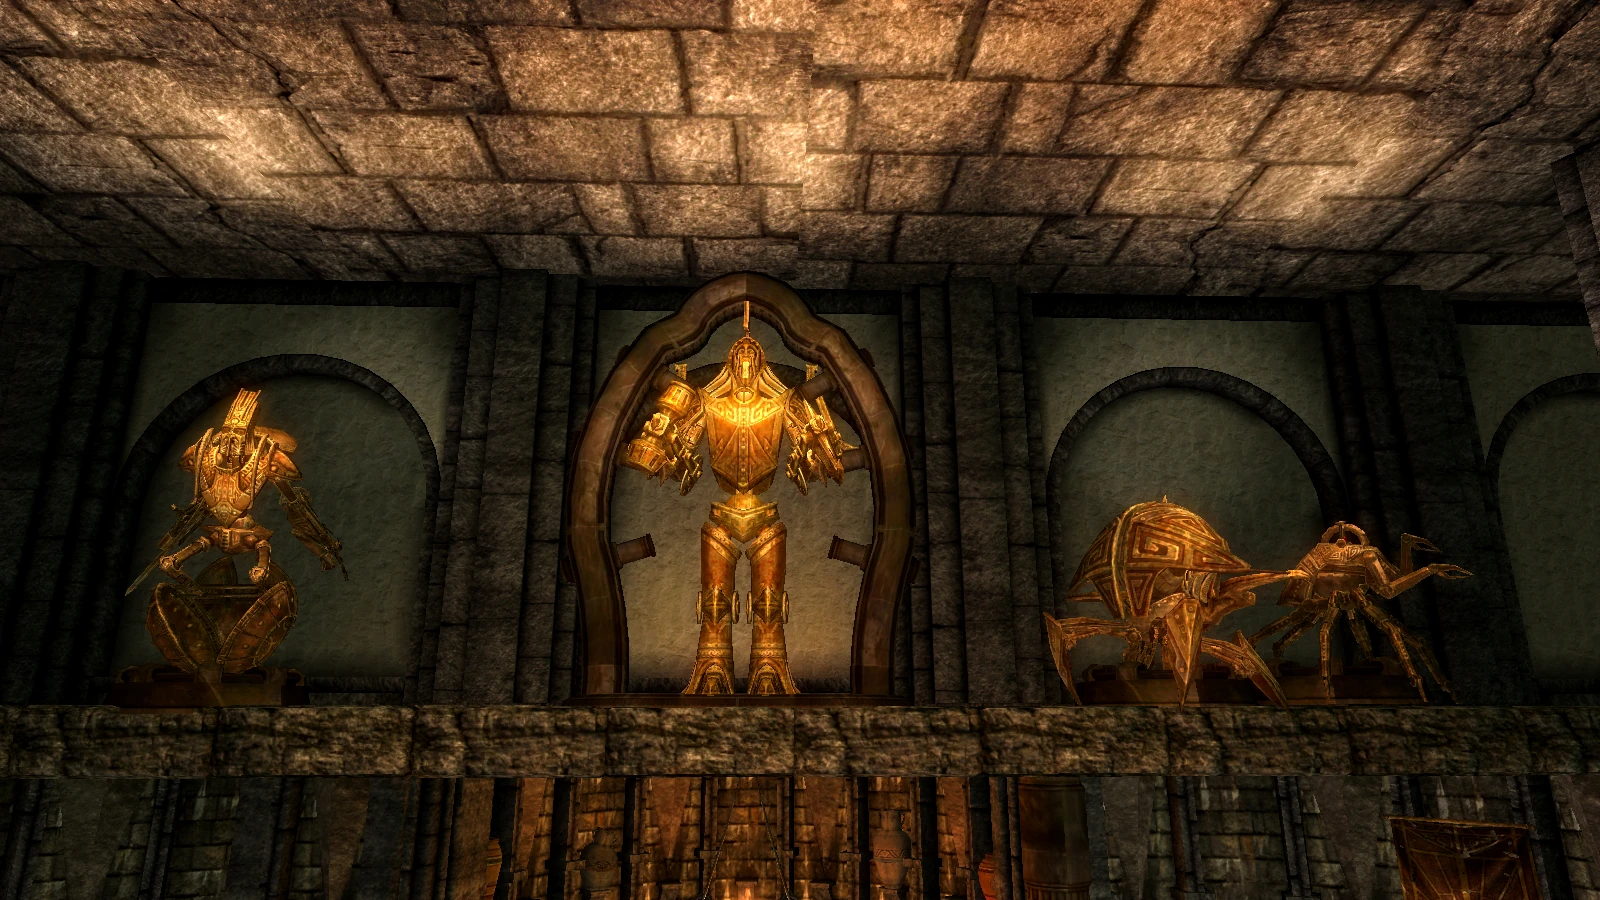 |
| Sphere: Avanchnzel |
| Centurion: Blackreach |
| Ballista: Fahlbtharz |
| Spider: Nchuand-Zel |
Lower level displays
Lower Left Displays |
|---|
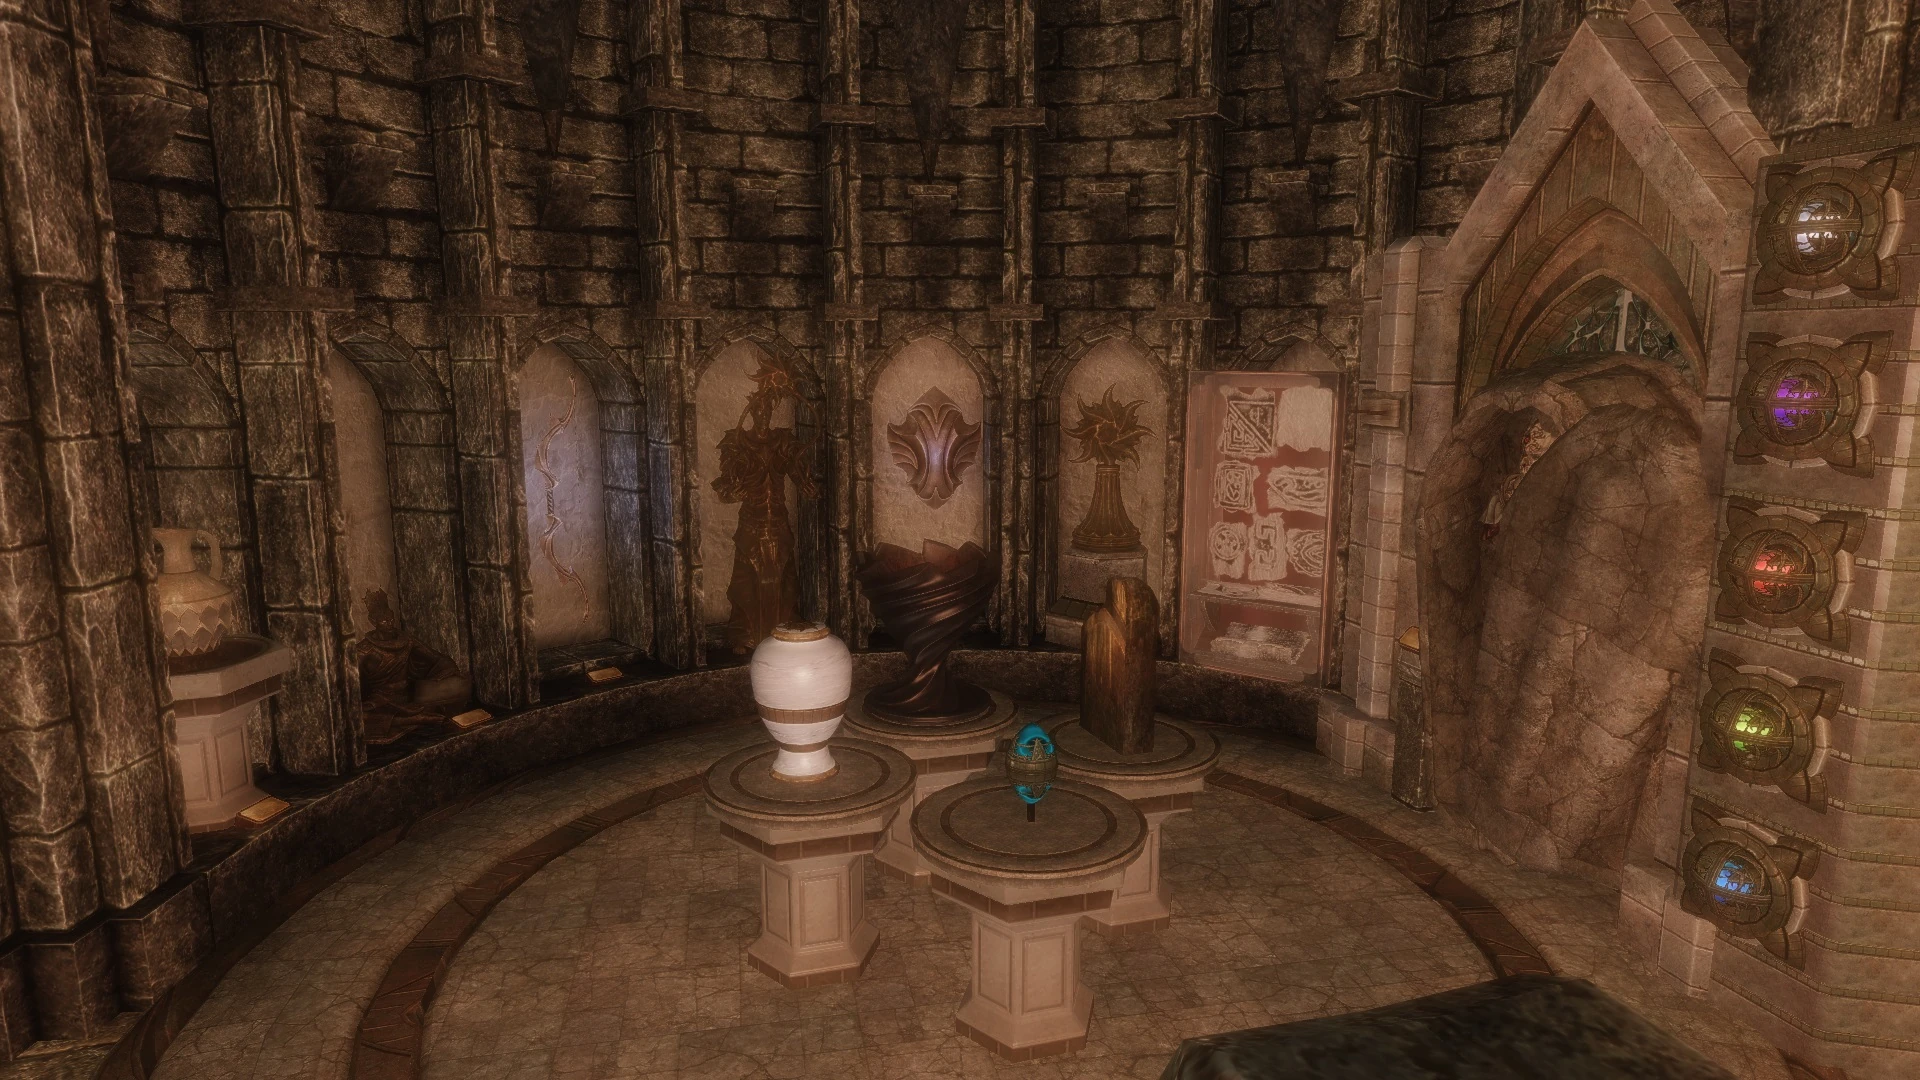 |
| Harmonic Touchstone |
| Snow Elf Urn |
| Phynaster's Cup |
| Solid Bronze Tablet |
| Initiate's Ewer |
| Falmer Statue of Irkngthand |
| Auriel's Bow |
| Statue of Auriel |
| Auriel's Shield |
| Shrine of Auriel (activation grants Auriel's blessing) |
| Calcelmo’s Rubbings |
| Spear of the Snow Prince |
| Remains of the Snow Prince |
| Paragon Displays |
| Amethyst Paragon |
| Diamond Paragon |
| Emerald Paragon |
| Ruby Paragon |
| Sapphire Paragon |
Lower Mid Displays |
|---|
 |
| Pottery (Ustengrav) |
| Draugr Statue (Dead Men's Respite) |
| Puzzle Pillar (Saarthal) |
| Puzzle Door (Korvanjund) |
| Pottery from (Shroud Hearth Barrow) |
| Ancient Remains (Ysgramor’s tomb) |
| Stone Bust (Angarvunde) |
| Urn (Volskygge) |
| Mummy (Forelhost) |
Lower Right Displays |
|---|
 |
| 5 Control Cubes from Nchardak |
| Nchardak Display |
| Tower of Mzark Display |
| Bthardamz Display |
| Irkngthand Display |
| Ruins of Rkund display |
| Ruins of Bthalft Display |
| Alftand Display |
| The Tools of Kagrenac Display |
| Sunder |
| Wraithguard |
| Keening |
Aetherial Display |
|---|
| The display activates after completing the quest Lost to the Ages.
If the Aetherium Armor and Weapons Compilation mod is installed, there will instead be a door here leading to the Aetherium Weapons and Armor Compilation Room and the quest display will be moved inside the Aetherium Collection room. |
 |
| Aetherial Staff |
| Aetherial Shield |
| Aetherial Crown |
| Weapons |
| Spider Control Rod |
| Shismhaz's Conductor |
| Crossbow and Bolts Schematics |
Dwemer Wares (out of date) |
|---|
| Mzinchaleft |
| Mzulft |
SPOILER list - How to get all items
| ||||||||||||||||||||||||||||||||||||||||||