No edit summary |
No edit summary |
||
| Line 477: | Line 477: | ||
! scope="col" | |
! scope="col" | |
||
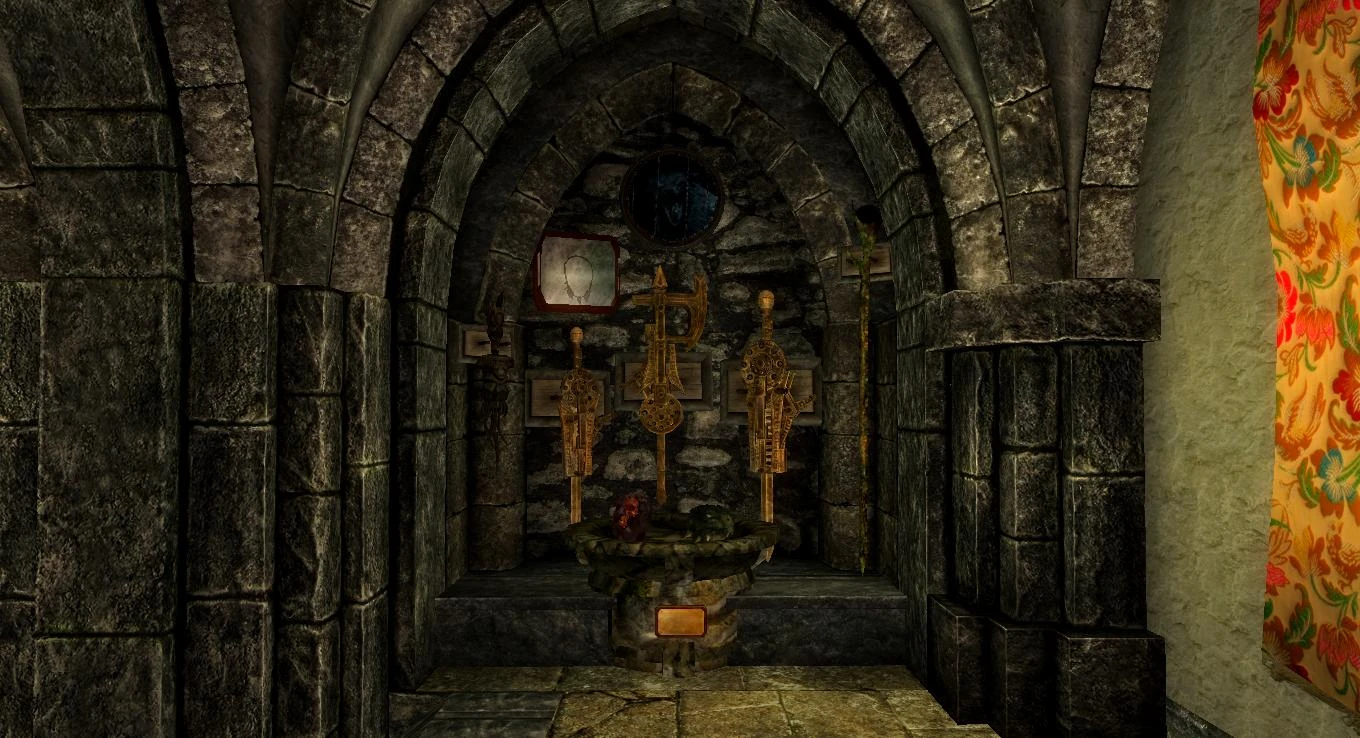
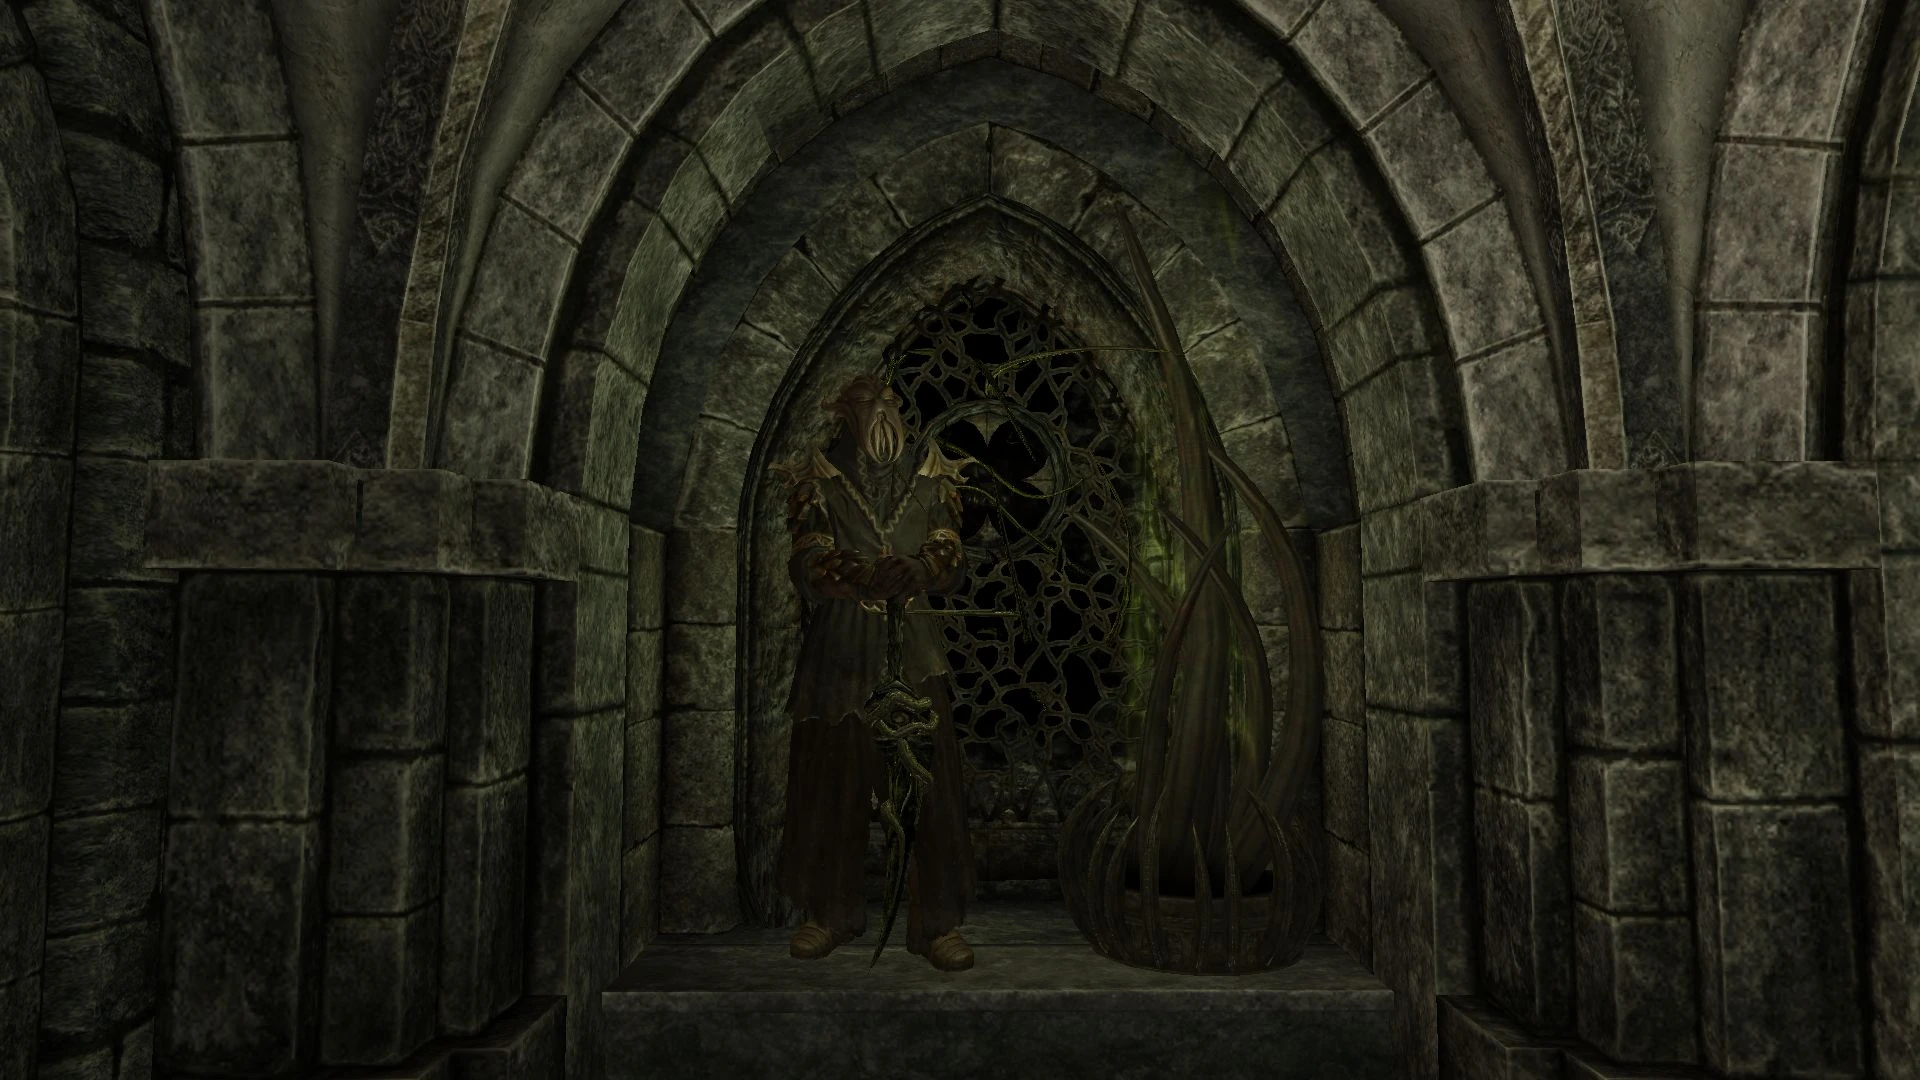
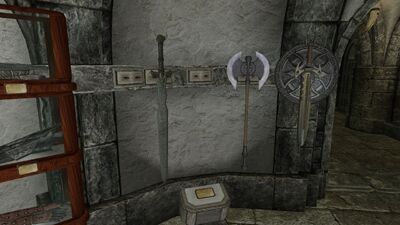
===Staff Displays=== |
===Staff Displays=== |
||
| + | |- |
||
| + | |[[Apotheosis]] (requires Legacy Special Edition and {{Abb|AIM}}) |
||
|- |
|- |
||
|[[Dragon Priest Staff (Wall of Lightning)]] |
|[[Dragon Priest Staff (Wall of Lightning)]] |
||
Revision as of 07:23, 2 July 2018
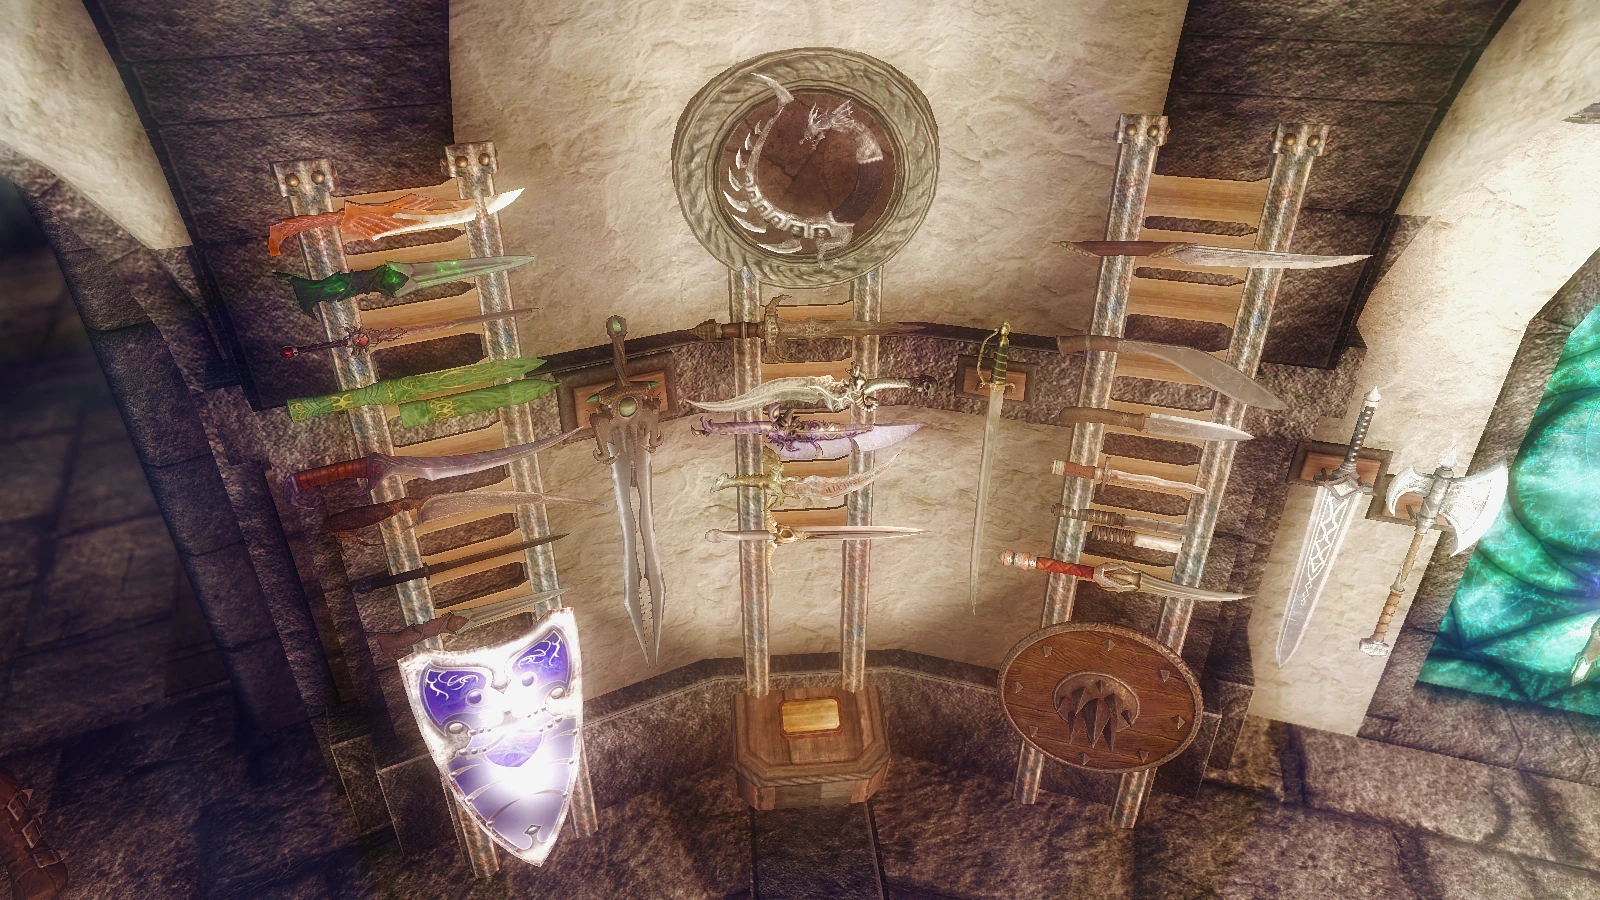
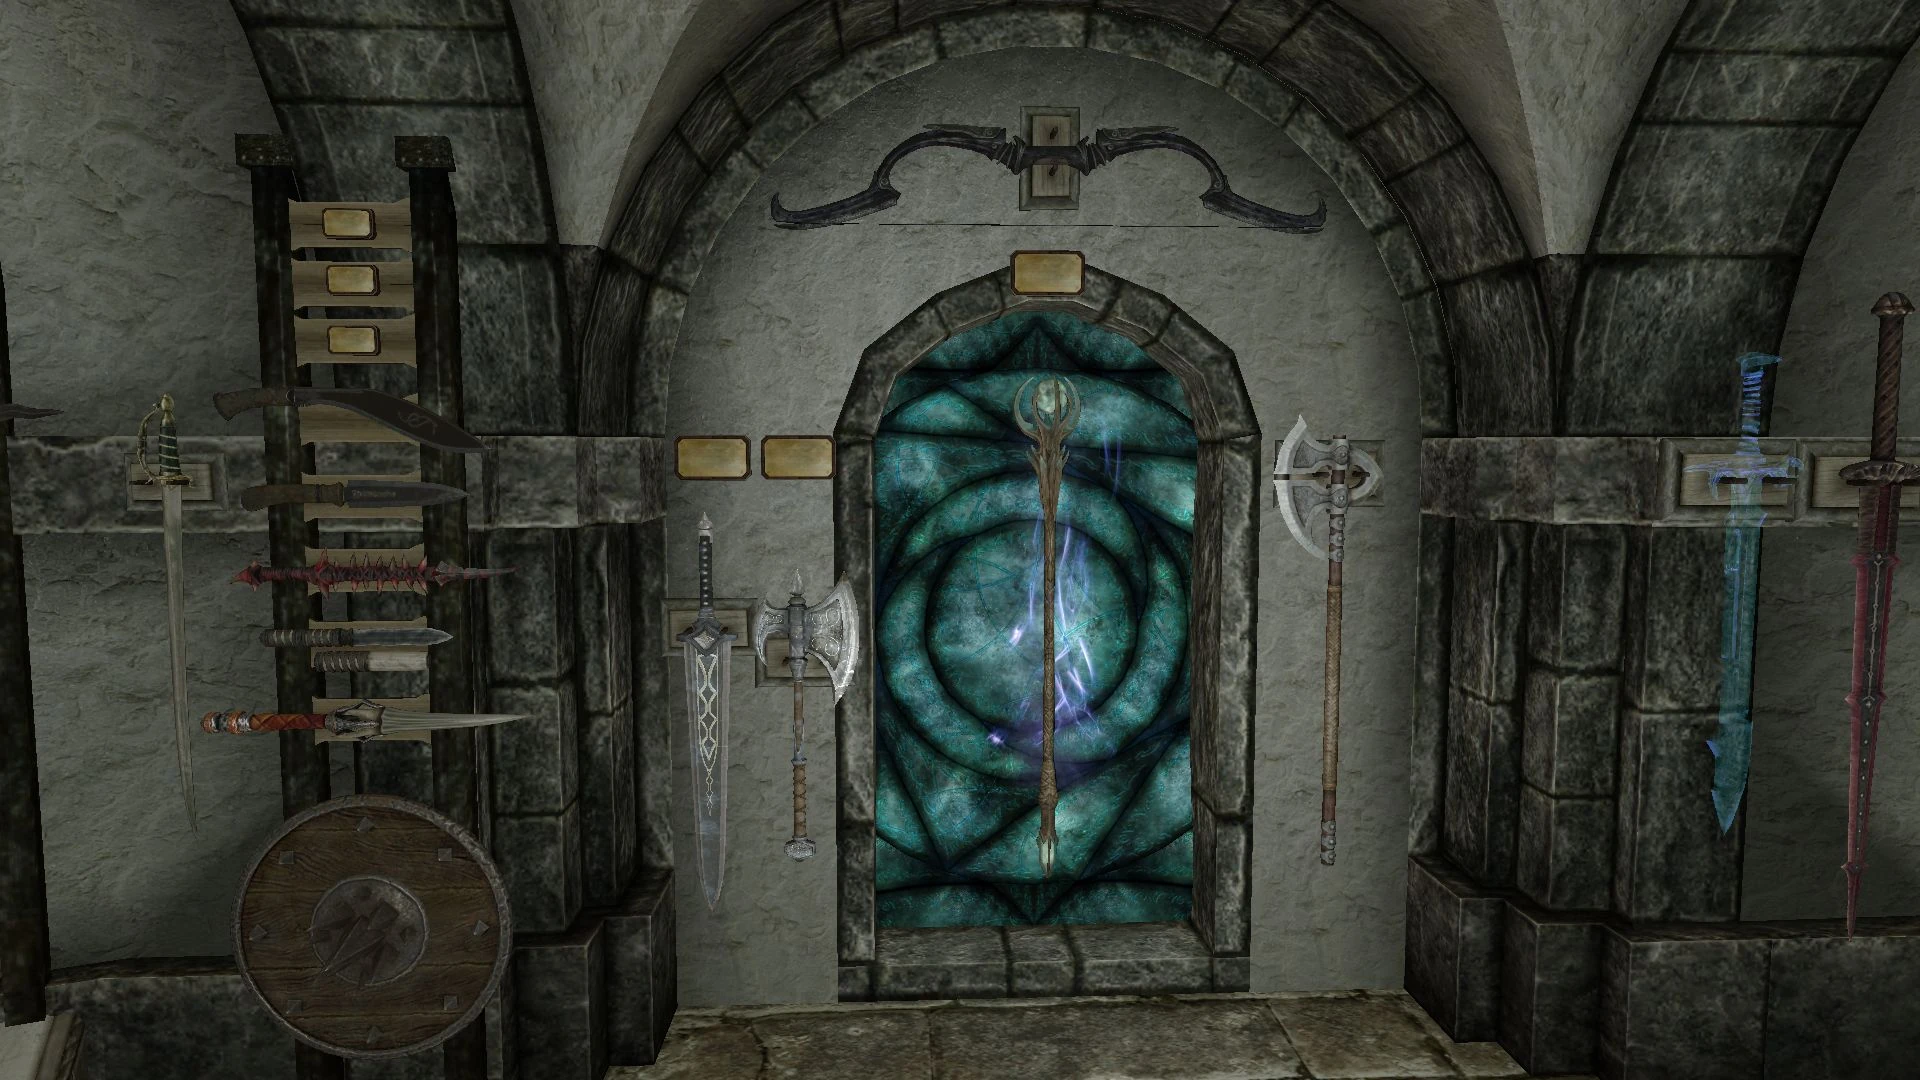
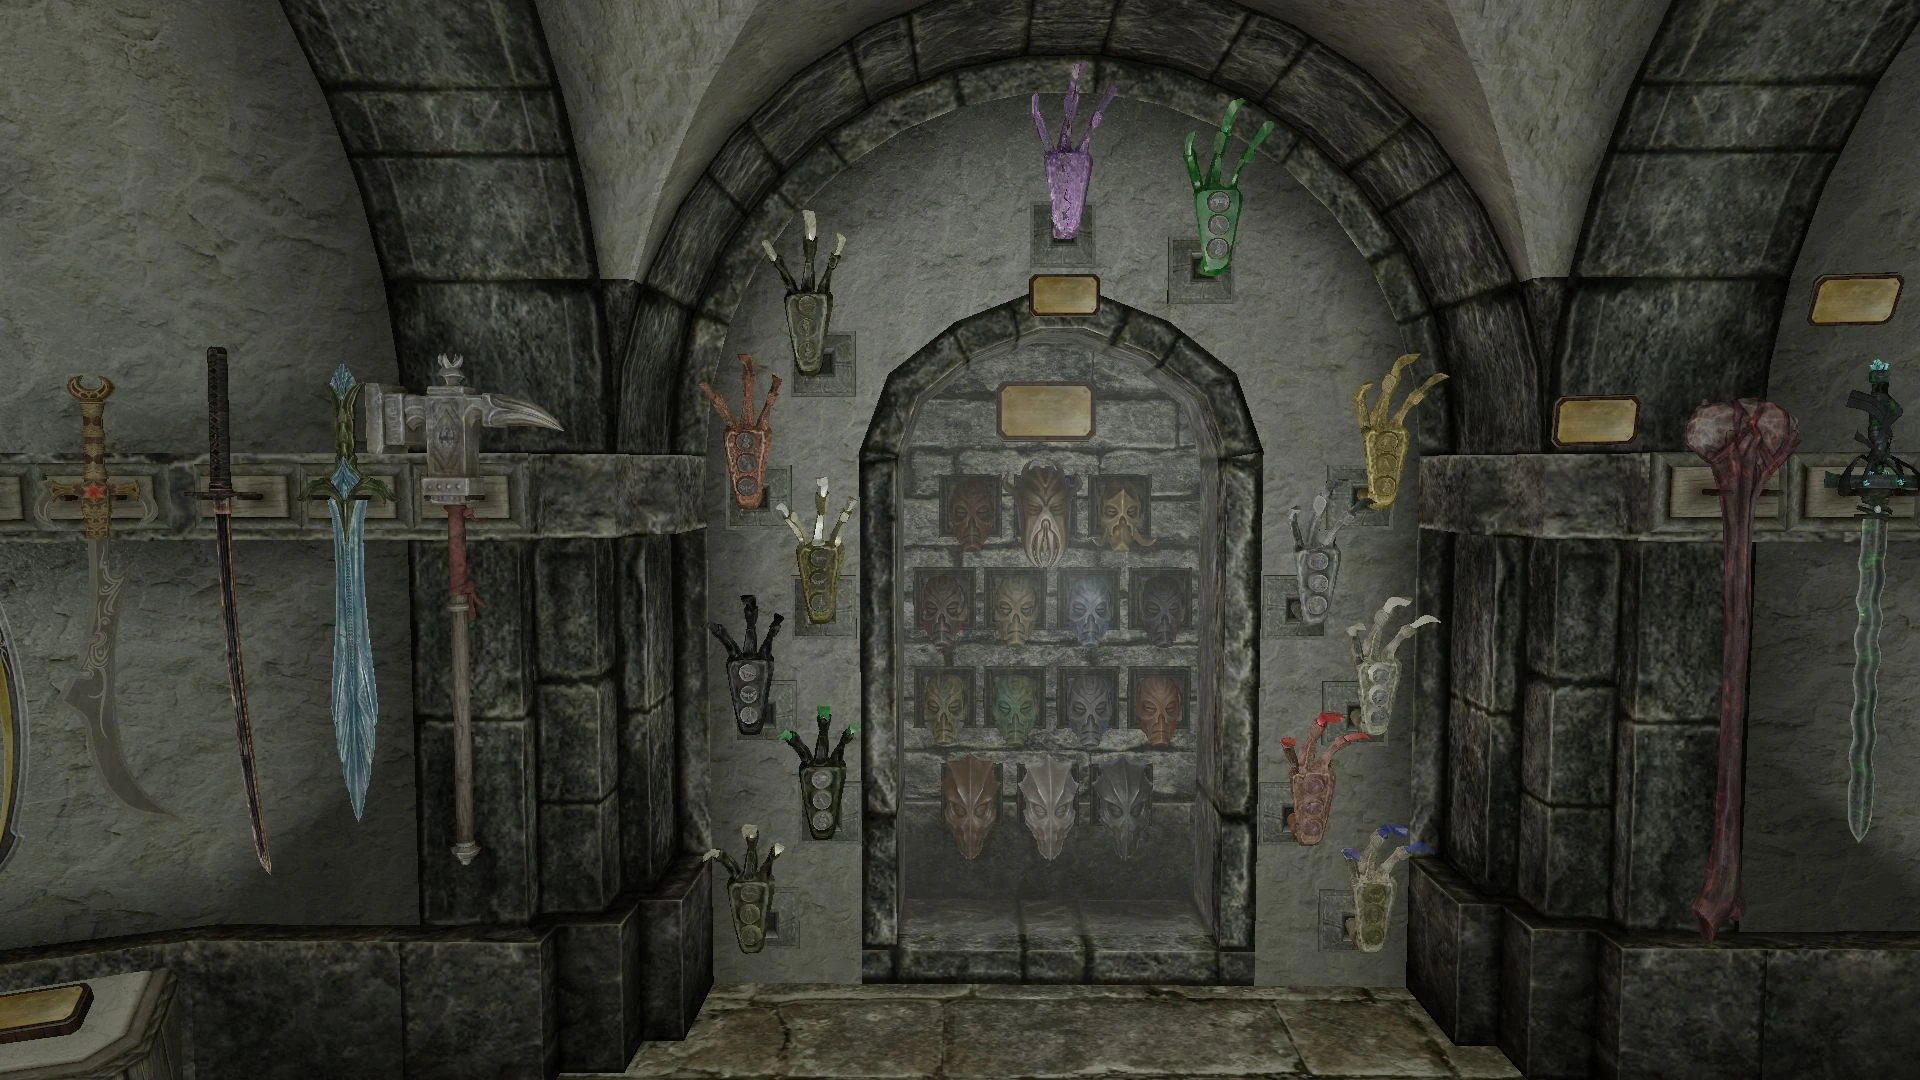
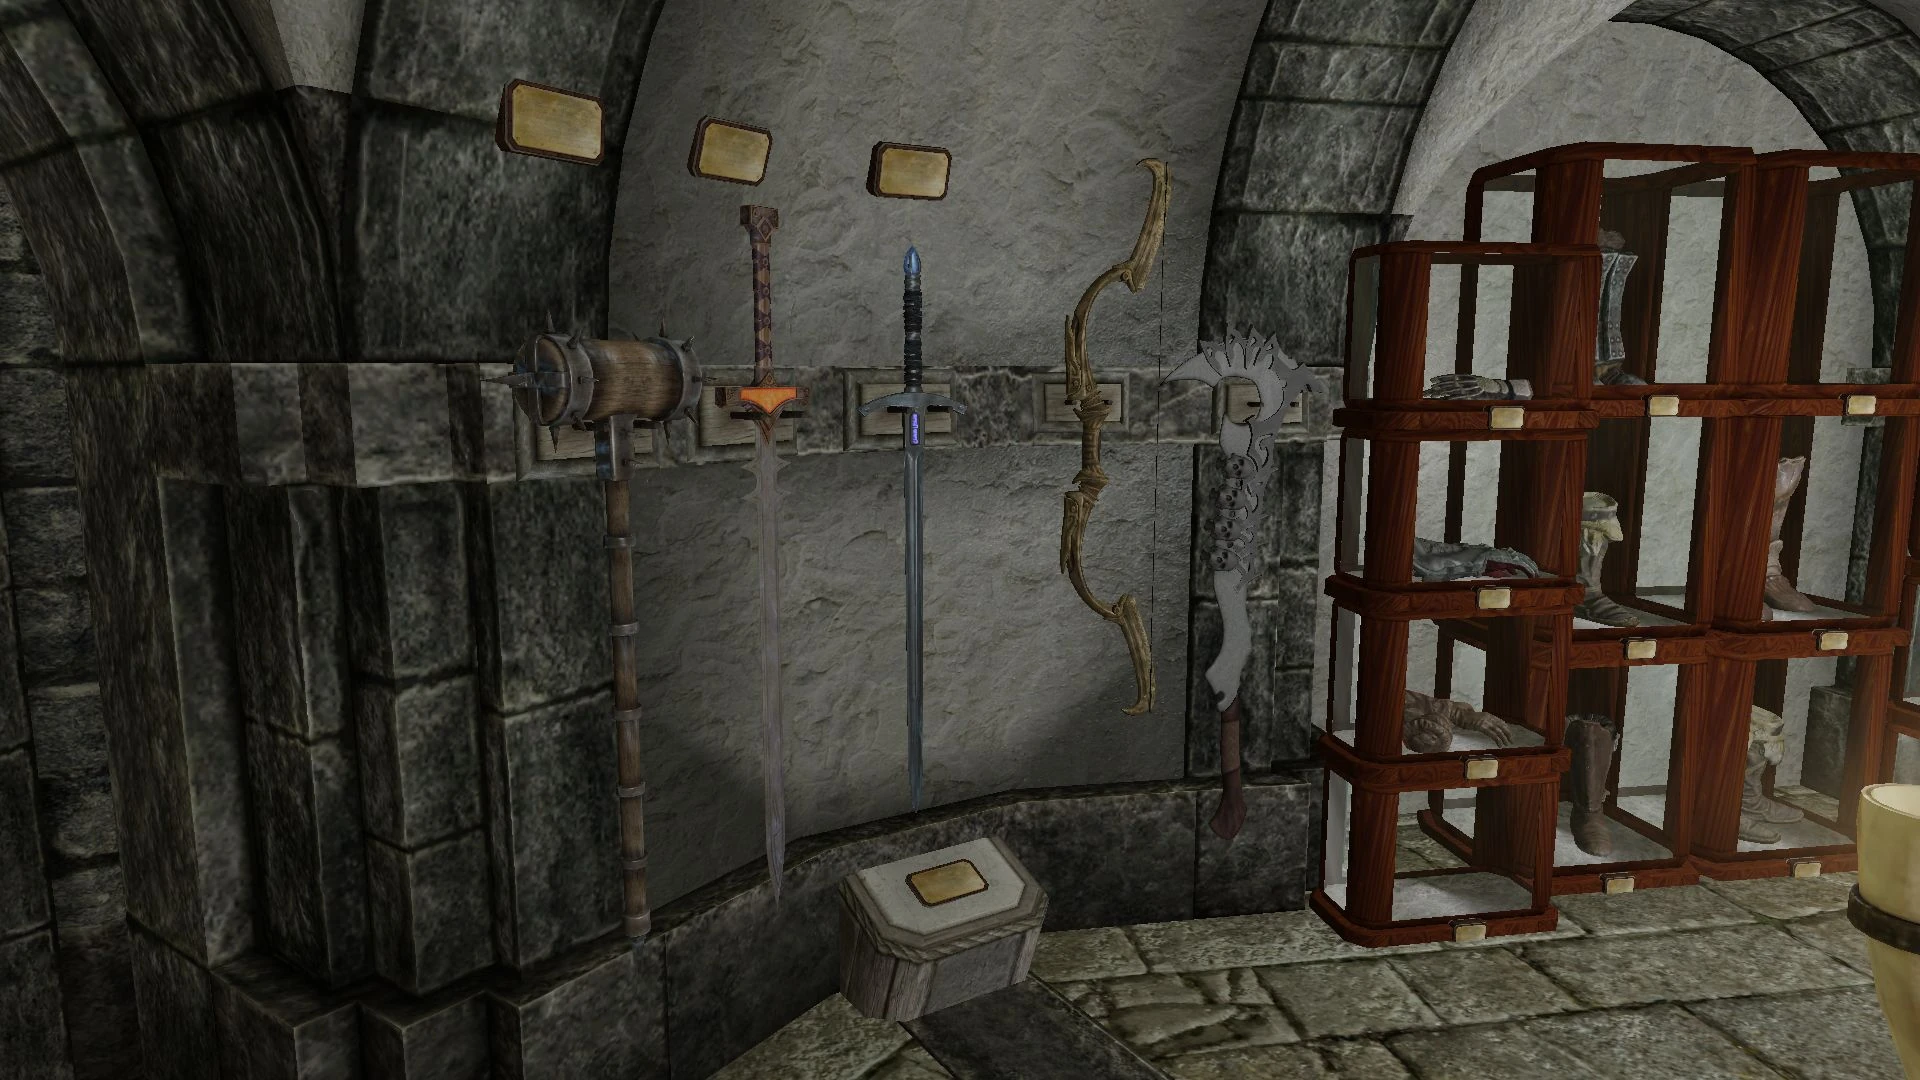
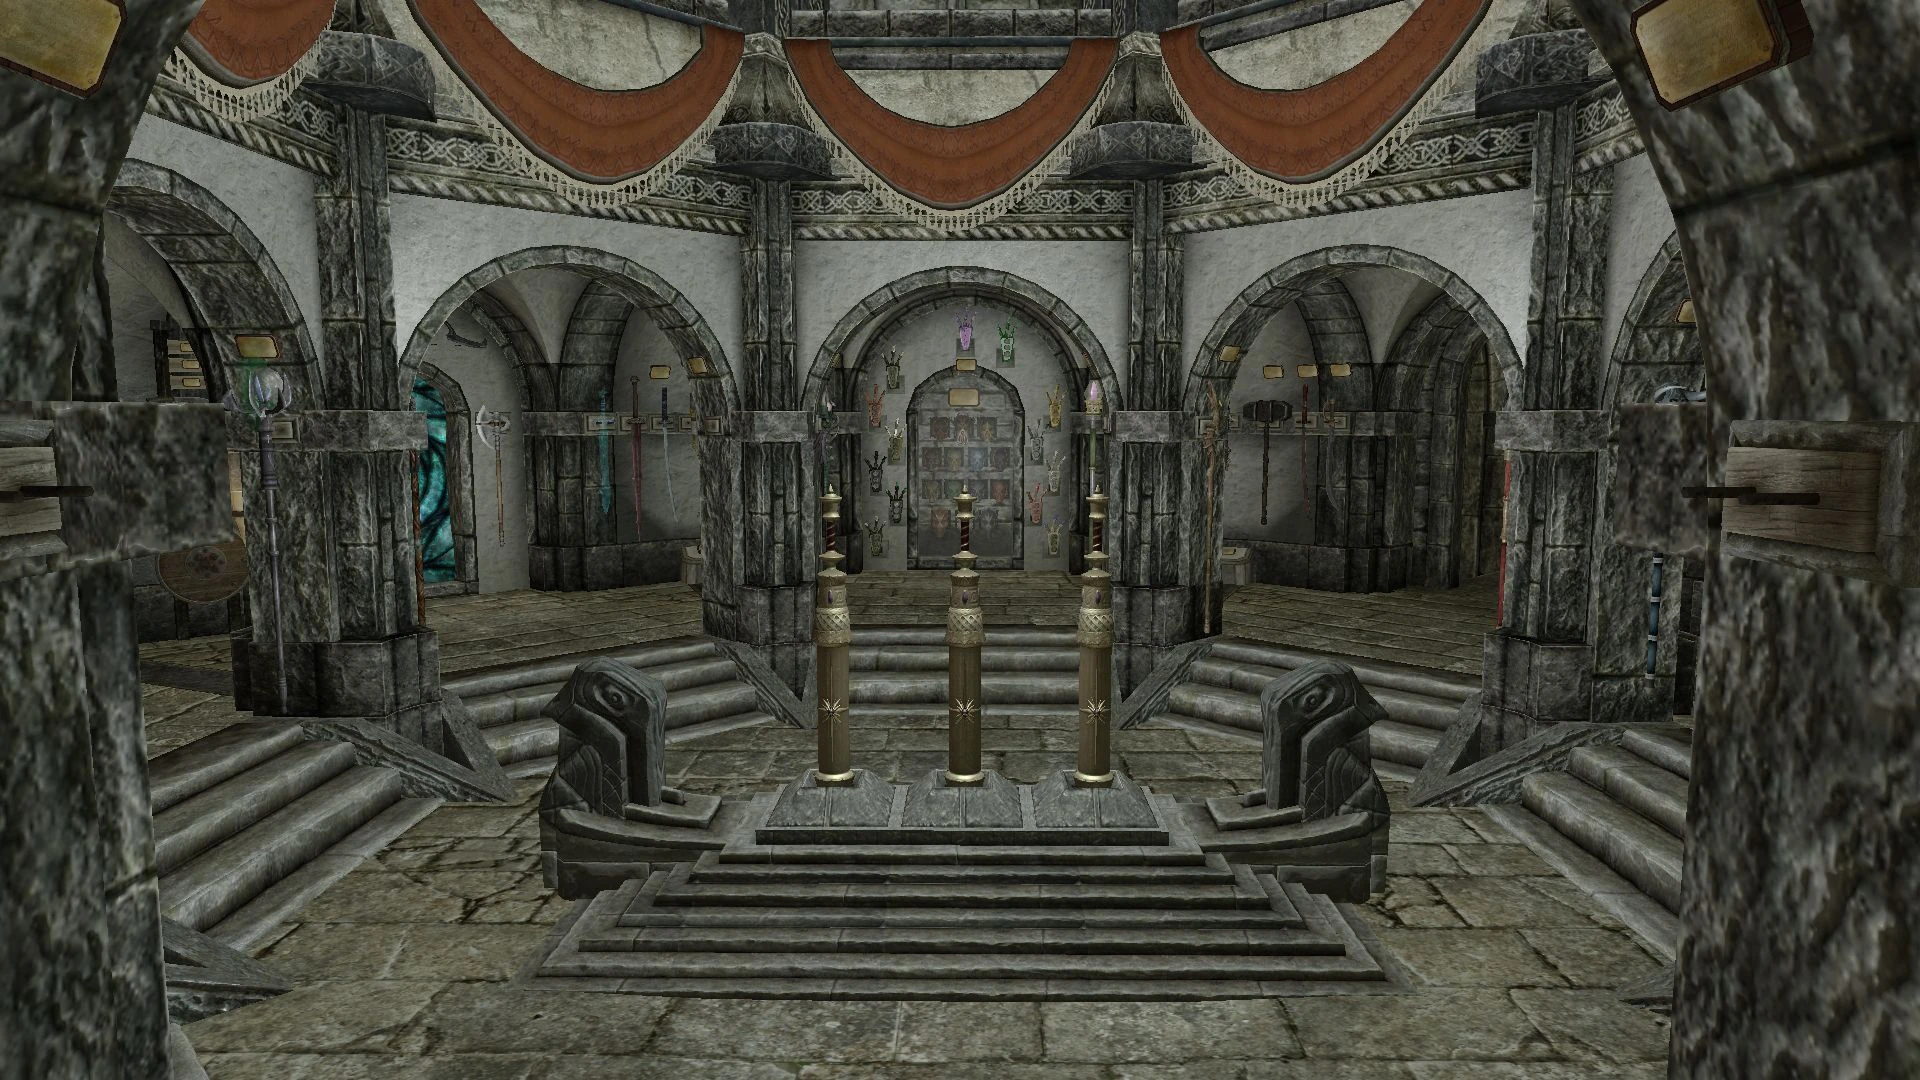
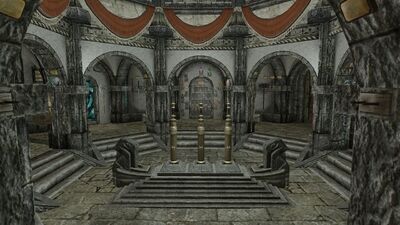
Hall of Heroes is a large circular room immediately in front of you when you enter the museum at the end of the Entrance corridor. Below is a list of all the relics that can be displayed here. They are listed starting from the left as you enter the hall.
Outer Ring
1st Weapons Display |
|---|
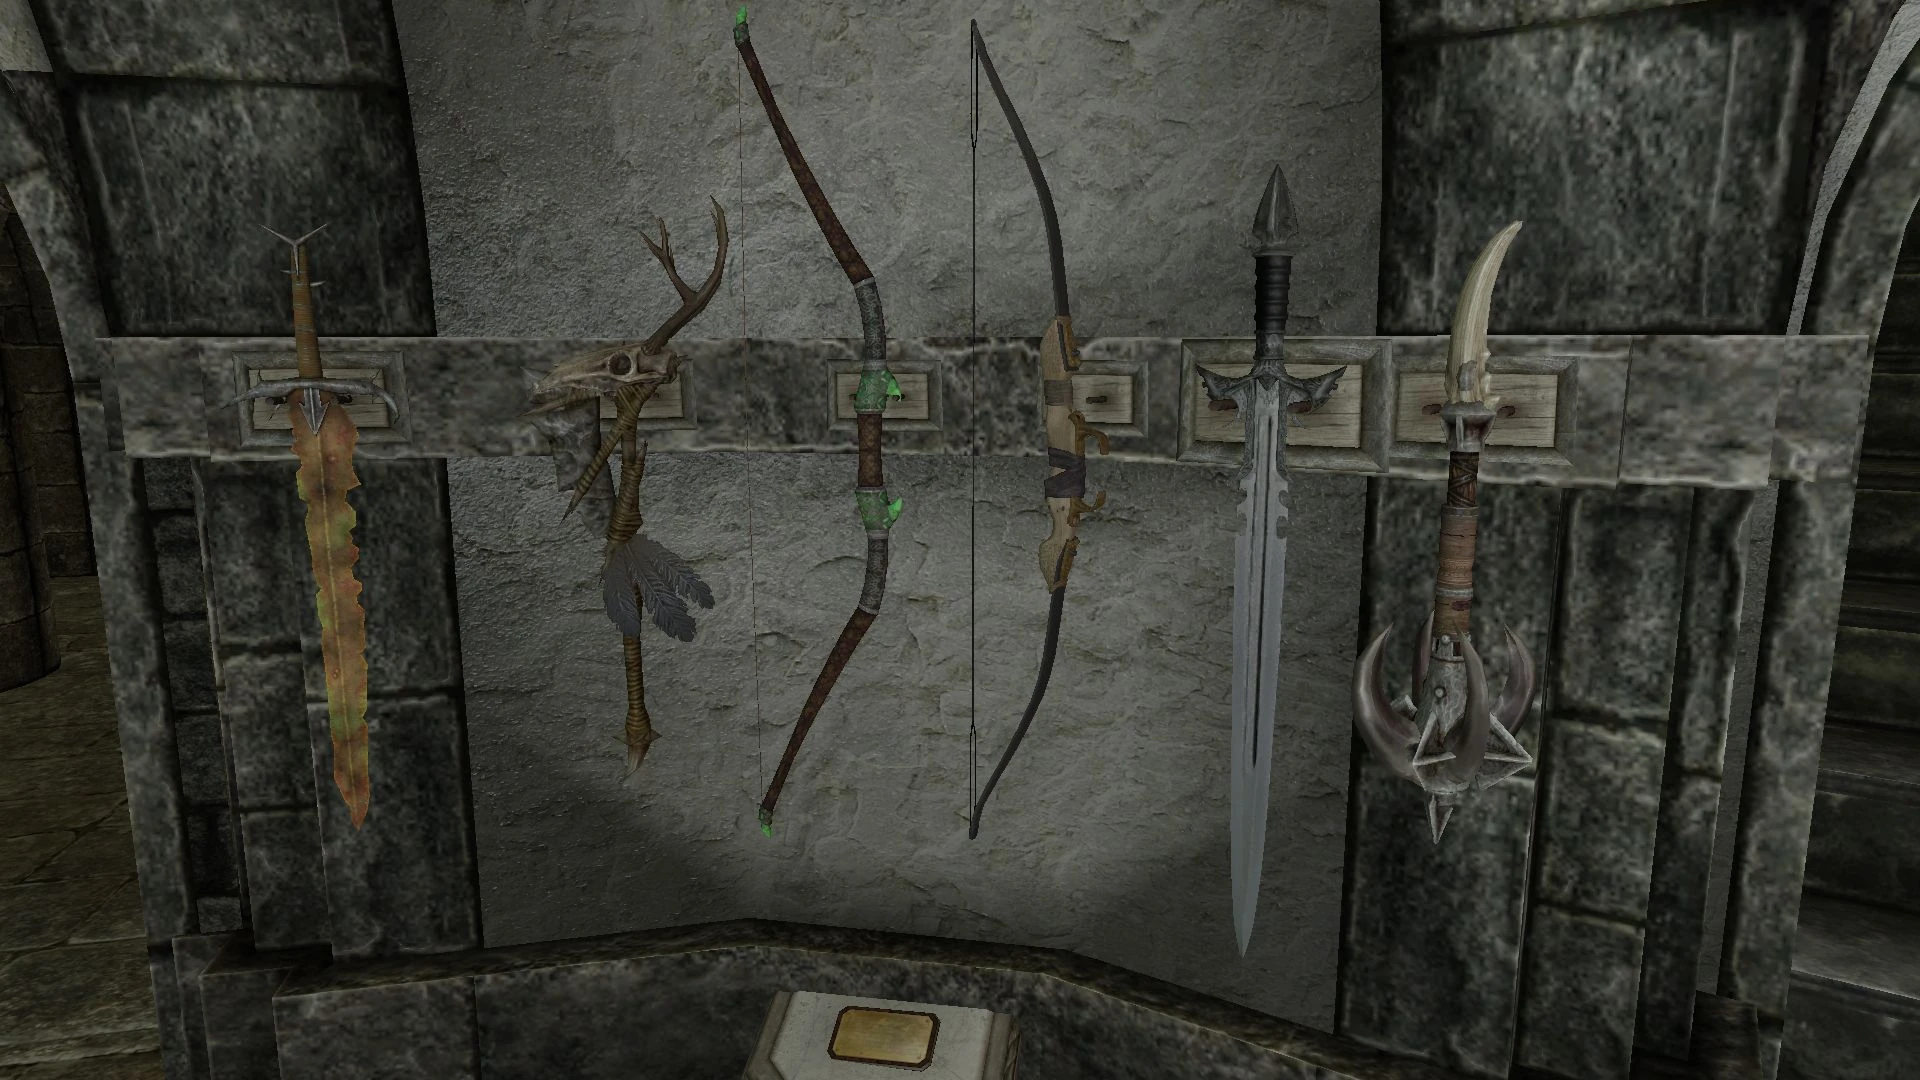 |
| Thrassian Plaguesword |
| Briarheart Geis |
| Glass Bow of the Stag Prince |
| Bow of the Hunt |
| Stormfang |
| Horksbane |
1st Doorway
Stairway to the Upper Gallery. Additionally features three painting spots.
There is also a display for Skyrim Underground items in an alcove along the stairway.
Skyrim Underground Display |
|---|
 |
| Dark Shade (requires Skyrim Underground) |
| Zombie Amulet (Zombie Ear Necklace) (requires Skyrim Underground) |
| Skeevertown Guard Shield (requires Skyrim Underground) |
| Gnarl Staff (requires Skyrim Underground) |
| Dwarven Sword (Heavy Dwarven Sword) (requires Skyrim Underground) |
| Dwarven Greatsword (Heavy Dwarven Greatsword) (requires Skyrim Underground) |
| Dwarven Battleaxe (Heavy Dwarven Battleaxe) (requires Skyrim Underground) |
| Head of an Argonian (Argonian Head) (requires Skyrim Underground) |
| Zombie Head (Zombie Mask) (requires Skyrim Underground) |
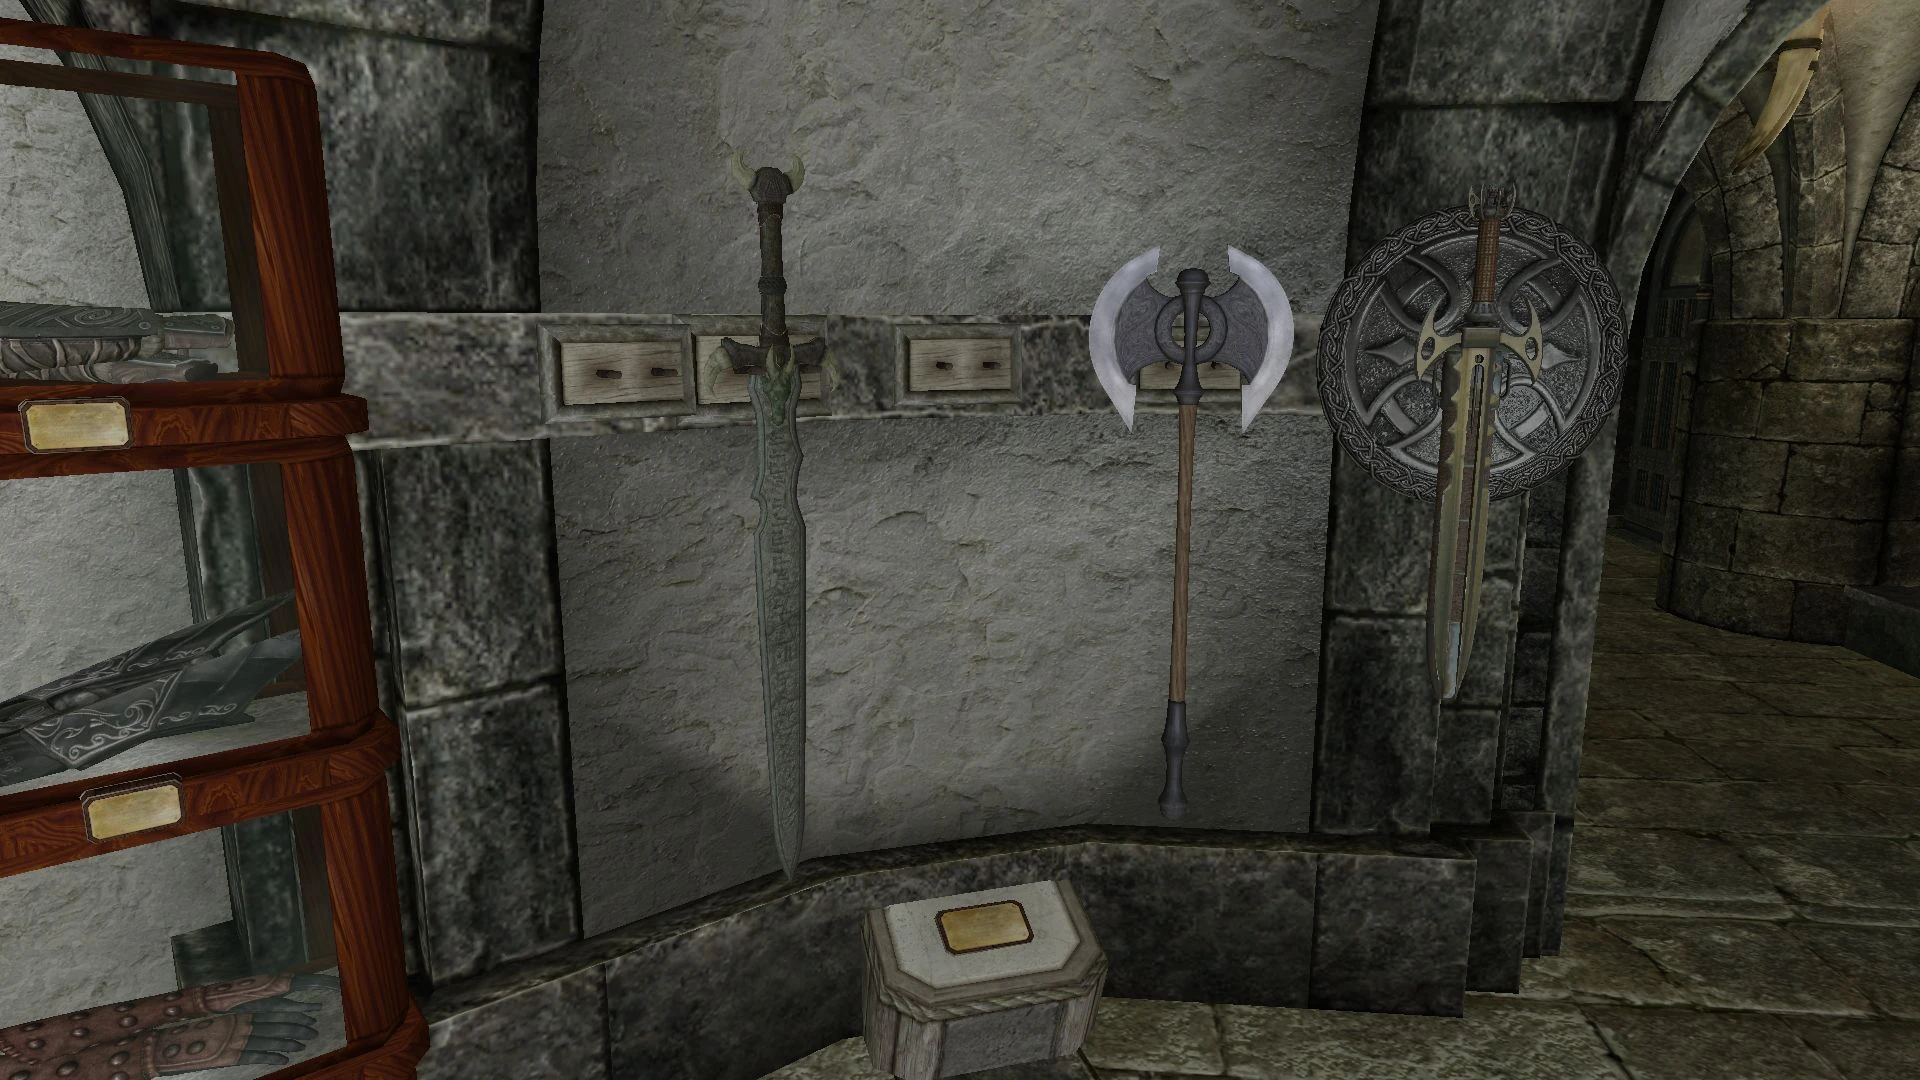
2nd Weapons Display |
|---|
 |
| Grimsever (replica) |
| Cleaver of St. Felms |
| Thornblade |
| Gravedigger |
| Skullcrusher |
| Stendarr's Hammer |
2nd Doorway
Straight ahead is the entry to the Hall of Oddities.
Down the stairs the doors leading to the Culture and Art Gallery (left) and the Gallery of Natural Science (right).
Standing Stones
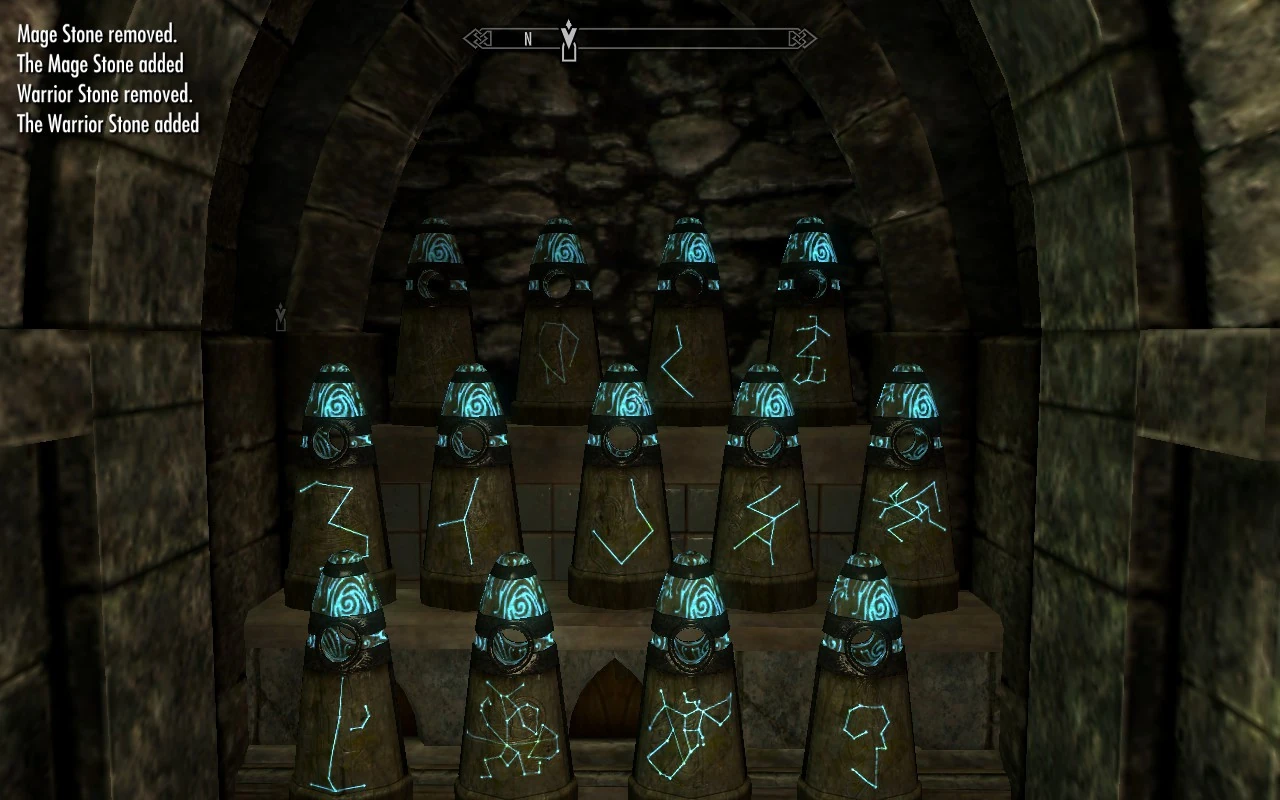
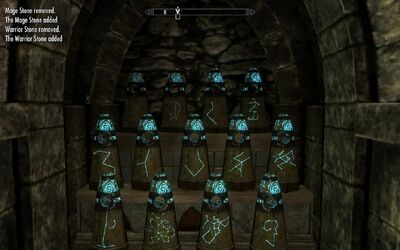
When each standing stone is activated for the first time, it will be unlocked in the museum display and can be activated to receive that stone's buff, or to quickly change buffs if needed. Each is a fully functional standing stone, and made very easy to access. This makes it easy to quickly grab or change a buff before leaving the museum. Each of the 13 standing stones on display activates separately after receiving their buff from the original. You need to wait at least 20 seconds between activating each standing stone for the first time, as the script that checks for the standing stone buff only runs every 20 seconds.
Shrines of the Divines
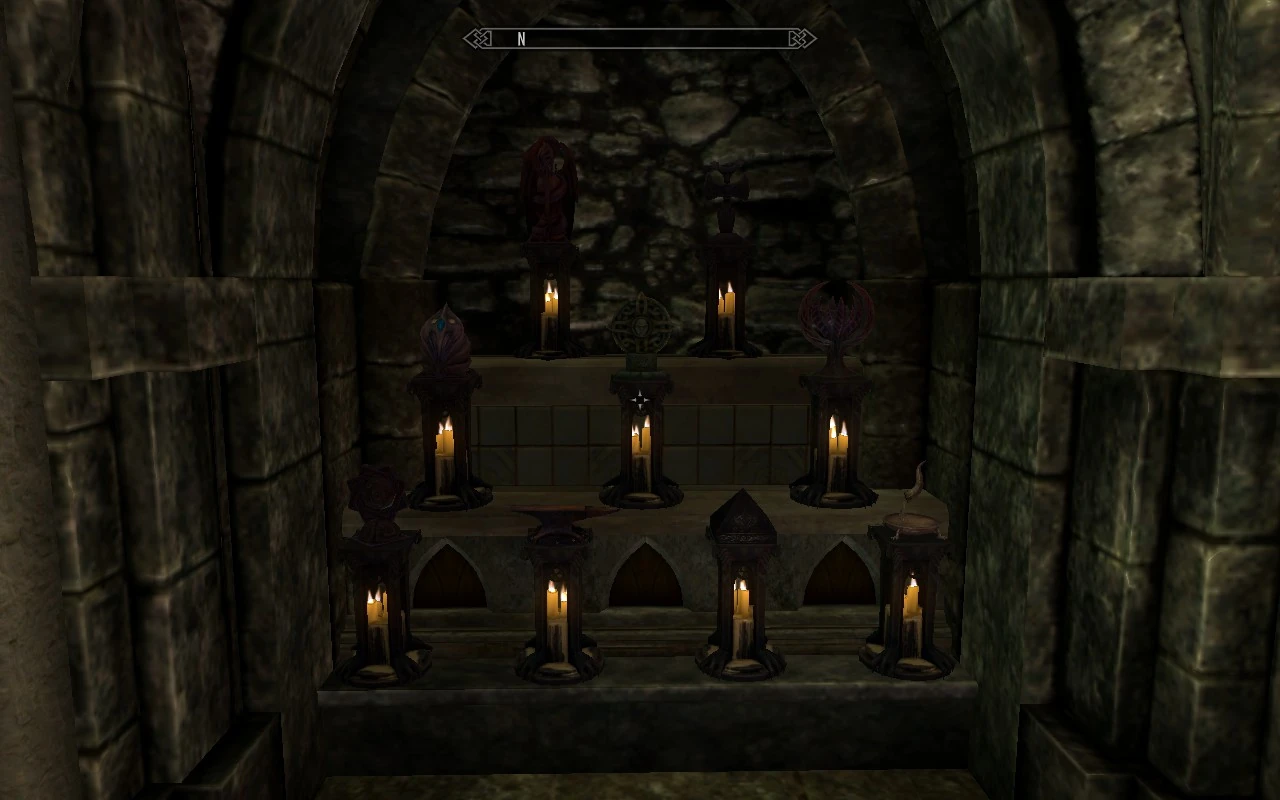

When each shrine is used for the first time, it will be unlocked in the museum display. The museum shrines are fully functional and grant the blessing accordingly. You need to wait at least 20 seconds between activating each shrine for the first time, as the script that checks for the shrine blessing only runs every 20 seconds.
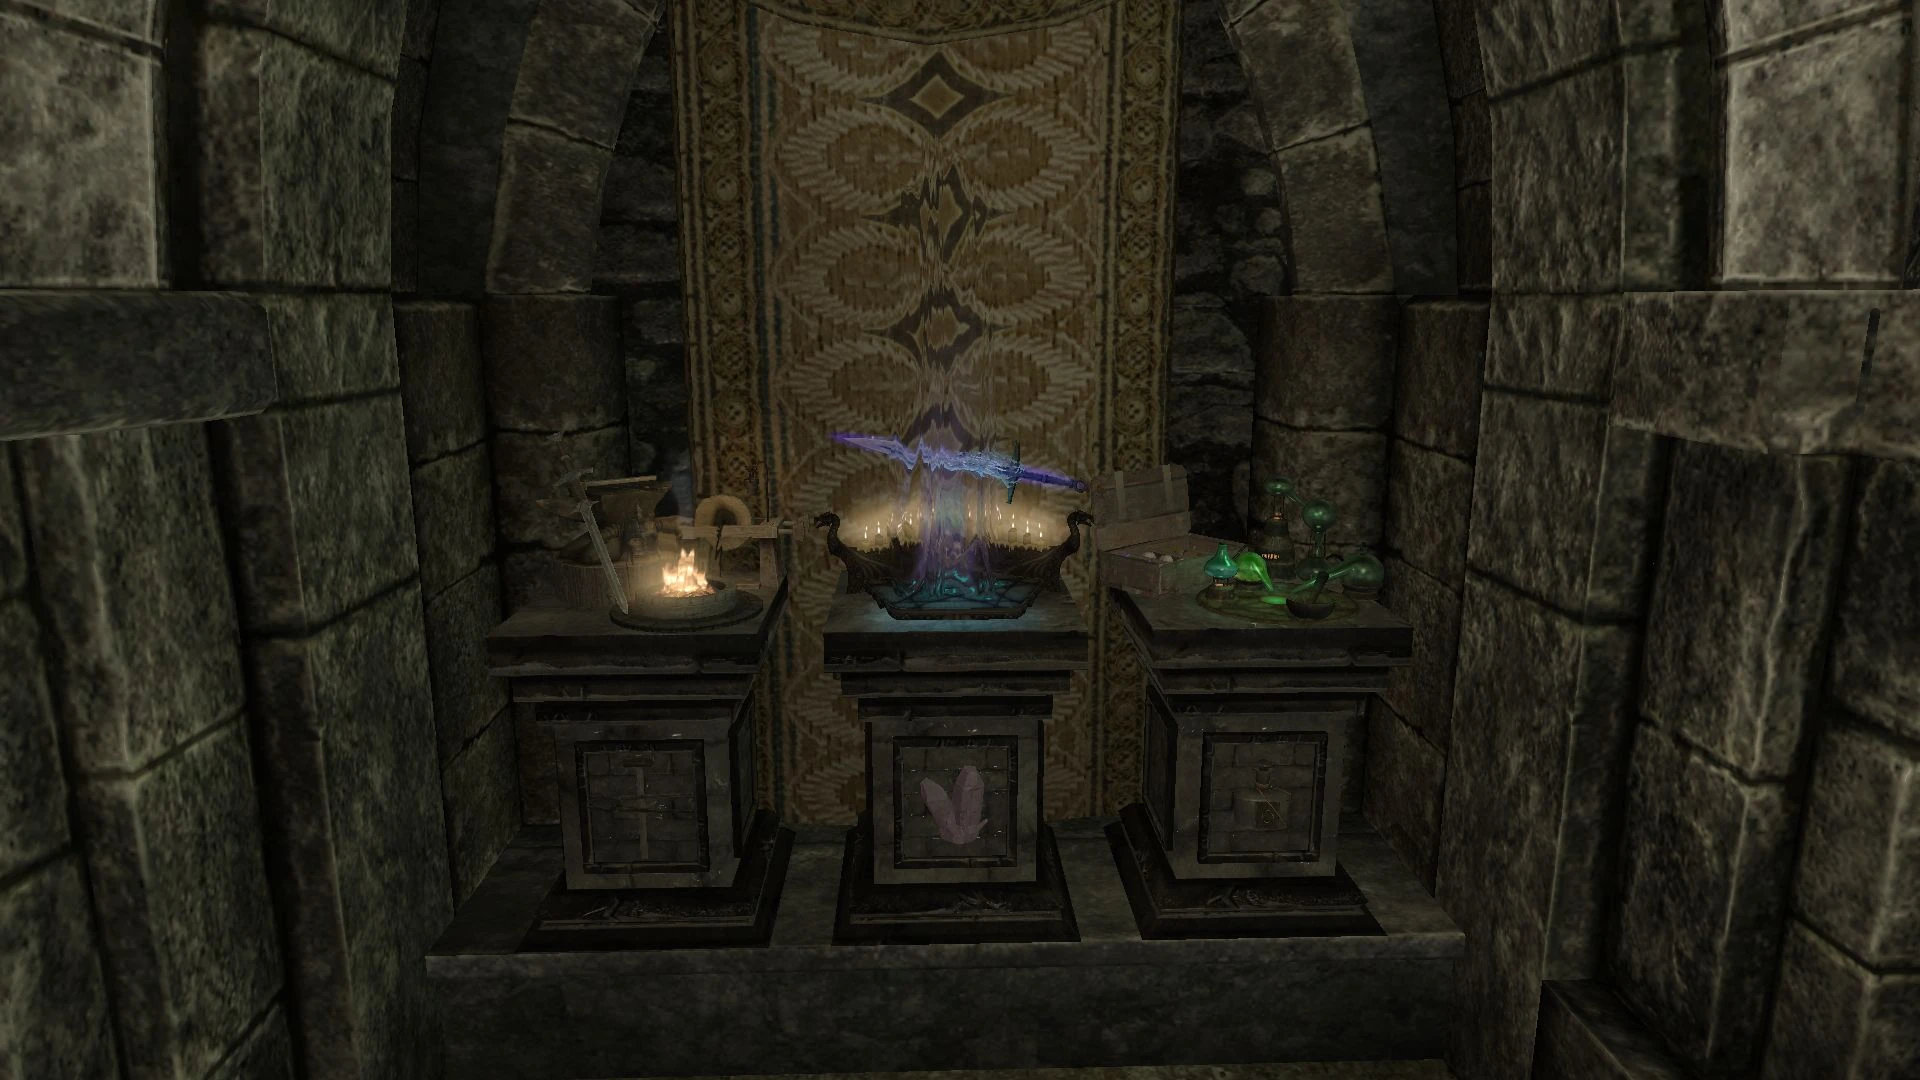
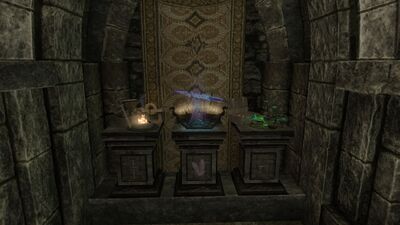
Static Skills Displays
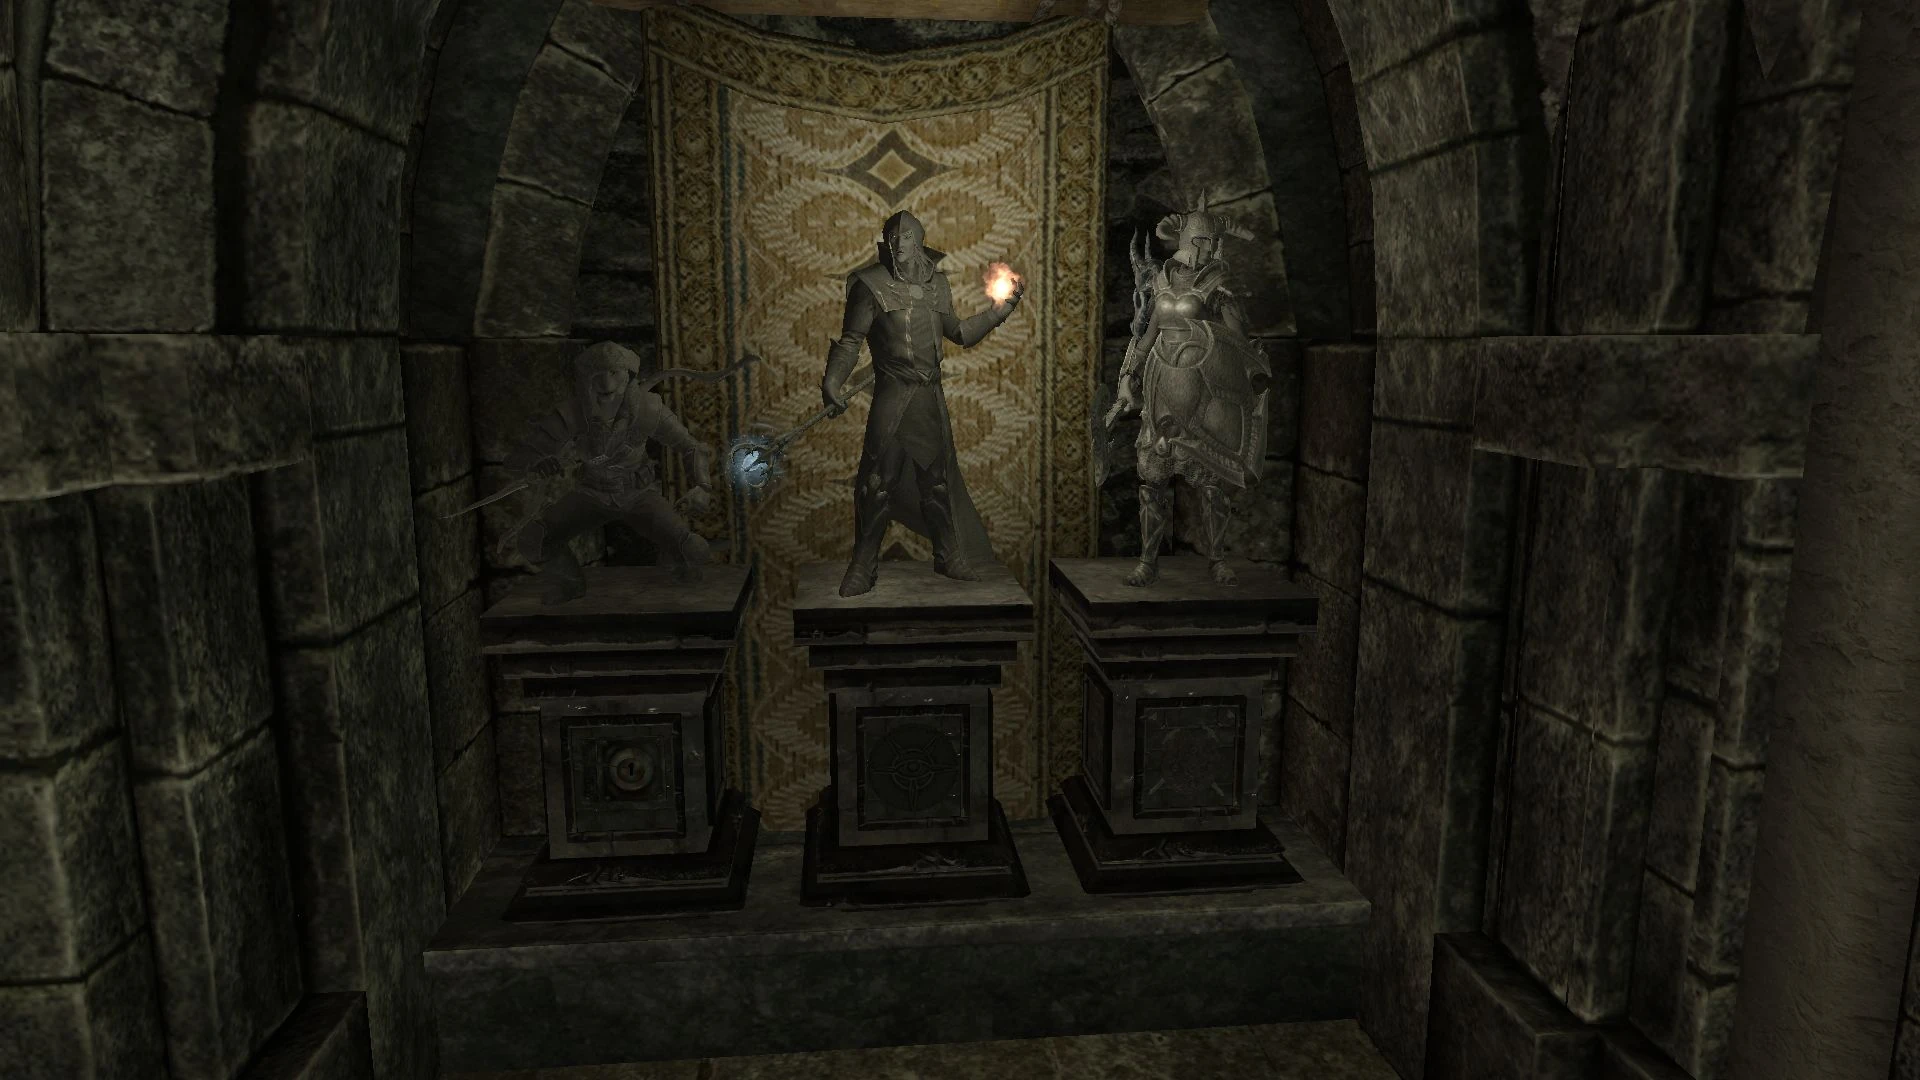
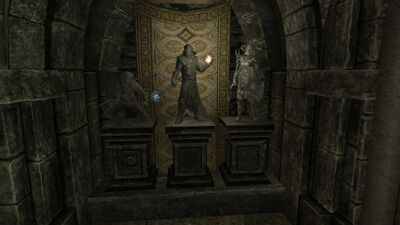
The three statues each activate after having three appropriate skills (anything but Alchemy, Enchanting and Smithing) reach 100. Making a skill Legendary or using a Skill unlocker to go past 100 doesn't matter. Once the skills reached 100 they count towards the display unlock.
- Thief Skills Display: Any 3 Thief skills at 100.
- Mage Skills Display: Any 3 Mage skills at 100.
- Fighter Skills Display: Any 3 Warrior skills at 100.
Daggers and Shields Display | ||
|---|---|---|
| Witsplinter (requires Oblivion Artifact Pack) | Drakensang (requires Relic Hunter) | |
| Sufferthorn (requires Oblivion Artifact Pack) | Lyrisius' Dagger (requires Artifacts - The Tournament of the Ten Bloods) | |
| Dagger of Discipline (requires Oblivion Artifact Pack) | ||
| Dagger of Symmachus | Necromancer's Dagger | Blade of Sacrifice |
| Blade of Woe | Black Hands Dagger (requires Moon and Star) | Borvir's Dagger |
| Nettlebane | Soul Drinker (requires More Interesting Loot) | Bloodthorn |
| Valdr's Lucky Dagger | Winterwound (requires More Interesting Loot) | Kahvozein's Fang |
| Rundi's Dagger | Dagger of Discipline (requires More Interesting Loot) | Fang of Haynekhtnamet |
| Eleidon's Ward | Targe of the Blooded | |
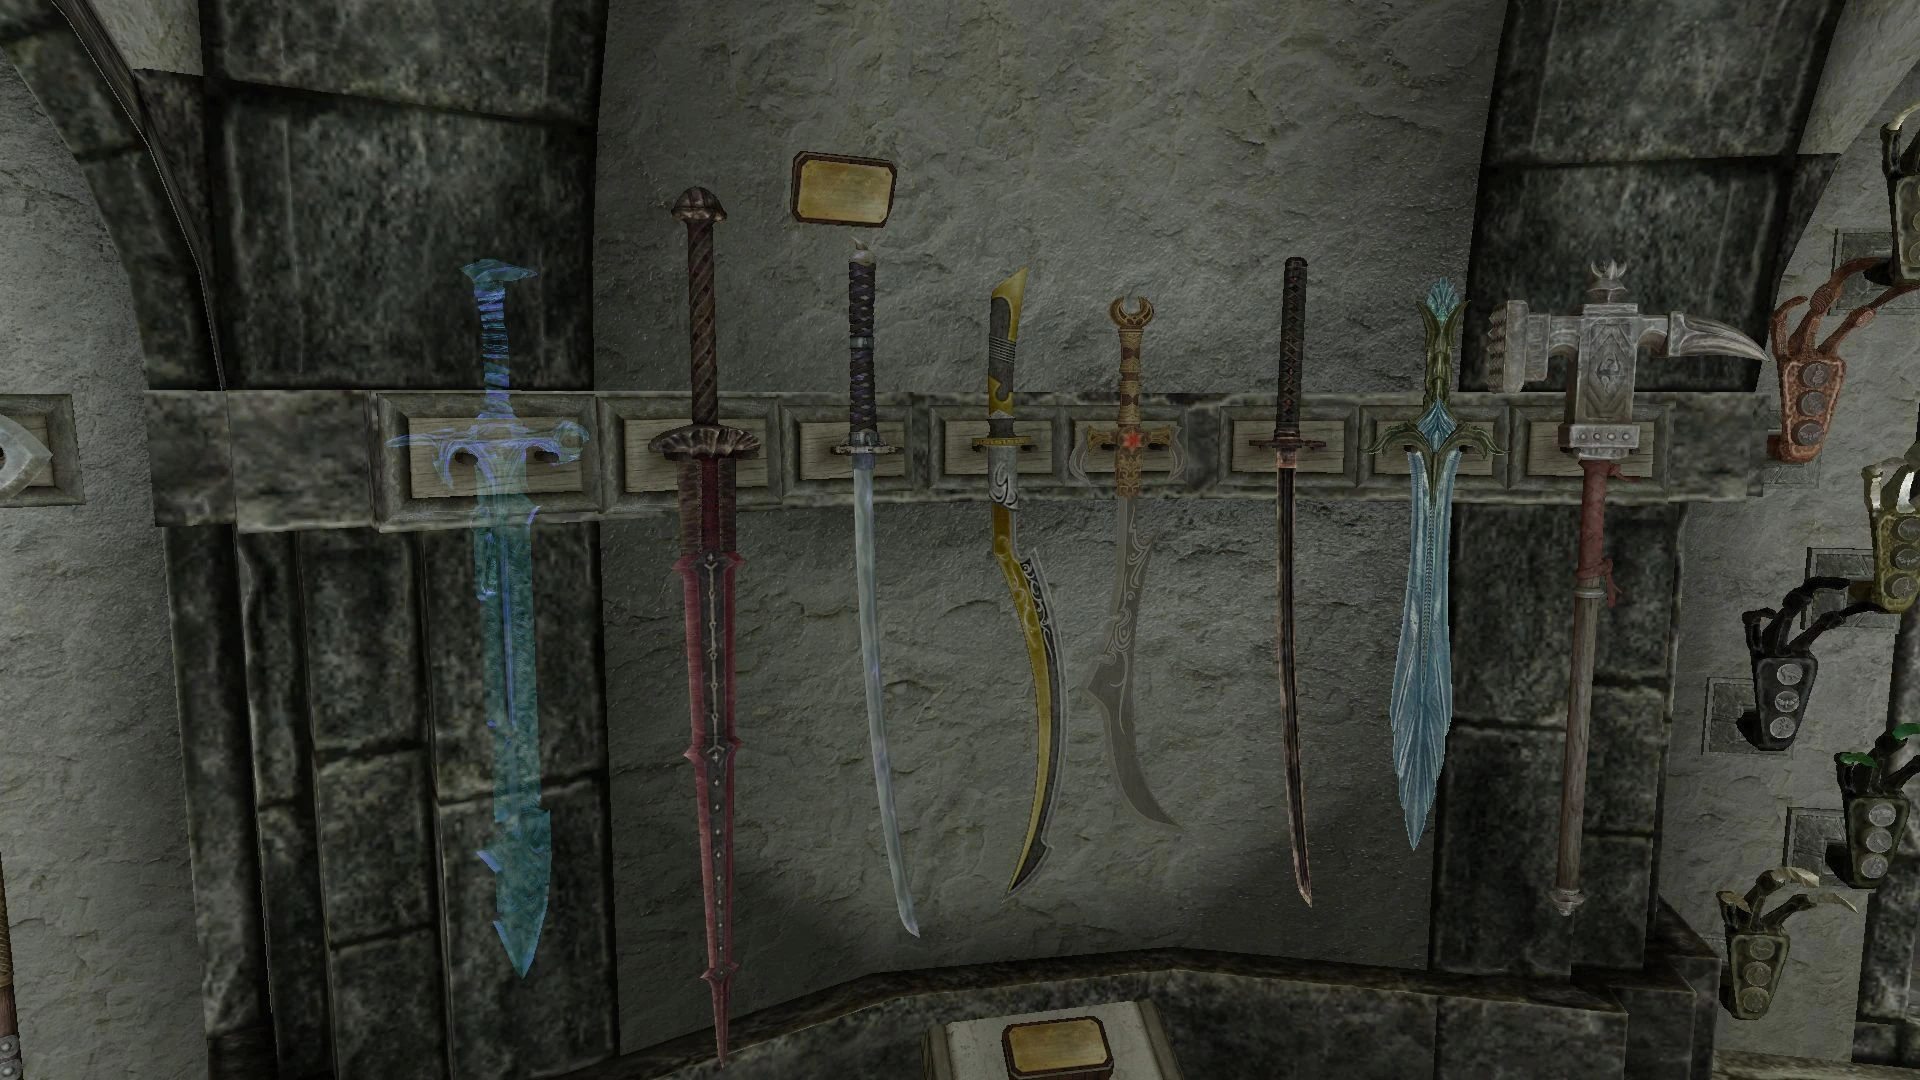
Swords Display | ||
| Blade of Dusk and Dawn (Dawnfang/Duskfang) | Cyrus' Saber | |

1st Archway |
|---|
  |
| Eduj |
| Okin |
| Dwarven Black Bow of Fate |
| Staff of Magnus |
| Hrothmund's Axe |
3rd Weapons Display |
|---|
 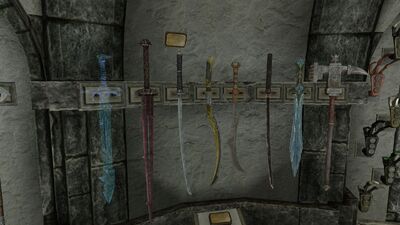 |
| Ghostblade |
| Bloodskal Blade |
| Dragonbane |
| Hopesfire |
| Trueflame |
| Harkon's Sword |
| Chillrend |
| Champion's Cudgel |
Dragon Claws and Masks Display |
|---|
  |
| Claws |
| Bronze Claw (requires Konahrik's Accoutrements) |
| Black Glass Claw (requires Helgen Reborn) |
| Coral Dragon Claw |
| Diamond Dragon Claw |
| Ebony Dragon Claw |
| Emerald Dragon Claw |
| Glass Dragon Claw |
| Amethyst Claw, Left Half |
| Amethyst Claw, Right Half |
| Rusted Claw (requires Wyrmstooth) |
| Jade Claw |
| Golden Claw (replica) |
| Iron Dragon Claw |
| Ivory Dragon Claw |
| Ruby Dragon Claw |
| Sapphire Dragon Claw |
| Masks |
| Wooden Mask |
| Haldriin |
| Korthor |
| Vosis |
| Vahlok |
| Miraak |
| Konahrik |
| Hevnoraak |
| Krosis |
| Morokei |
| Nahkriin |
| Otar |
| Rahgot |
| Vokun |
| Volsung |
| Ahzidal |
| Dukaan |
| Zahkriisos |
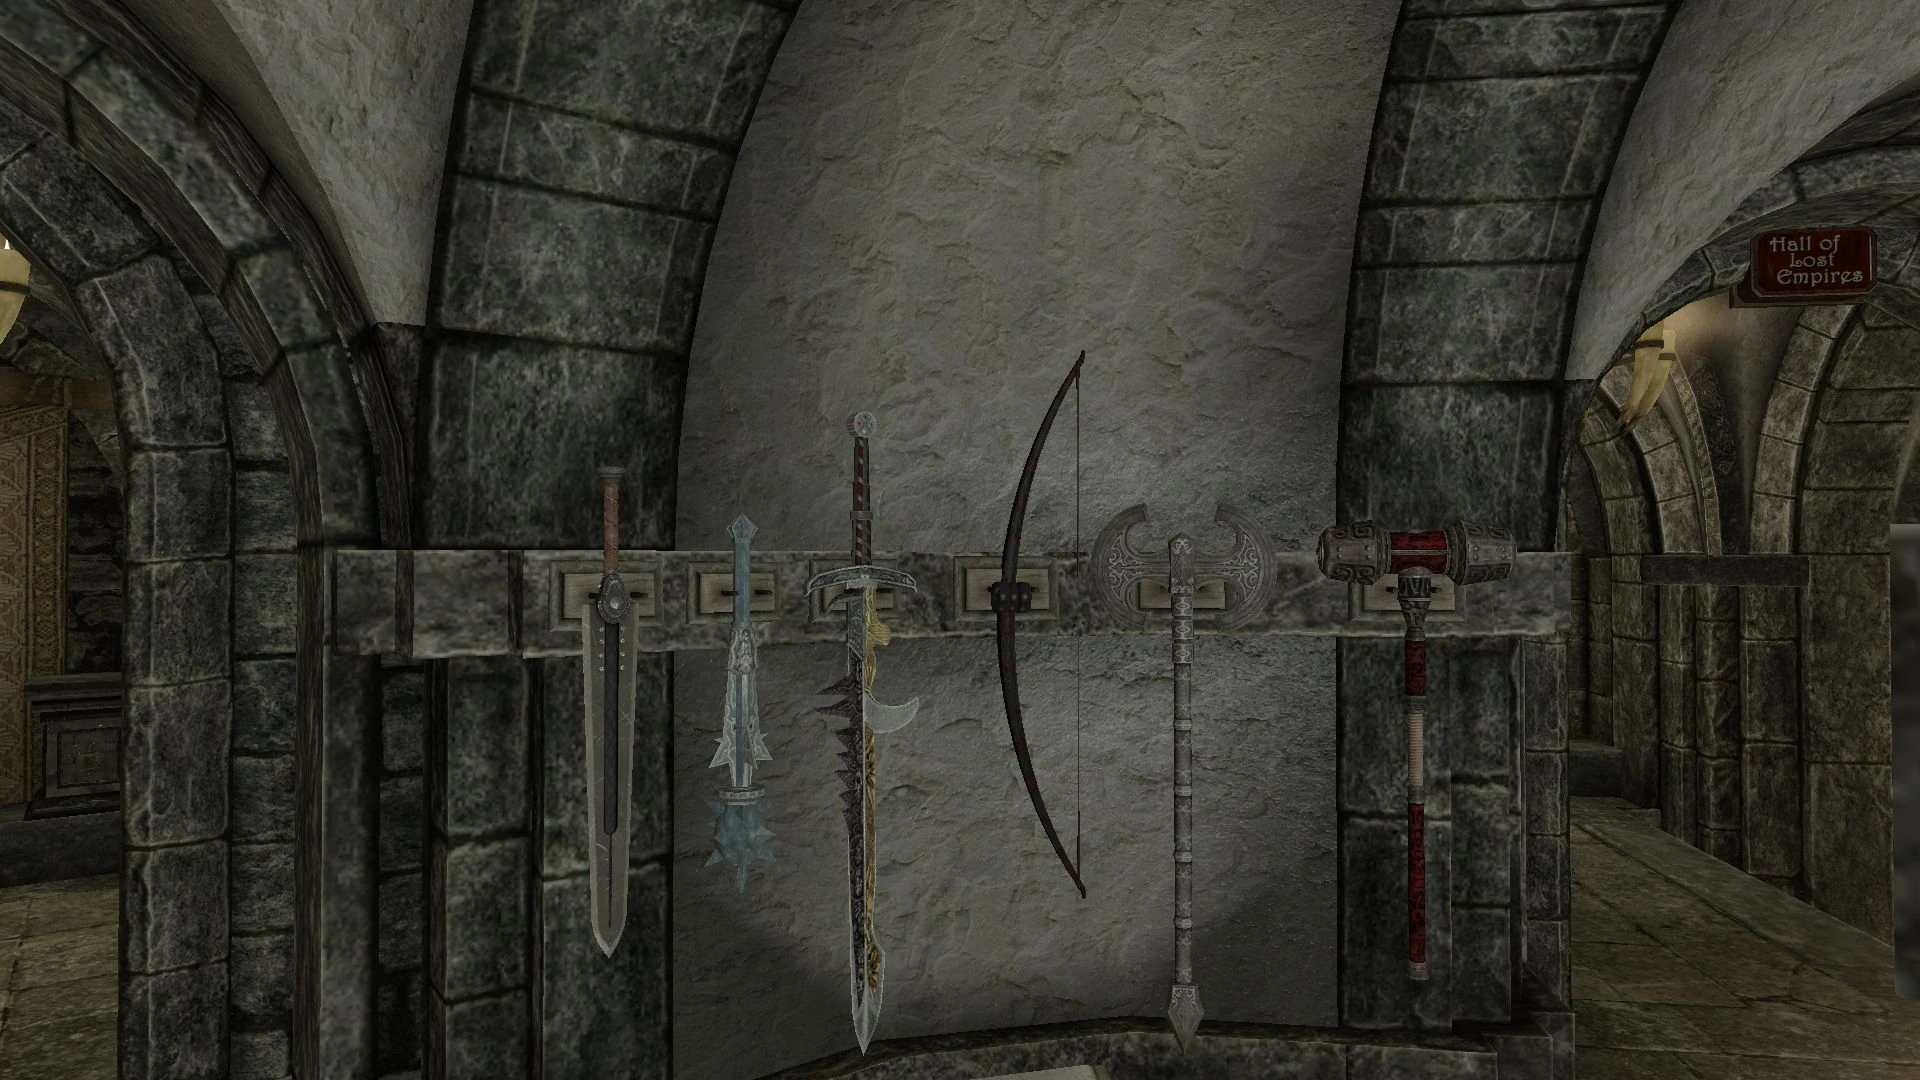
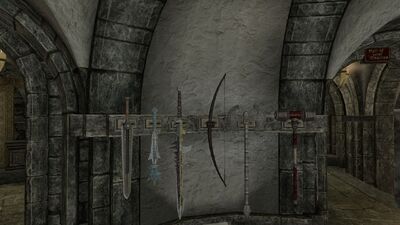
4th Weapons Display |
|---|
  |
| Trollsbane |
| The Pale Blade |
| Bolar's Oathblade |
| Froki's Bow |
| The Longhammer |
| Red Eagle's Bane |
| Windshear |
Civil War Display
On the right side atop the stairs is a static quest display for the civil war, either showing the Imperial or Stormcloak version depending on who you sided with. The display activates after the conclusion of the civil war, either after the quest the 'Battle for Windhelm' or the' Battle for Solitude'. Certain mods can prevent the display from activating correctly. In such case, see the museum Museum Storeroom for manual activation.
Civil War Armor Display |
|---|
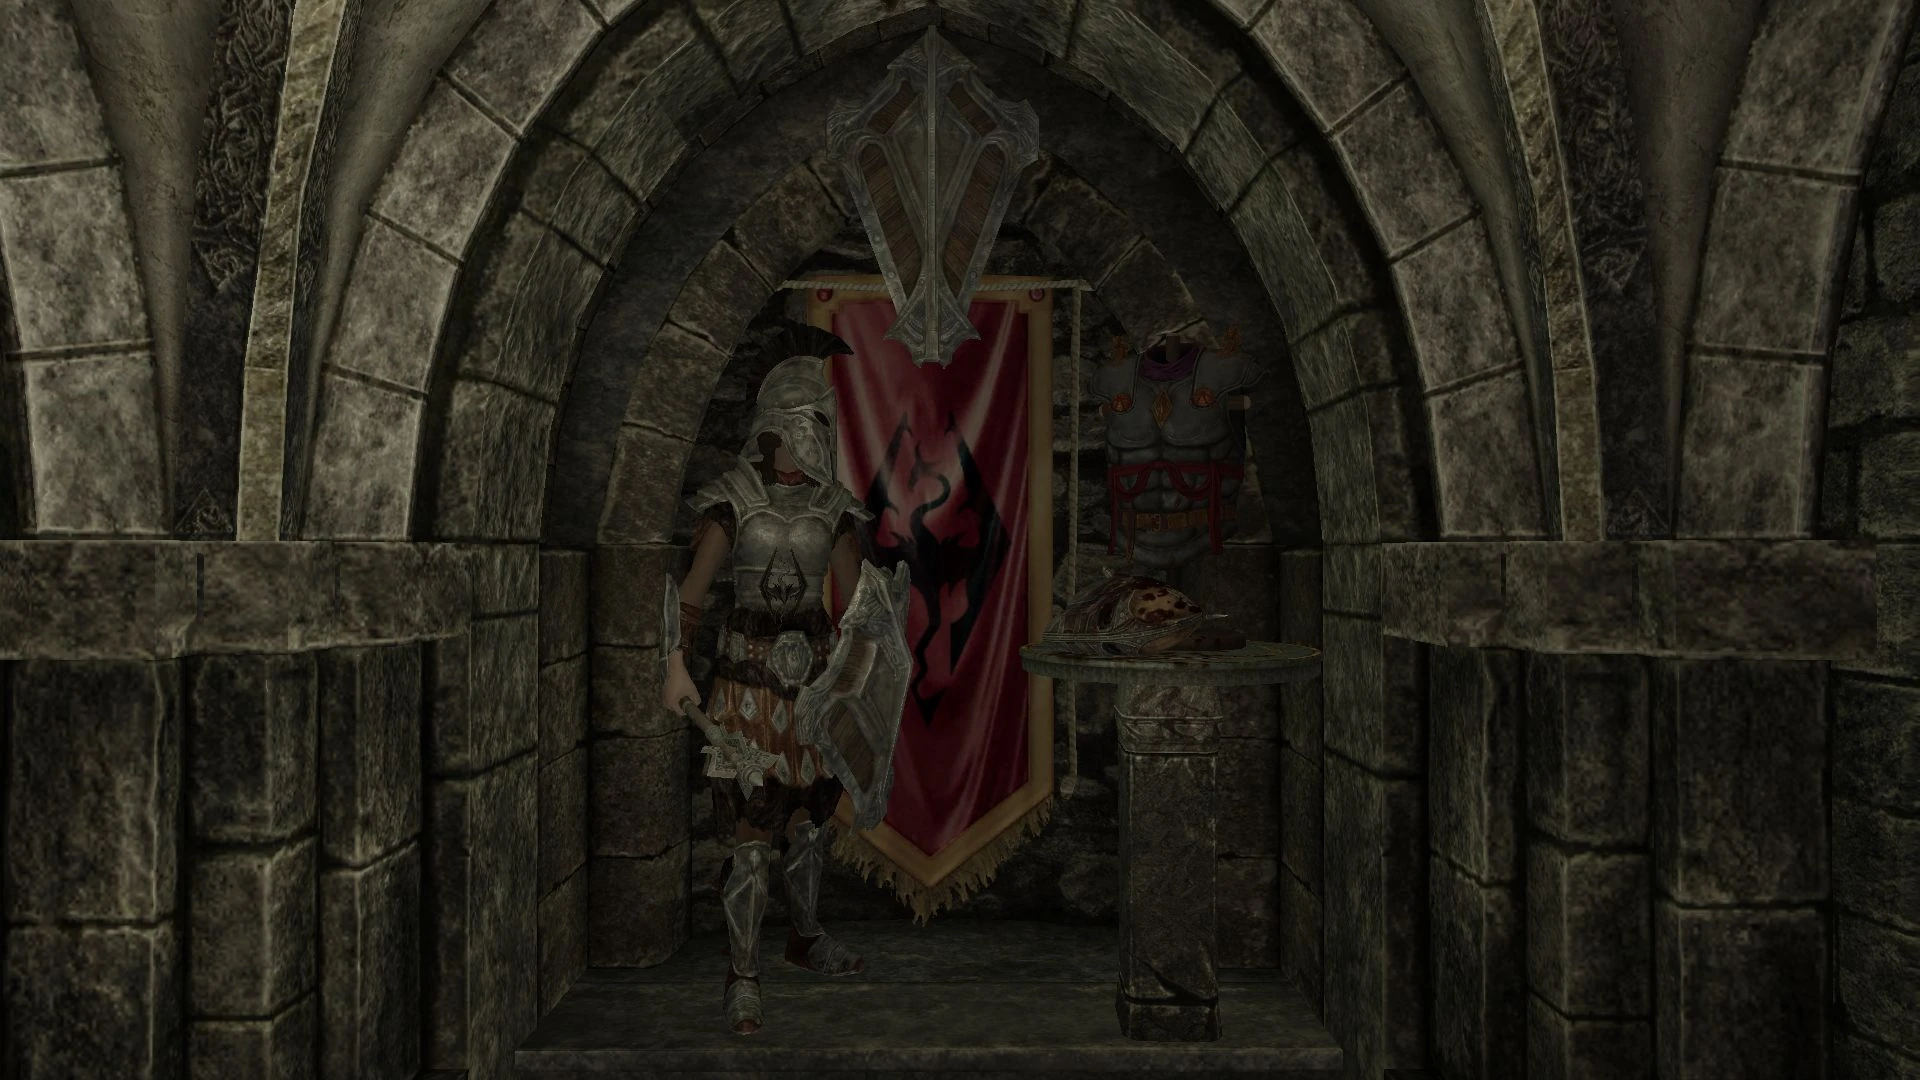  |
| Stormlord Cuirass |
| or |
  |
| General Tullius' Armor |
3rd Doorway
The stairs lead down to the Daedric Exhibit Hall (left) and the Planetarium (right, after Path to the Heavens)
At the top of the stairs is a display dedicated to crafting skills.
Crafting Skill Display
Crafting Skills Display
Each is automatically enabled once the player reaches 100 in the respective skill, and remain enabled even if that skill is turned legendary and lower than 100.
- Blacksmithing Master Display: Reach 100 in Smithing.
- Enchanting Master Display: Reach 100 in Enchanting.
- Alchemy Master Display: Reach 100 in Alchemy.
Chorrol Display |
|---|
  Between the doors to the Daedric Exhibit Hall and the Planetarium is a display for the Chorrol set, containing the Honorblade and the armor. |
| Honorblade of Chorrol |
| Knight of Chorrol Helmet (requires Oblivion Artifact Pack) |
| Knight of Chorrol Armor (requires Oblivion Artifact Pack) |
| Knight of Chorrol Gauntlets (requires Oblivion Artifact Pack) |
| Knight of Chorrol Boots (requires Oblivion Artifact Pack) |
| Knight of Chorrol Shield (requires Oblivion Artifact Pack) |
| Escutcheon of Chorrol (requires Oblivion Artifact Pack) |
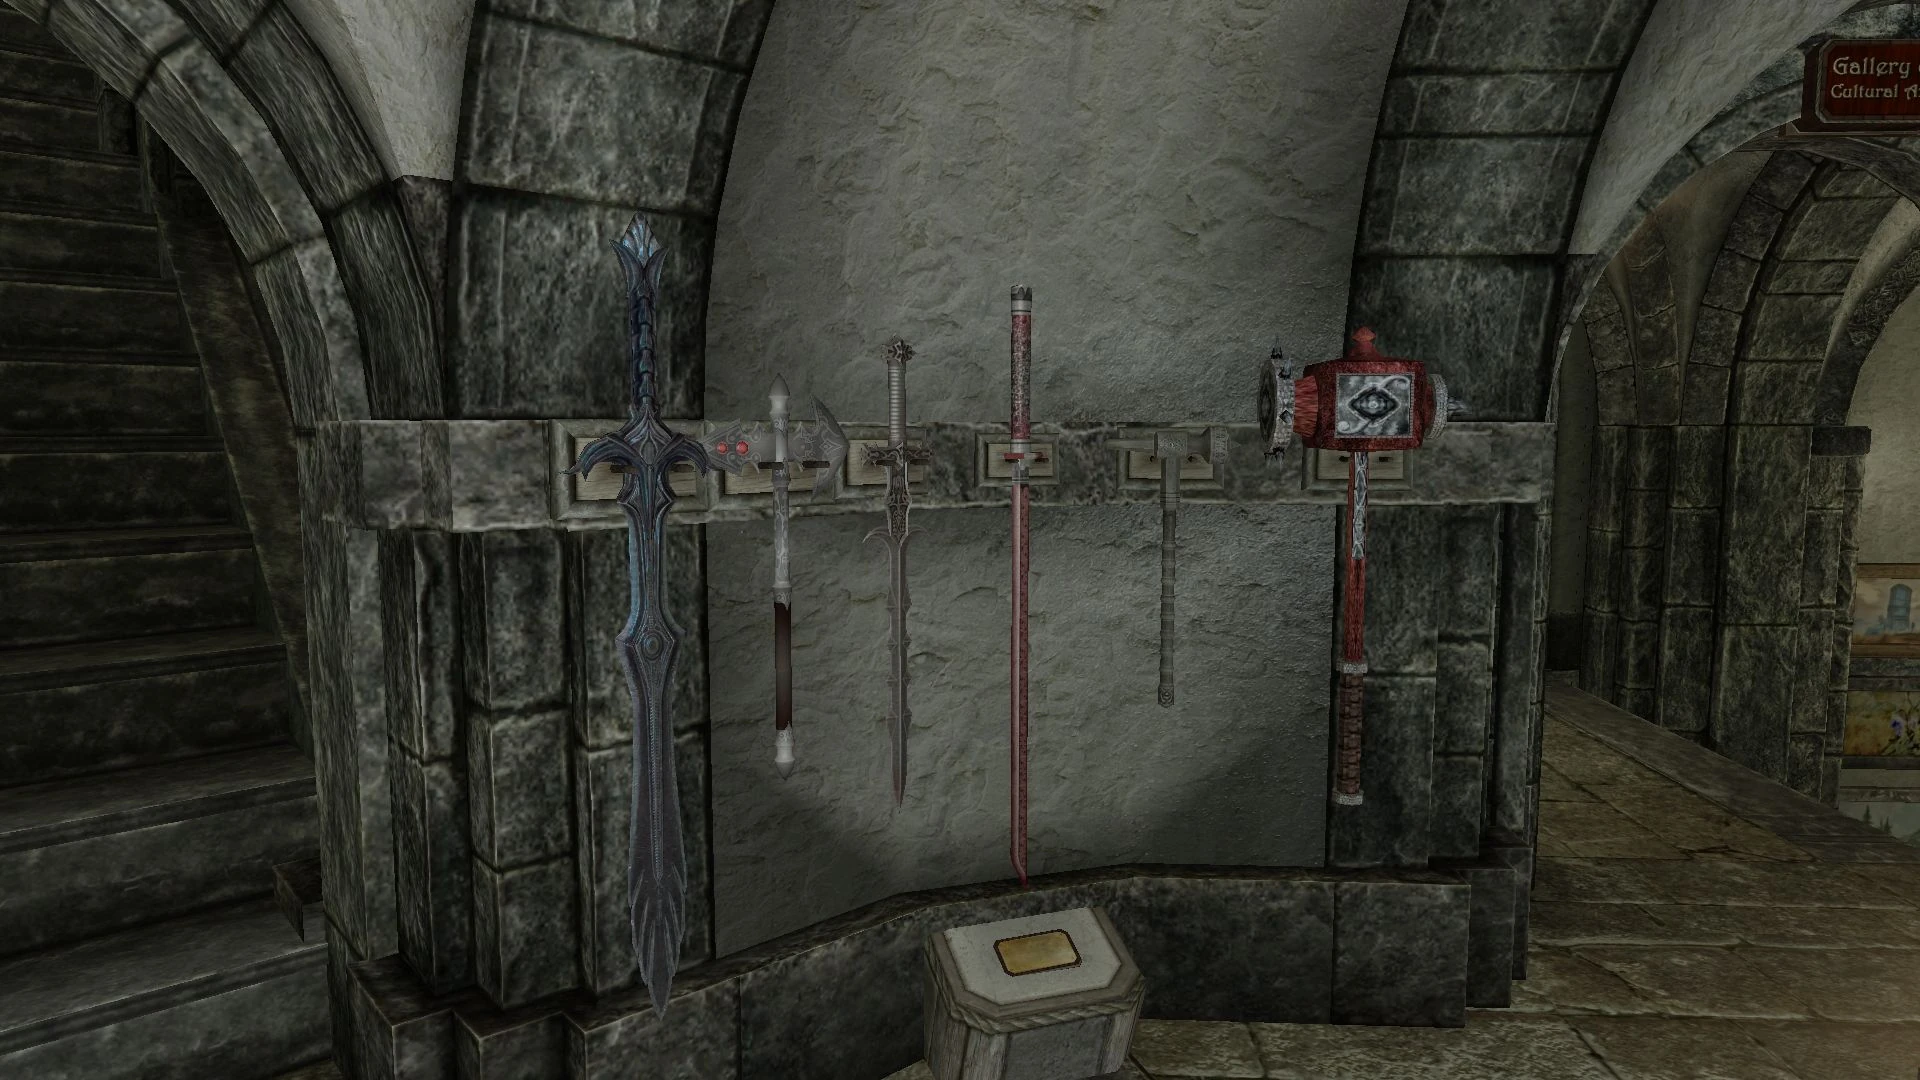
5th Weapons Display |
|---|
  |
| Debaser |
| Mace of Aevar Stone-Singer |
| Bipolar Blade |
| Firiniel's End |
| Steel Battleaxe of Fiery Souls |
| Sixth House Bell Hammer |
4th Doorway
Stairway leading down to the Hall of Lost Empires.
Dragonborn Static Display
The display activates after completing 'At the Summit of Apocrypha'. The last main quest of the Dragonborn DLC.
Dawnguard Static Display


This display comes in two versions. One representing siding with the Dawnguard while the other shows the player siding with the Volhikar Vampires. In either case, the Dawnguard DLC main quest 'Kindred Judgement' has to be completed for the display to show.
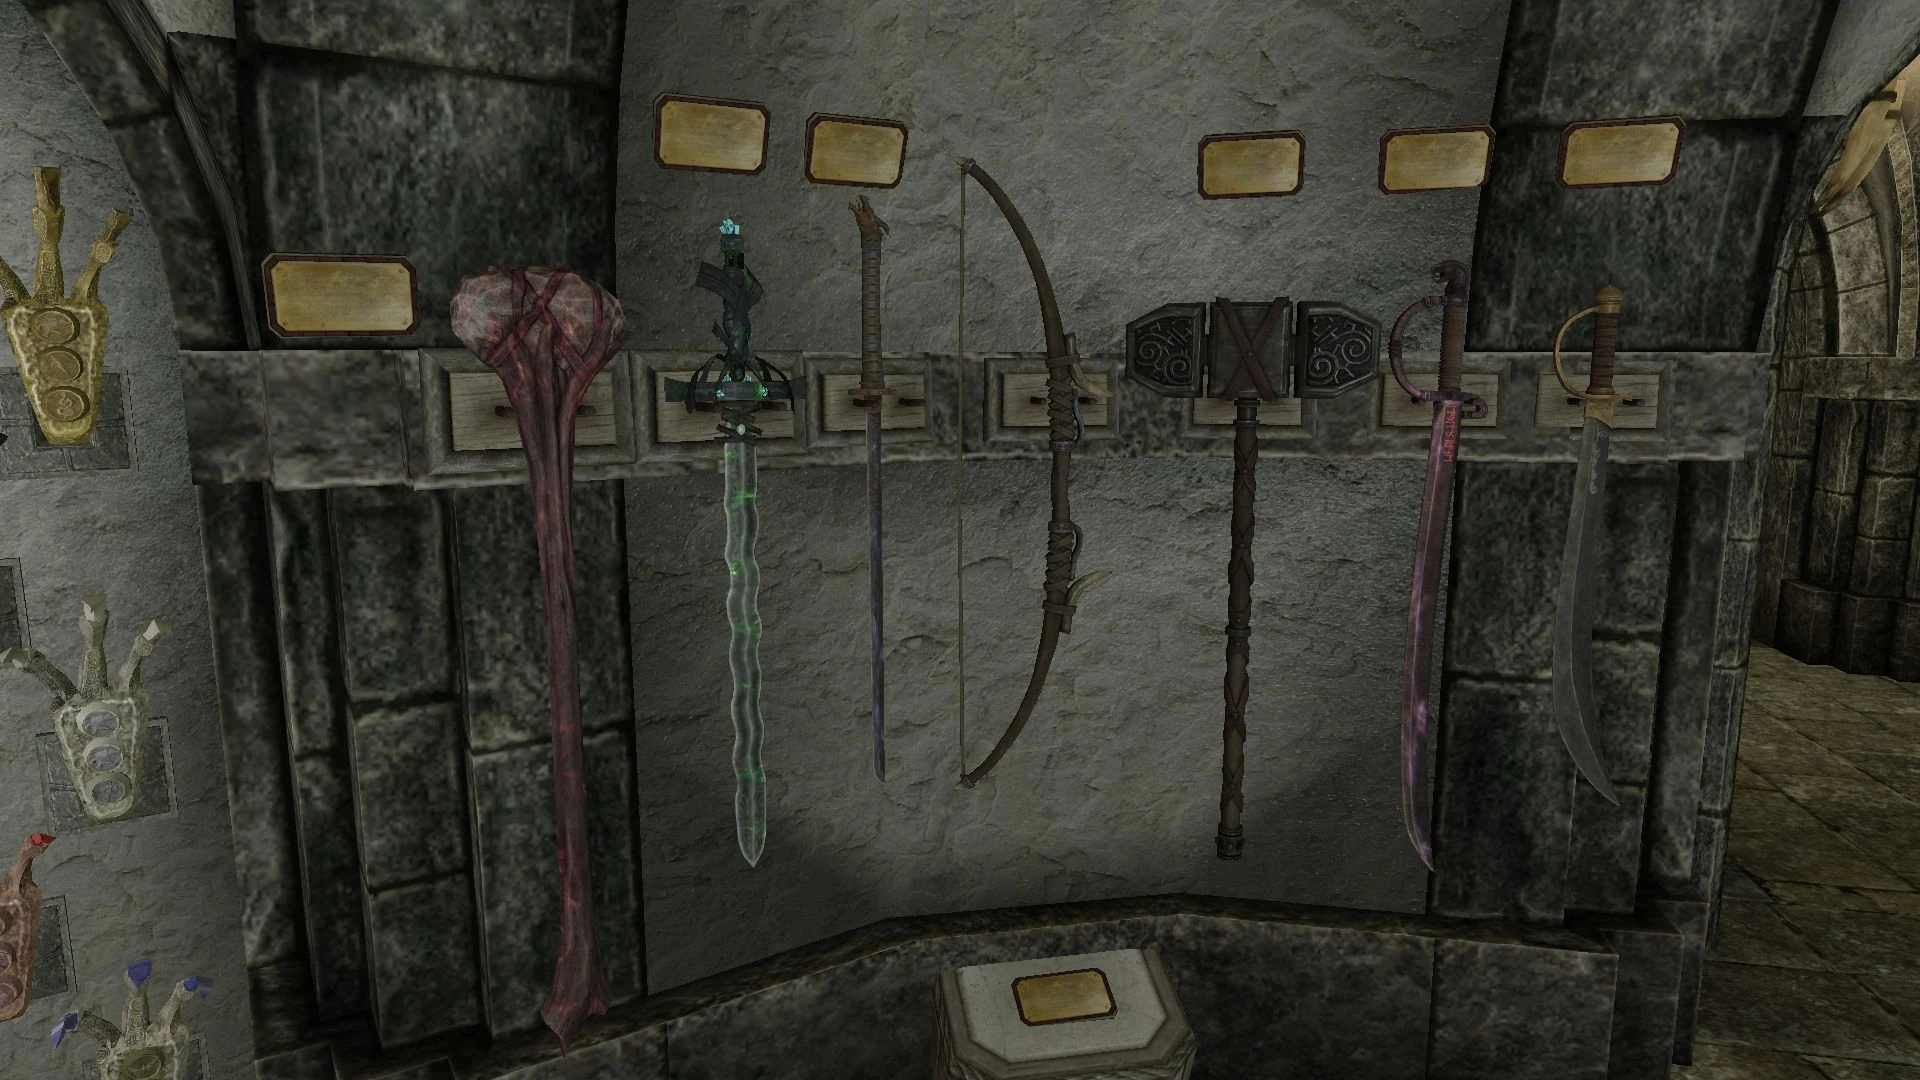
6th Weapons Display |
|---|
  |
| Aegisbane |
| Chrysamere |
| Ice Blade of the Monarch |
| Zephyr |
| Reaper's Bane |
Display Cases |
|---|
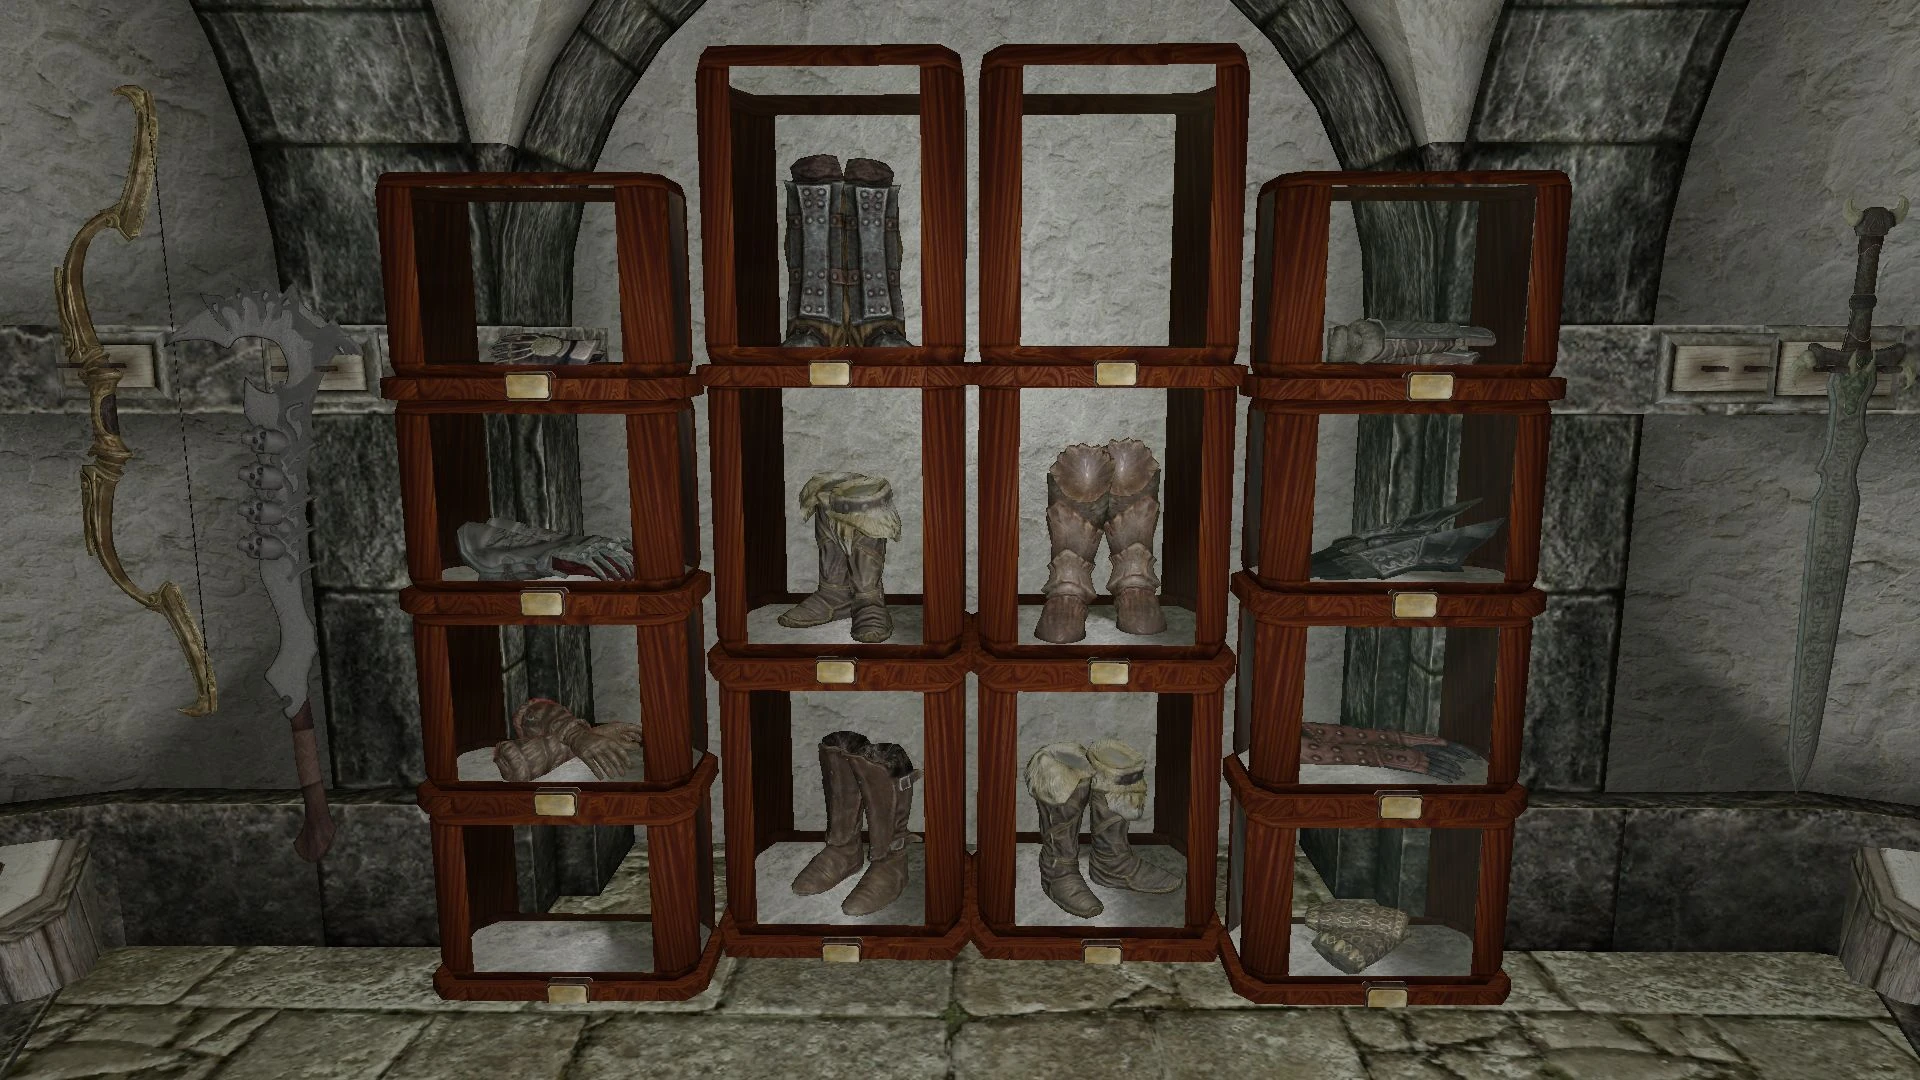  |
| Mystic Tuning Gloves |
| Fists of Randagulf |
| Gloves of the Pugilist |
| The Forgemaster's Fingers (replica) |
| Running Man's Folly |
| Predator's Grace |
| Boots of the Apostle |
| Coming soon (planned in future update) |
| Boots of Blinding Speed |
| Movarth's Boots |
| Ironhand Gauntlets |
| Hands of the Atronach |
| Tumblerbane Gloves |
| Gilded Wristguards |
7th Weapons Display |
|---|
  |
| Shadowsting |
| Honed Ancient Nord Greatsword of Scorching |
| Justice |
| Ysgramor Battle Axe |
| Herebane's Courage |
| Herebane's Fortress |
Inner Ring
Elder Scrolls Display |
|---|
  |
| Elder Scroll (Blood) |
| Elder Scroll (Dragon) |
| Elder Scroll (Sun) |
SPOILER list - How to get all items
Standing Stones
When each standing stone is activated for the first time, it will be unlocked in the museum display.
Shrines of the Divines
When each shrine is used for the first time, it will be unlocked in the museum display.
Static Skills Displays
Thief Skills Display: Any 3 Thief skills at 100.
Mage Skills Display: Any 3 Mage skills at 100.
Fighter Skills Display: Any 3 Warrior skills 100.
Civil War Display
The display activates after the conclusion of the civil war, either after the quest the 'Battle for Windhelm' or the' Battle for Solitude'.
Crafting Skill Display
Blacksmithing Master Display: Reach 100 in Smithing.
Enchanting Master Display: Reach 100 in Enchanting.
Alchemy Master Display: Reach 100 in Alchemy.
Dragonborn Static Display
The display activates after completing 'At the Summit of Apocrypha'.
Dawnguard Static Display
The display activates after the Dawnguard DLC main quest 'Kindred Judgement' has been completed.
Item list:
Work in progress
- Thrassian Plaguesword:
- Aboard the Dev Aveza, in the Smuggler's Hold.
- In Classic Skyrim or with Moonpath to Elsweyr installed on SSE, the Sword is looted off the Sload Malsato The Hungry in Sload's Lair in Elsweyr, during the quest 'The Dinner Guest'.
- Briarheart Geis: Lost Valley Redoubt Exterior, carried by a Forsworn Briarheart lying on the upper altar occupied by two Hagravens. He will be reanimated by the Hagravens when you approach them. The altar is in front of the word wall for the 'Become Ethereal' shout.
- Glass Bow of the Stag Prince: Ramshackle Trading Post on Solstheim, wielded by Falas Selvayn.
- Bow of the Hunt: Clearspring Cave north of Clearspring Tarn, on an altar.
- Stormfang: Brodir Grove on Solstheim, wielded by a Reaver Lord.
- Horksbane: Horker Island on Solstheim, at the corpse of a Dunmer named Saden.
- Grimsever (replica): Mzinchaleft Gatehouse, the final area of Mzinchaleft, to the right of the Dwarven Centurion's station. It rests on a pedestal with blood spatters on it. The replica must be made at the Replica Station in the Curator's Office with the following materials: 2 Refined Malachite and 1 Iron Ingot, or 1 Refined Moonstone, 1 Refined Malachite and 1 Leather Strips.
- Cleaver of St. Felms: Given to you by Auryen. Reward for having 150 museum displays.
- Thornblade: Given to you by Auryen. Reward for having 100 museum displays.
- Gravedigger: Given to you by Auryen. Reward for having 250 museum displays.
- Skullcrusher: Given to you by Auryen. Reward for having 50 museum displays.
- Stendarr's Hammer: Given to you by Auryen. Reward for having 350 museum displays.
- Dagger of Symmachus: Saering's Watch on Solstheim, on the altar on the third and highest level.
- Blade of Woe:
- Given to the player by Astrid during the quest 'Death Incarnate'.
- Alternatively, it can be looted off Astrid's corpse in the Abandoned Shack if the player chooses to kill her during 'With Friends Like These...'.
- Nettlebane: Orphan Rock, looted off the Hagraven during the quest 'The Blessings of Nature'.
- Valdr's Lucky Dagger: Moss Mother Cavern, given to the player by Valdr as reward at the completion of the quest 'Hunter and Hunted'.
- Rundi's Dagger: Rundi's Altar, an unmarked location southeast of Winterhold, on the altar next to Rundi's body.
- Eleidon's Ward: Given to you by Auryen. Reward for having 200 museum displays.
- Blade of Dusk and Dawn (Dawnfang): Roof of the World, an unmarked location at the very top of the Throat of the World, stuck into the rock. Walk away from the word wall and climb all the way up to the mountain peak.
- Necromancer's Dagger: Deepholme, looted off the Elven Lich during 'The Vaults of Deepholme'.
- Black Hands Dagger (requires Moon and Star): Looted from Mandyn Hlaalu. He can be killed at the end of Moon and Star's main quest by choosing to keep the Ring of Sanguine Resistance, which was given by him at the start.
- Winterwound (requires More Interesting Loot): Found randomly in loot containers.
- Dagger of Discipline (requires More Interesting Loot): Found randomly in loot containers.
- Cyrus' Saber: Wreck of the Brinehammer Below Deck, in the room to the right behind the first (novice) locked door, stuck into the wooden wall next to a chest.
- Blade of Sacrifice: Sacellum of Boethiah, carried by the worshippers of Boethiah. Multiple can be obtained during the quest 'Boethiah's Calling'.
- Borvir's Dagger: Journeyman's Nook, next to the corpse of Borvir.
- Bloodthorn: Deepwood Vale in Deepwood Redoubt, on the altar of the balcony after exiting Hag's End.
- Kahvozein's Fang: Tolfdir sends the player to retrieve the dagger as part of the quest 'Alteration Ritual Spell'. It is found in a random boss chest, typically in the same locations as Dragon Priests.
- Fang of Haynekhtnamet: Bleakcoast Cave, at the very back of the cave, next to a dead necromancer and a bandit.
- Targe of the Blooded: Alftand, looted off Umana at the end of the ruin.
- Eduj: Volunruud, Elder's Cairn, looted from Kvenel the Tongue during the quest Silenced Tongues.
- Okin: Volunruud, Elder's Cairn, looted from Kvenel the Tongue during the quest 'Silenced Tongues'.
- Dwarven Black Bow of Fate: Kagrumez on Solstheim, on a rack in the final (southeast) room.
- Staff of Magnus: Labyrinthian Tribune, looted off the Dragon Priest Morokei during the quest The Staff of Magnus.
- Hrothmund's Axe: Hrothmund's Barrow, lodged in a stone with red markings on it during the quest Retaking Thirsk.
- Ghostblade: Ansilvund Burial Chambers, on a table after defeating Lu'ah Al-Skaven and the reanimated bodies of Fjori and Holgeir during the quest 'A Love Beyond Death'.
- Bloodskal Blade: Bloodskal Barrow in Raven Rock Mine on Solstheim, next to the remains of Gratian Caerellius during the quest 'The Final Descent'.
- Dragonbane: Sky Haven Temple, on a table in an atrium just off to the left of the main chamber during the quest 'Alduin's Wall'.
- Hopesfire: Given to you by Auryen. Reward for having 500 museum displays.
- Trueflame: Given to you by Auryen. Reward for having 400 museum displays.
- Harkon's Sword: Castle Volkihar Cathedral, looted off Harkon during 'Kindred Judgment'.
- Chillrend: Riftweald Manor in Riften, in an expert-locked display case in Mercer Frey's secret office in the tunnels under the manor.
- Champion's Cudgel: Fort Frostmoth on Solstheim, looted off General Falx Carius during the quest 'March of the Dead'.
- Bronze Claw (requires Konahrik's Accoutrements): Revakheim, in the Hall of Stories, looted off the Dragon Priest Fjalar the Forgemaster.
- Black Glass Claw (requires Helgen Reborn): Staadomaar Ruins, on a pedestal during the quest 'Changing of the Guard'.
- Coral Dragon Claw:
- Birna's Oddments in Winterhold, can be bought from Birna for 50 gold after asking about her "bad deal".
- If not obtained from Birna, the claw can be found in Yngol Barrow, on a pedestal past the pillar puzzle.
- Diamond Dragon Claw: Second part of Skuldafn Temple, during the quest 'The World-Eater's Eyrie', looted off a leveled Draugr (up to a Dragon Priest) guarding the puzzle door.
- Ebony Dragon Claw: Korvanjund Halls, during the quest 'The Jagged Crown'. Depending on which side of the war is supported, it is found in the Hall Of Stories near the corpses of either two Imperial Soldiers or two Stormcloaks.
- Emerald Dragon Claw: Reachwater Rock, on a pedestal next to an adventurer's corpse.
- Glass Dragon Claw: Forelhost Refectory, resting on a pedestal in the top room that resembles a library, directly across from the spear-gate.
- Amethyst Claw, Left Half: Vahlok's Tomb, looted off the Draugr guarding the Word Wall in the room adjacent to the impact stone puzzle.
- Amethyst Claw, Right Half: Vahlok's Tomb, looted off the Draugr guarding the Word Wall in the pressure plate puzzle room.
- Rusted Claw (requires Wyrmstooth): Wyrmstooth Barrow Refectory, looted from the corpse of a Marauder Footman near the puzzle door it opens.
- Jade Claw: Windcaller's Retreat, in the chest the two dragons are guarding during 'The Excavation of Windcaller Pass'.
- Golden Claw (replica): Bleak Falls Barrow Temple, looted from Arvel the Swift. The replica must be made at the Replica Station in the Curator's Office with the following materials: 1 Gold Ingot.
- Iron Dragon Claw: Valthume Catacombs, on a pedestal in the room before the puzzle door, during the quest 'Evil in Waiting'.
- Ivory Dragon Claw: Folgunthur, looted off the corpse of Daynas Valen.
- Ruby Dragon Claw: Dead Men's Respite, on a pedestal in the first room during the quest 'Tending the Flames'.
- Sapphire Dragon Claw: Vilemyr Inn in Ivarstead, given by Wilhelm as a reward for completing the quest 'Lifting the Shroud'.
- Wooden Mask: Bromjunaar Sanctuary in Labyrinthian, on the ground next to a skeleton.
- Miraak: Apocrypha, looted off the Dragon Priest Miraak during the quest 'At the Summit of Apocrypha'.
- Konahrik: Bromjunaar Sanctuary in Labyrinthian, the Heavy Armor version will appear after placing the eight other Dragon Priest masks in their slots on the dragon priest shrine.
- Hevnoraak: Valthume, looted off the Dragon Priest Hevnoraak during the quest 'Evil in Waiting'.
- Krosis: Shearpoint, looted off the Dragon Priest Krosis.
- Morokei: Labyrinthian Tribune, looted off the Dragon Priest Morokei during the quest 'The Staff of Magnus'.
- Nahkriin: Skuldafn, at the Portal to Sovngarde, looted off the Dragon Priest Nahkriin during the main quest The World-Eater's Eyrie.
- Otar: Ragnvald Temple, looted off the Dragon Priest Otar the Mad.
- Rahgot: Forelhost Refectory, looted off the body of the Dragon Priest Rahgot during the quest Siege on the Dragon Cult.
- Vokun: High Gate Ruins, Vokun's Throne Room, looted off the Dragon Priest Vokun during the quest 'A Scroll For Anska'.
- Volsung: Volskygge Peak, looted off the Dragon Priest Volsung.
- Ahzidal: Kolbjorn Barrow on Solstheim, looted off the Dragon Priest Ahzidal during the 4th investment stage of the quest 'Unearthed'.
- Dukaan: White Ridge Sanctum in White Ridge Barrow on Solstheim, looted off the Dragon Priest Dukaan.
- Zahkriisos: Bloodskal Barrow in Raven Rock Mine on Solstheim, looted off the Dragon Priest Zahkriisos during the quest 'The Final Descent'.
- Trollsbane: Cradle Stone Crag, an unmarked location halfway between Valthume and Cradle Stone Tower, looted off the corpse of Frofnir Trollsbane.
- The Pale Blade: Frostmere Depths in Frostmere Crypt, looted off the body of Ra'jirr after he is killed by the Pale Lady during the eponymous quest.
- Bolar's Oathblade: Bloated Man's Grotto, before the quest Ill Met by Moonlight is started, under the Shrine of Talos.
- Froki's Bow: Graywinter Watch, on top of some barrels at the back.
- The Longhammer: Liar's Retreat, next to the corpse of its owner, Rahd.
- Red Eagle's Bane: Rebel's Cairn, on the pedestal Red Eagle's Fury was placed during the quest 'The Legend of Red Eagle'. After defeating Red Eagle, Red Eagle's Fury is upgraded, and Red Eagle's Bane can be taken from the pedestal.
- Windshear: The Katariah Top Deck, visited during the Dark Brotherhood quest 'Hail Sithis!', stuck in the bowsprit.
- Stormlord Cuirass: Looted from Ulfric Stormcloak at the end of the civil war questline if you sided with the Imperials.
- General Tullius' Armor: Looted from General Tullius at the end of the civil war questline if you sided with the Stormcloaks.
- Honorblade of Chorrol: Castle Dour in Solitude, on the wall by the door separating the planning room where general Tullius is and the ground floor bedroom.
- Debaser: Fort Fellhammer Garrison, on the table in the boss room.
- Mace of Aevar Stone-Singer:
- North-west of Septimus Signus' Outpost, in a chest at the back of a floating iceberg. Requires a key that can be found at the chest.
- Classic Skyrim Only:
- With Immersive Weapons and its Legacy patch installed, it is instead wielded by Brother Veren in Nightcaller Temple.
- If you have an earlier version than 5.0 of Immersive College of Winterhold installed, you will get the mace during its main questline instead. The mace is removed from Immersive College of Winterhold version 5 and up.
- Bipolar Blade: The Midden Dark under the College of Winterhold, in Hlas' Family Chest near the metal gauntlet in the circular room. The chest is opened with Hlas' Family Key, which can be found on top of the Note to the Archmage.
- Firiniel's End: Castle Dour in Solitude, on a platform to the left of the entrance to the Temple of the Divines, overlooking the courtyard. It can be reached by walking along the guard walkways and jumping down to the platform or by entering the door at the base of the platform. It can only be found during or after the Dark Brotherhood quest 'Bound Until Death'.
- Steel Battleaxe of Fiery Souls: Ironbind Barrow, behind the throne in the main chamber where Warlord Gathrik resides.
- Sixth House Bell Hammer:
- Broken Helm Hollow, behind the hidden door. You need to pull a chain to open it.
- Users of The Tools of Kagrenac can also find two more hammers on the bodyguards of Mathis Valen in the Silent Ruin. With the Legacy TOK patch, these are displayable.
- If Fort Windpoint SE and its LotD Patch are installed, the Sixth House Bell Hammer is relocated to Fort Windpoint, guarded by the Ascended Sleeper in the final chamber. Auryen's dialogue will also be modified to redirect the player to Fort Windpoint.
- Aegisbane: Raldbthar, in the bandit camp, carried by Alain Dufont.
- Chrysamere:
- Orphan's Tear, in the underwater Old Chest. Old Key is found near the bedroll.
- If using Immersive Weapons and its Legacy patch, it will instead be carried by Orchendor in the Bthardamz Arcanex during 'The Only Cure'.
- Ice Blade of the Monarch: Dead Men's Respite, wielded by king Olaf One-Eye.
- Zephyr: Arkngthamz, on top of a trunk during the quest 'Lost to the Ages'.
- Reaper's Bane: Soul Cairn, looted from the corpse of the Reaper after defeating him in Reaper's Lair. Soul Cairn can be accessed via a portal in Valerica's Study during and after the quest 'Chasing Echoes'.
- Mystic Tuning Gloves:
- Drevis Neloren gives the gloves to the player during the quest Out of Balance, and asks him to cleanse various points of focus for magic energies around the College of Winterhold.
- Alternatively they can simply be pickpocketed from Drevis.
- Fists of Randagulf: Blue Palace in Solitude, in a master locked display case in the upper hallway to the left of the throne.
- Gloves of the Pugilist: The Ratway in Riften, worn by Gian the Fist.
- The Forgemaster's Fingers (replica): In a radiant location dependent upon who triggers the quest. They will not appear until The Forgemaster's Fingers is initiated. The quest can't be obtained if you are an Orc. The Orc strongholds Dushnikh Yal, Mor Khazgur, and Narzulbur are all locations where you can find Orcs who can task you with tracking down The Forgemaster's Fingers. The replica must be made at the Replica Station in the Curator's Office with the following materials: 2 Iron Ingots, 3 Leather Strips.
- Running Man's Folly: Volskygge Passages, on the ground by a table in the first altar room.
- Predator's Grace: Deepwood Vale in Deepwood Redoubt, to the right of the balcony after exiting Hag's End, on the small plateau where the waterfall begins. You have to use Whirlwind Sprint to leap over the gap.
- Boots of the Apostle: Autumnshade Clearing northwest of Merryfair Farm, in the hidden treasure chest shown on Treasure Map XI, in a broken tree trunk. It does not appear until the treasure map has been obtained.
- Coming soon (planned in future update)
- Boots of Blinding Speed: Spider cave in Fort Frostmoth on Solstheim, lying in front of a web in a small alcove with large spider eggs.
- Movarth's Boots: Movarth's Lair, leaning against an end table by Movarth's bed.
- Ironhand Gauntlets: White River Watch Overlook, looted off Hajvarr Iron-Hand.
- Hands of the Atronach: Engelmann's Rest, to the right of the locked door out of Syndra's (a named Hagraven) room, near the end of the first level, during 'Shadows of One's Past'.
- Tumblerbane Gloves: Dawnstar Sanctuary, on the small rock pedestal in the bedroom. The Sanctuary is unlocked during the Dark Brotherhood quest 'The Cure for Madness'. The gloves are only available after purchasing the bedroom part of the sanctuary during the quest 'Where You Hang Your Enemy's Head'.
- Gilded Wristguards: The Katariah, on a shelf in the bedroom of the Emperor's Quarters during the Dark Brotherhood quest 'Hail Sithis!'.
- Shadowsting: Carried by Cicero, only if he survives until the end of the Dark Brotherhood questline. If slain by the player at the Dawnstar Sanctuary this weapon becomes unavailable.
- Honed Ancient Nord Greatsword of Scorching: Labyrinthian Tribune, in a lit brazier with the Ancient Helmet of the Unburned resting on top of it, in a corner behind an adept locked gate, during or after the quest 'The Staff of Magnus'.
- Justice:
- In the Misty Grove, visited during the quest 'A Night to Remember'.
- Ysgramor Battle Axe: Ysgramor's Tomb, displayed in a corner of the final room. The tomb can only be accessed during or after The Companions quest 'Glory of the Dead'.
- Herebane's Courage:
- Looted off Herebane Sorenshield. His body can be found at Greenwall Cave.
- Herebane's Fortress:
- Fort Greenwall, on a shield plaque to the left of the bed in the Captain's Quarters.
- Dragon Priest Staff (Wall of Lightning): Skuldafn, at the Portal to Sovngarde, looted off the Dragon Priest Nahkriin during the main quest The World-Eater's Eyrie.
- Dragon Priest Staff (Wall of Fire): Forelhost Refectory, looted off the body of the dragon priest Rahgot during the quest Siege on the Dragon Cult.
- Underking's Will: Sancre Tor Sealed Halls, looted from Zurin Arctus, the Underking during the 'Shattered Legacy' questline.
- Sild's Staff: Rannveig's Fast, looted off Sild the Warlock after defeating him during the unmarked quest.
- Staff of Ruunvald: Ruunvald Temple, looted off Minorne. Ruunvald isn't accessible until a certain point in the Dawnguard questline.
- Eye of Melka:
- Blind Cliff Bastion in Blind Cliff Cave, given by Melka the hagraven as reward once the player has freed her and killed Petra during the quest 'The Affairs of Hagravens'.
- It is also possible to obtain this staff by killing Melka instead and looting her corpse.
- Halldir's Staff: Halldir's Cairn, looted off the ghostly remains of the wizard Halldir.
- Hevnoraak's Staff: Valthume, looted off the Dragon Priest Hevnoraak during the quest 'Evil in Waiting'.
- Gadnor's Staff of Charming: Crystaldrift Cave, next to the corpse of Gadnor lying on top of the rock in the center of the cave.
- Staff of Hasedoki: Given by Auryen as reward when reaching a museum display count of 450.
- Staff of Hag's Wrath: Darklight Tower, at the top of the tower, looted off Silvia after defeating her during the quest 'Repentance'.
- Hrormir's Icestaff: Windcaller's Retreat in Windcaller Pass, forged at the coldforge during the quest 'Eternal Ice'.
- Staff of Indarys: Received from Rakis at the end of the quest 'It Belongs in a Museum', which is unlocked at level 18 and 75 items displayed in the museum.
- Elder Scroll (Blood): Soul Cairn Boneyard, retrieved during the quest 'Beyond Death'. After defeating Durnehviir, Valerica will lead you to the place.
- Elder Scroll (Dragon): Tower of Mzark in Blackreach during the quests 'Elder Knowledge' or 'Scroll Scouting'.
- Elder Scroll (Sun): Given to the player by Serana during the quest 'Unseen Visions'.
| ||||||||||||||||||||||||||||||||||||||||||