(→SPOILER list - How to get all items: Adding the missing items to the spoiler.) Tag: Visual edit |
No edit summary Tag: Source edit |
||
| (7 intermediate revisions by 4 users not shown) | |||
| Line 1: | Line 1: | ||
| + | __NOEDITSECTION__ |
||
| ⚫ | |||
| + | <div style="background-color: #000000; border: 1px solid #808080; padding: 7px; width: 100px; text-align: center; float: left;">[[Explorer's Society Guild House (SSE)|SSE Version]]</div> |
||
| ⚫ | |||
| + | <div style="background-color: #000000; border: 1px solid #808080; padding: 7px; width: 125px; position: relative; text-align: center; float: left;">[[Explorer's Society Guild House (Classic Skyrim)|Classic Version]]</div> |
||
| ⚫ | |||
| ⚫ | |||
| + | {{Location |
||
| + | |mod ={{Abb|LOTD}} |
||
| + | |Origin ={{Abb|LOTD}} |
||
| + | |title1 =Explorer's Society Guildhouse |
||
| + | |image1 =Guild_house_main_floor.jpg |
||
| + | |Map = |
||
| + | |Location ={{wiki|Solitude_(Skyrim)|Solitude}} |
||
| + | |Type =Player Home |
||
| + | |Sublocations = |
||
| + | |Quest =[[A Room with a View]] |
||
| + | |Items = |
||
| + | |Classic =CELLID |
||
| + | }} |
||
| + | __TOC__ |
||
The guild house becomes available after [[A Room with a View]] and is located next to the Blue Palace reachable through your hot-springs. You now have a guild house where [[Explorer's Society NPCs|recruited explorers]] will live after completing [[Digging Up Explorers]]. |
The guild house becomes available after [[A Room with a View]] and is located next to the Blue Palace reachable through your hot-springs. You now have a guild house where [[Explorer's Society NPCs|recruited explorers]] will live after completing [[Digging Up Explorers]]. |
||
| Line 10: | Line 25: | ||
Next to the table sits the Explorer Dig Finds chest. By selecting the "I have a job for you" option with any of the Guild Members they will be send out to perform an excavation. Their spoils, coins and archeology fragments, will be inside the chest after they return. It is a very good way to obtain more fragments, as the usual way is rather tedious. |
Next to the table sits the Explorer Dig Finds chest. By selecting the "I have a job for you" option with any of the Guild Members they will be send out to perform an excavation. Their spoils, coins and archeology fragments, will be inside the chest after they return. It is a very good way to obtain more fragments, as the usual way is rather tedious. |
||
| + | {{Gallery| |
||
| ⚫ | |||
| ⚫ | |||
| ⚫ | |||
| + | }} |
||
{| style="width: 400px;" class="article-table" border="1" cellpadding="1" cellspacing="1" |
{| style="width: 400px;" class="article-table" border="1" cellpadding="1" cellspacing="1" |
||
| Line 21: | Line 41: | ||
|} |
|} |
||
<br /><br /> |
<br /><br /> |
||
| − | {| style="width: 700px; |
+ | {| class="article-table" style="width: 700px;" border="1" cellpadding="1" cellspacing="1" |
|- |
|- |
||
| − | | colspan="8" |[[File: |
+ | | colspan="8" |[[File:Guildhouse_display.jpg|thumb|center|500px]] |
|- |
|- |
||
| − | ! colspan="8" | |
+ | ! colspan="8" | |
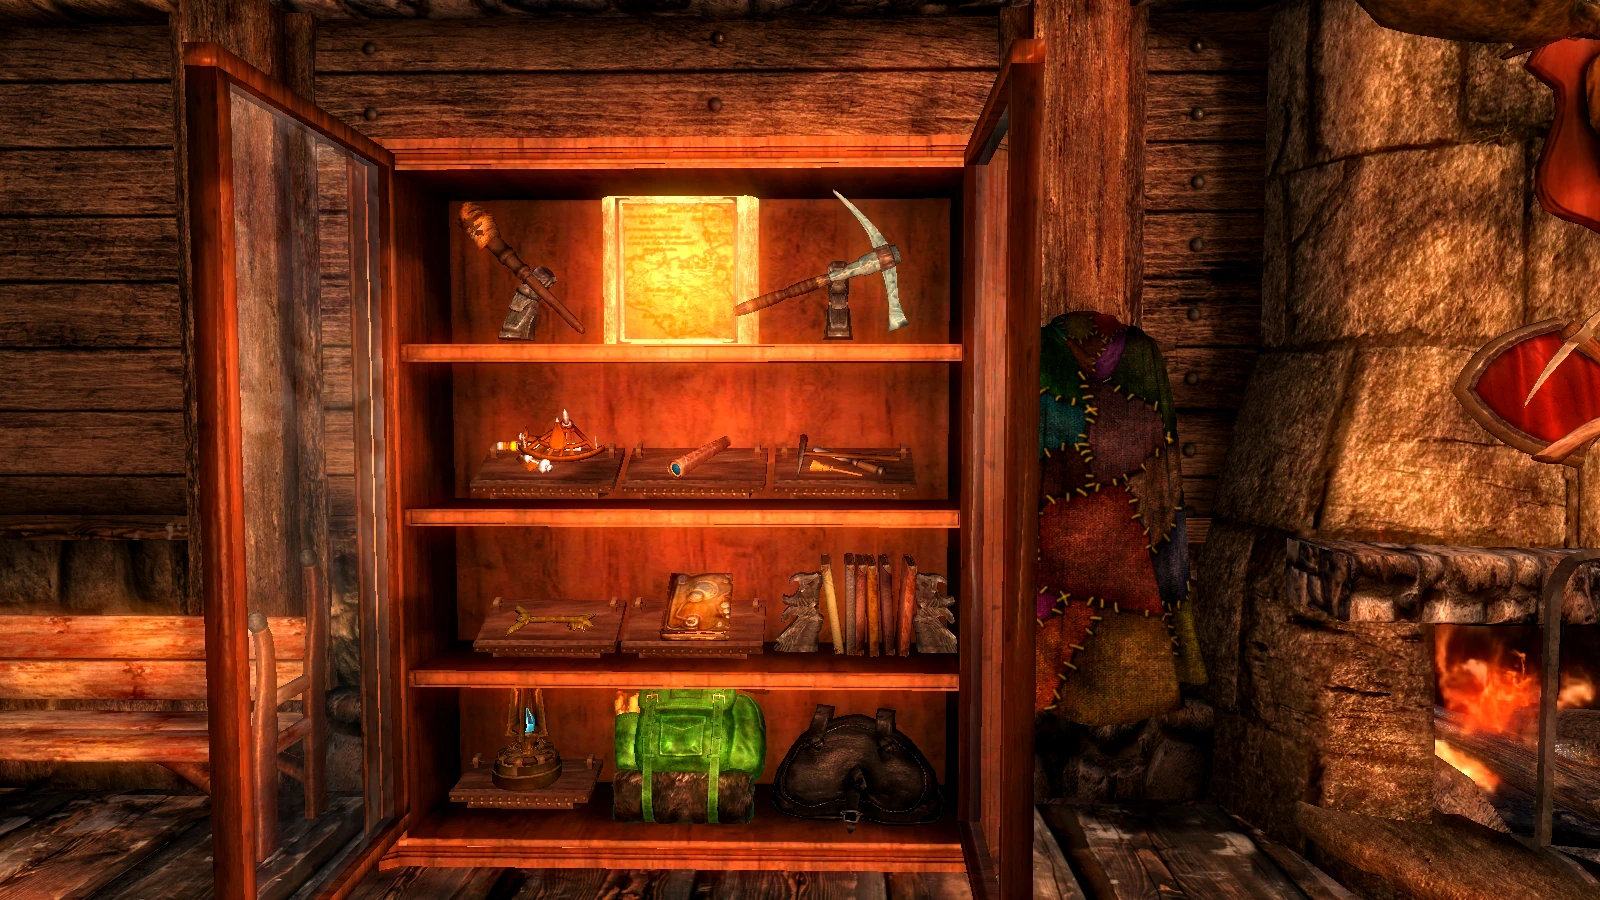
| + | ===Display Cabinet=== |
||
|- |
|- |
||
| colspan="8" |'''1st Shelf''' |
| colspan="8" |'''1st Shelf''' |
||
|- |
|- |
||
| − | | colspan="3" style="text-align:center;"|[[Sands' Torch]] |
+ | | colspan="3" style="text-align:center;" |[[Sands' Torch]] |
| − | | colspan="2" style="text-align:center;"|[[Kamahl's Map]] |
+ | | colspan="2" style="text-align:center;" |[[Kamahl's Map]] |
| − | | colspan="3" style="text-align:center;"|[[Luca's Pick Axe]] |
+ | | colspan="3" style="text-align:center;" |[[Luca's Pick Axe]] |
|- |
|- |
||
| colspan="8" |'''2nd Shelf''' |
| colspan="8" |'''2nd Shelf''' |
||
|- |
|- |
||
| colspan="3" align="center" text |[[Schneider's Sextant]] |
| colspan="3" align="center" text |[[Schneider's Sextant]] |
||
| − | | colspan="2" |
+ | | colspan="2" align="center" text |[[Merrian's Spyglass]] |
| − | | colspan="3" |
+ | | colspan="3" align="center" text |[[Alvaro's Tools]] |
|- |
|- |
||
| colspan="8" |'''3rd Shelf''' |
| colspan="8" |'''3rd Shelf''' |
||
|- |
|- |
||
| − | | style="text-align:center;"|[[Aleksey's Key]] |
+ | | style="text-align:center;" |[[Aleksey's Key]] |
| − | | style="text-align:center;"|[[Malrus' Codex]] |
+ | | style="text-align:center;" |[[Malrus' Codex]] |
| − | | style="text-align:center;"|[[Sanamia's Journal (1)]] |
+ | | style="text-align:center;" |[[Sanamia's Journal (1)]] |
| − | | style="text-align:center;"|[[Sanamia's Journal (2)]] |
+ | | style="text-align:center;" |[[Sanamia's Journal (2)]] |
| − | | style="text-align:center;"|[[Sanamia's Journal (3)]] |
+ | | style="text-align:center;" |[[Sanamia's Journal (3)]] |
| − | | style="text-align:center;"|[[Sanamia's Journal (4)]] |
+ | | style="text-align:center;" |[[Sanamia's Journal (4)]] |
| − | | style="text-align:center;"|[[Sanamia's Journal (5)]] |
+ | | style="text-align:center;" |[[Sanamia's Journal (5)]] |
| − | | style="text-align:center;"|[[Sanamia's Journal (6)]] |
+ | | style="text-align:center;" |[[Sanamia's Journal (6)]] |
|- |
|- |
||
| colspan="8" |'''4th Shelf''' |
| colspan="8" |'''4th Shelf''' |
||
|- |
|- |
||
| − | | colspan="3" style="text-align:center;"|[[Picky's Beacon]] |
+ | | colspan="3" style="text-align:center;" |[[Picky's Beacon]] |
| − | | colspan="3" style="text-align:center;"|[[Deano's Bottomless Pack]] |
+ | | colspan="3" style="text-align:center;" |[[Deano's Bottomless Pack]] |
| − | | colspan="2" style="text-align:center;"|[[Arkayn's Tool Bag]] |
+ | | colspan="2" style="text-align:center;" |[[Arkayn's Tool Bag]] |
|} |
|} |
||
| ⚫ | |||
| ⚫ | |||
| ⚫ | |||
|- |
|- |
||
| + | ! |
||
| − | + | ===Cloak stand to the right of the display case=== |
|
|- |
|- |
||
|[[Sir Jesto's Patch Work Cloak]] |
|[[Sir Jesto's Patch Work Cloak]] |
||
| Line 71: | Line 92: | ||
<onlyinclude> |
<onlyinclude> |
||
*'''[[Sands' Torch]]''': {{:Sands' Torch}} |
*'''[[Sands' Torch]]''': {{:Sands' Torch}} |
||
| − | *[[Kamahl's Map |
+ | *'''[[Kamahl's Map]]''': {{:Kamahl's Map}} |
*'''[[Luca's Pick Axe]]''': {{:Luca's Pick Axe}} |
*'''[[Luca's Pick Axe]]''': {{:Luca's Pick Axe}} |
||
*'''[[Schneider's Sextant]]''': {{:Schneider's Sextant}} |
*'''[[Schneider's Sextant]]''': {{:Schneider's Sextant}} |
||
| Line 88: | Line 109: | ||
*'''[[Sir Jesto's Patch Work Cloak]]''': {{:Sir Jesto's Patch Work Cloak}} |
*'''[[Sir Jesto's Patch Work Cloak]]''': {{:Sir Jesto's Patch Work Cloak}} |
||
| − | If you use the GuildMaster start, you will find '''[[Schneider's Sextant]], '''[[Alvaro's Tools]], '''[[Deano's Bottomless Pack]] |
+ | If you use the GuildMaster start, you will find '''[[Schneider's Sextant]]''', '''[[Alvaro's Tools]]''', '''[[Deano's Bottomless Pack]]''', and the '''[[Dwemer Compass]]''' in the tent across from you.</onlyinclude> |
</div> |
</div> |
||
[[Category:Gallery]] |
[[Category:Gallery]] |
||
Revision as of 18:58, 23 December 2020
The guild house becomes available after A Room with a View and is located next to the Blue Palace reachable through your hot-springs. You now have a guild house where recruited explorers will live after completing Digging Up Explorers.
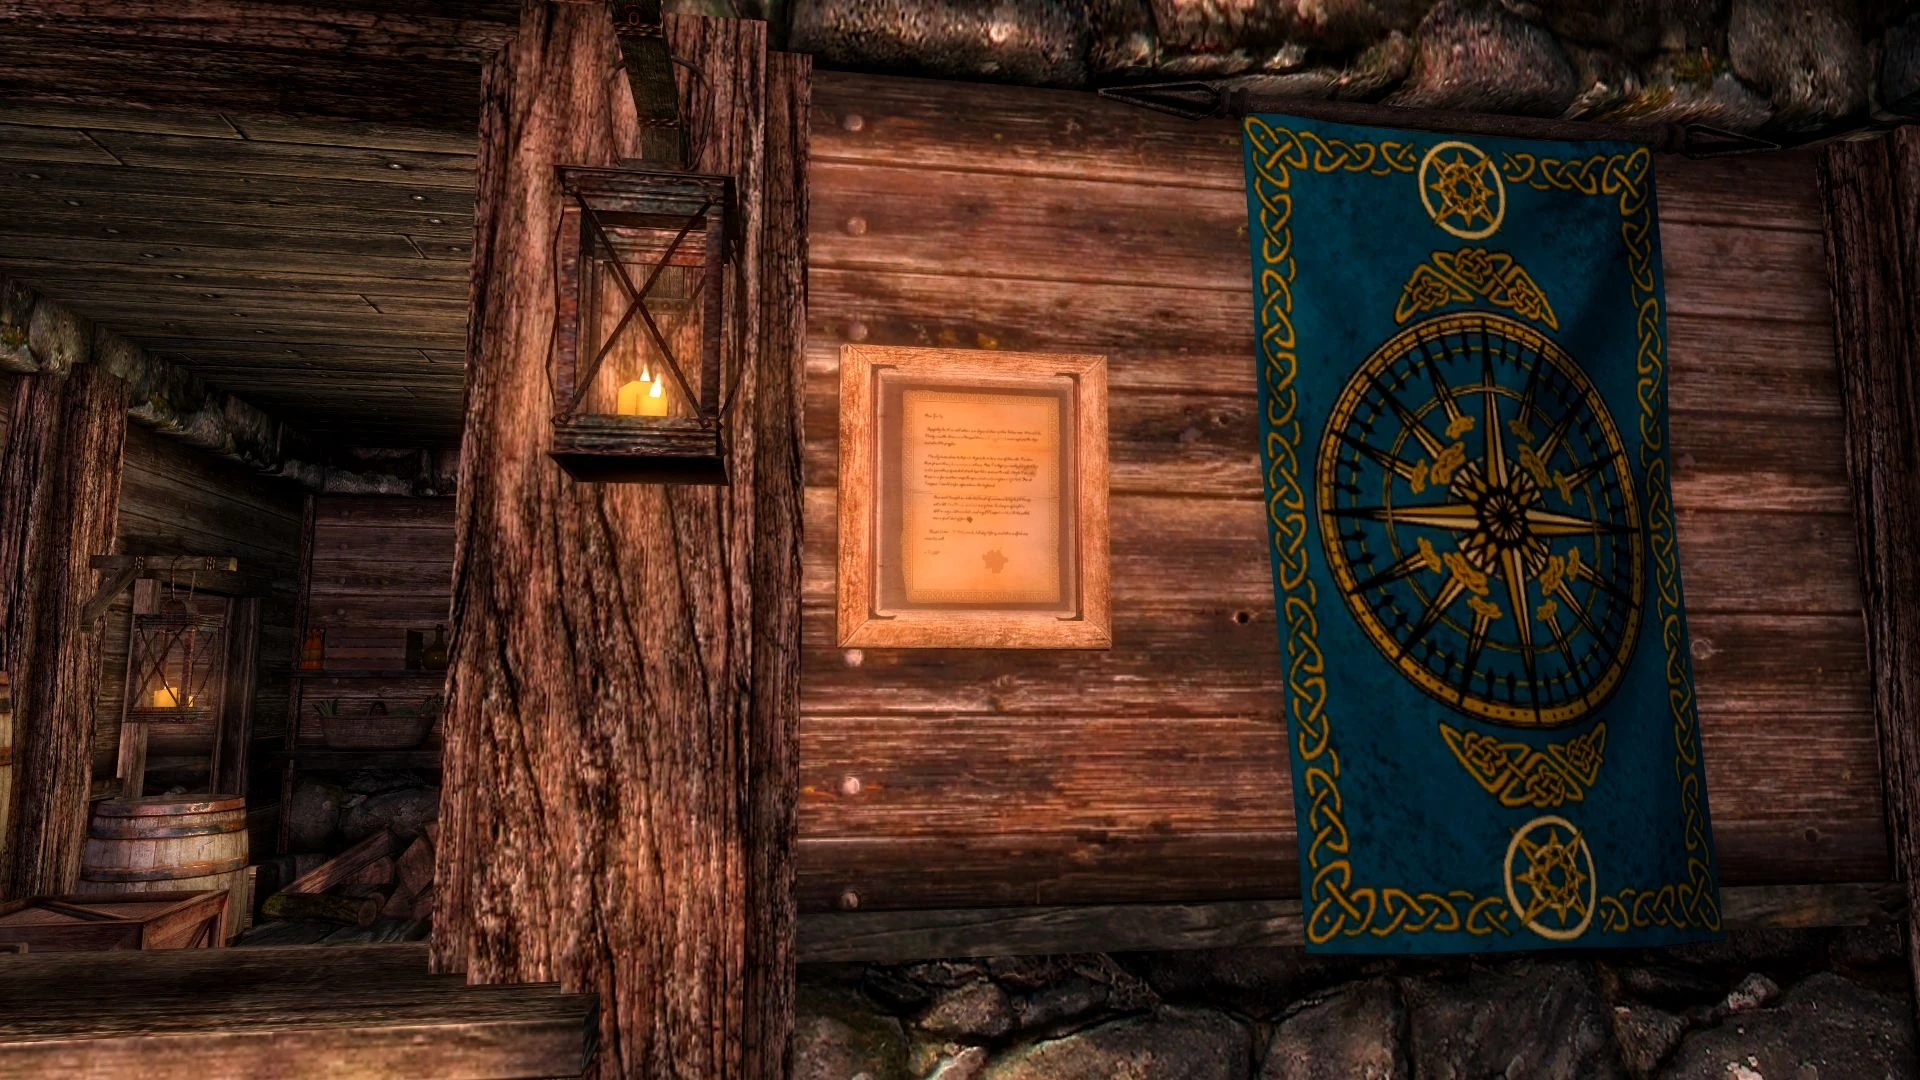
The guild house consists of two floors. The top floor contains beds for all of your guild members, while the ground floor has a Archaeology station, storage chests that are linked up to your safehouse storage and a display case. Additionally there is a frame for the guild charter. Once you talked with your guild members, after Digging Up Explorers, you can start excavating Nordic and Dwemer fragments and Keystones. These parts can be used to create Dwemer and Nordic artifacts at either the Archaeology station in the guild house, the one in the safehouse, or the one in the Curator's Office of The Museum. These items are displayable in the Hall of Lost Empires.
The back door leads to a balcony that grants access to the Dev Aveza once it has been acquired.
Next to the table sits the Explorer Dig Finds chest. By selecting the "I have a job for you" option with any of the Guild Members they will be send out to perform an excavation. Their spoils, coins and archeology fragments, will be inside the chest after they return. It is a very good way to obtain more fragments, as the usual way is rather tedious.
")
")
")
Explorer's Guild Charter Display |
|---|
| Explorer's Guild Charter |


Cloak stand to the right of the display case |
|---|
| Sir Jesto's Patch Work Cloak |
SPOILER list - How to get all items
- Sands' Torch: Stillborn Cave, next to the backpack and the skeleton of Sand and his Journal.
- Kamahl's Map: Explorer's Society Guild House, top floor on the dresser beside the Note from Marassi. Will only appear after everyone has been recruited during Digging Up Explorers.
- Luca's Pick Axe: Forgotten Vale, on a stone ledge below the bridge to the Inner Sanctum, next to Luca's body and the backpack which contains his Journal.
- Schneider's Sextant:
- Outside Kolbjorn Barrow on Solstheim, carried by Ralis Sedarys. Can either be pickpocketed, taken from his corpse or taken out of his inventory if he becomes a follower.
- SSE only: If starting the game through the Relic Hunter addon to Alternate Start - Live another Life, the item is found at the start of Akaviri Rising, on a table in the tent across from you.
- Alvaro's Tools:
- SSE: Folgunthur, on a bedroll next to Alvaro's Knapsack in one of the tents outside the ruin.
- Merrian's Spyglass: Pilgrim's Trench, in the cabin of the biggest ship, in the hand of a skeleton that got crushed between a table and a bookshelf.
- Aleksey's Key: Greywater Grotto, at the bottom of a chest full of keys next to the skeleton of an adventurer.
- Sanamia's Journal (1): Dev Aveza, in a secret room underneath a floorboard in the smuggler's hold.
- Sanamia's Journal (2): Broken Tusk Mine on Solstheim, on a barrel near the entrance.
- Sanamia's Journal (3): Dead Drop Falls under Fort Dawnguard, on the table in the last room.
- Sanamia's Journal (4): Arcwind Point Barrow, unmarked location southeast of Arcwind Point, next to a knapsack under the stairs.
- Sanamia's Journal (5): Thirsk Mead Hall on Solstheim,
- Before Retaking Thirsk: On some stacked tables to the left of the fireplace.
- After Retaking Thirsk: On the floor to the left of the fireplace.
- Sanamia's Journal (6): Reikling Island, North of Solstheim
- Picky's Beacon: Moesring Pass on Solstheim, inside the crashed airship, on a Dwemer table next to Picky's Journal and a burnt corpse.
- Deano's Bottomless Pack:
- Above South Shriekwind Bastion, on the back of Deano's skeleton, crushed beneath a stone avalanche. Follow the path up and over the mountain to the mountain peak. Scale it to where the backpack is and carefully drop down.
- Arkayn's Tool Bag: Gloomreach, in the hive section, down one of the holes in the ground next to or below the Skeleton of Arkayn.
- Sir Jesto's Patch Work Cloak: Sancre Tor Prison, in Sir Jesto's Knapsack (together with his Journal) which is located on a hanging skeleton in the center of the prison.
If you use the GuildMaster start, you will find Schneider's Sextant, Alvaro's Tools, Deano's Bottomless Pack, and the Dwemer Compass in the tent across from you.